Ah, landscape photography—a sublime dance of light, nature, and timing. Whether you’re an adventurous globetrotter, a weekend wanderer, or just someone who loves snapping majestic views, capturing that perfect shot can feel like finding a needle in a haystack. But fret not, dear shutterbug! This guide will equip you with tools, techniques, and tricks to transform those picturesque scenes into breathtaking images that leap off the screen.
Understanding essential landscape photography techniques is your first step. From mastering the importance of composition to employing the magic of the Golden Hour, knowing when and how to use natural light can make or break your shot. Throw in a concerted effort to dial in the right camera settings, and you’ll be on your way to crafting visual masterpieces.
Naturally, even the most talented photographers can’t rely on skills alone. The right gear is essential for optimal landscape photography. Picking the proper camera and lenses, understanding the indispensable nature of a sturdy tripod, and having a toolkit of must-have accessories are what separate the pros from the amateurs. The right equipment not only enhances your creative potential but also ensures that your vision is perfectly captured.
But hey, before you dash out the door with your camera, a bit of planning is in order. Scouting out locations, keeping an eye on the weather, and preparing for varying light conditions can save you from wasted trips and missed opportunities. Once you’ve captured those stunning shots, post-processing can add that final touch of brilliance. Whether you’re fine-tuning exposure or playing with color palettes, a few editing tricks can elevate your photos to new heights.
Understanding Essential Landscape Photography Techniques
Importance of Composition
When it comes to capturing stunning landscape photos, mastering the art of composition is a game-changer. The composition sets the stage for how viewers’ eyes navigate through your image. Two fundamental principles to keep in mind are the Rule of Thirds and Leading Lines.
The Rule of Thirds divides your frame into a grid of nine equal sections by two equally spaced horizontal lines and two equally spaced vertical lines. Positioning key elements of your scene along these lines or their intersections can create more balance and interest. This technique helps to draw viewers in and keep them focused on the elements you want to highlight. Your horizon line, for instance, often looks more engaging when placed along the top or bottom third rather than dead center.
Leading Lines are another powerful tool in your composition toolkit. These are natural lines within your frame that guide the viewer’s eye towards a focal point. Think of rivers, roads, or even a row of trees that converge towards the horizon. Leading lines add depth and can steer attention precisely where you want it, creating a journey for the eyes through your landscape.
Mastering the Use of Natural Light
Natural light is the secret sauce that can transform a good landscape photo into a great one. Understanding how to use light effectively means knowing when to shoot. There are two magical times of the day that photographers swear by: the Golden Hour and the Blue Hour.
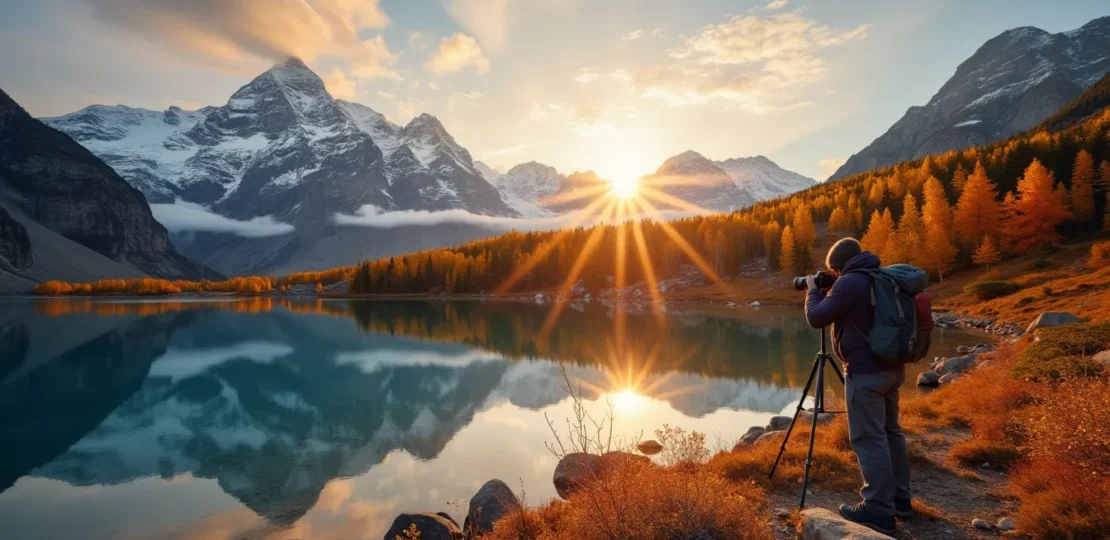
The Golden Hour occurs just after sunrise and just before sunset. During this time, the sun is low in the sky, and its rays cast a warm, golden hue over your scene, giving everything a dreamy, glowing look. Shadows are longer and softer, adding depth and texture to your photographs.
On the other hand, the Blue Hour happens just before sunrise and just after sunset. The sun is below the horizon, but its light still paints the sky with a cool, blue tint. This period offers a serene and ethereal quality to your images, making it perfect for capturing tranquil landscapes.
Shooting during these hours does require a bit of planning and sometimes early mornings, but the results are well worth the effort. Your landscapes will burst with a dynamic range of colors and contrast that simply can’t be replicated during the harsher midday sunlight.
Utilizing the Right Camera Settings
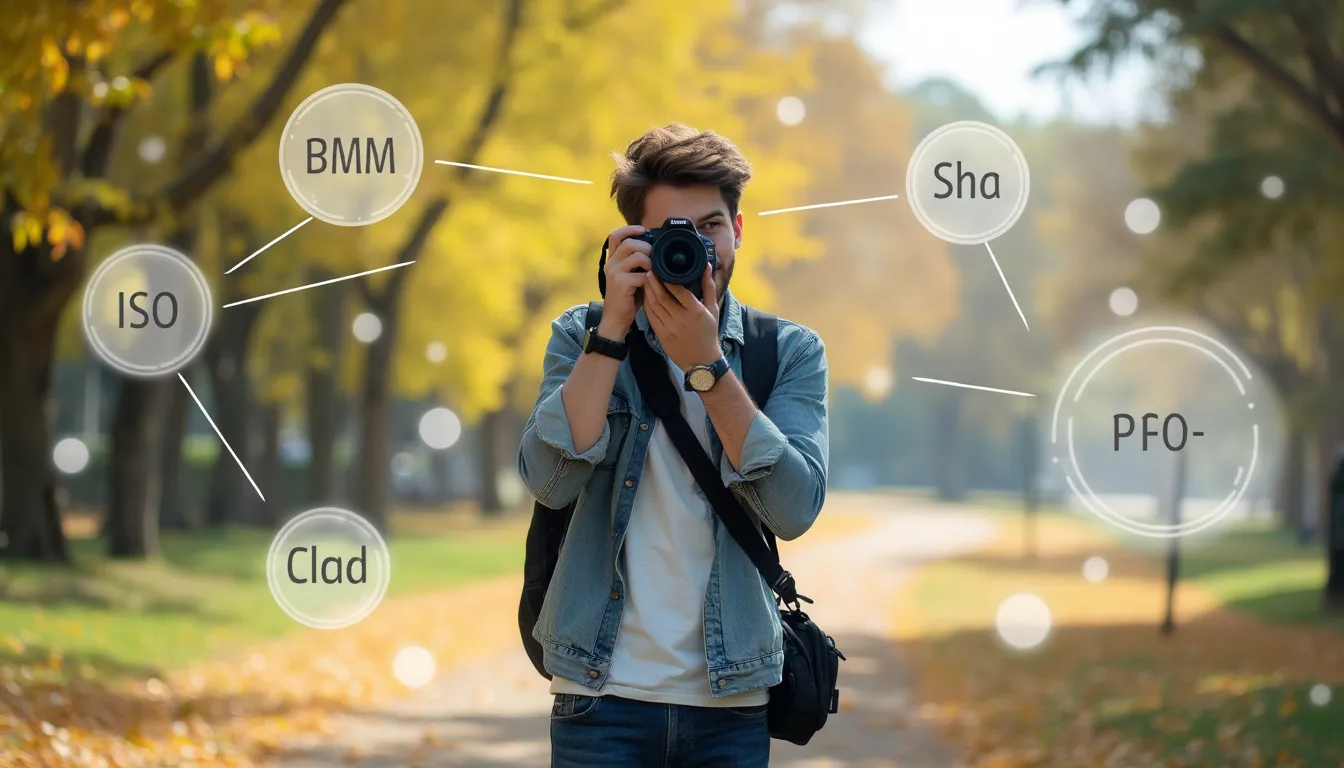
Getting the perfect landscape shot isn’t just about where you point your camera; it’s also about how you set it up. Understanding which camera settings to use can make a dramatic difference. Key settings to focus on include aperture, shutter speed, and ISO.
The aperture controls the depth of field. For landscapes, you’ll generally want a broad depth of field to keep everything sharp—from the foreground to the horizon. Using a smaller aperture (larger f-number) like f/8 or f/11 often does the trick. It allows you to capture a sharp, detailed image whether you’re shooting mountains or meadows.
Shutter speed can either freeze a moment in time or blur motion for artistic effect. Depending on your composition, you might want to play around with this setting. A faster shutter speed (1/250s or higher) is great for capturing crisp details, especially if there’s any movement (like swaying trees or flowing rivers). On the flip side, a slower shutter speed can be used to create a sense of motion, such as making waterfalls appear silky smooth.
Lastly, there’s ISO, which controls your camera’s sensitivity to light. The lower the ISO (like 100 or 200), the less light sensitivity—resulting in cleaner, noise-free images. Stick to lower ISO settings, especially during the golden and blue hours when the lighting is ideal. Only bump it up when necessary, like in lower light conditions where you still want to maintain a decent shutter speed and aperture.
Combining these techniques will help you master the basics of landscape photography. But don’t stop here. For those looking to up their game, why not consider investing in a quality camera? Check out This link for a powerful camera at an affordable price. Ready, set, capture those landscapes like a pro!
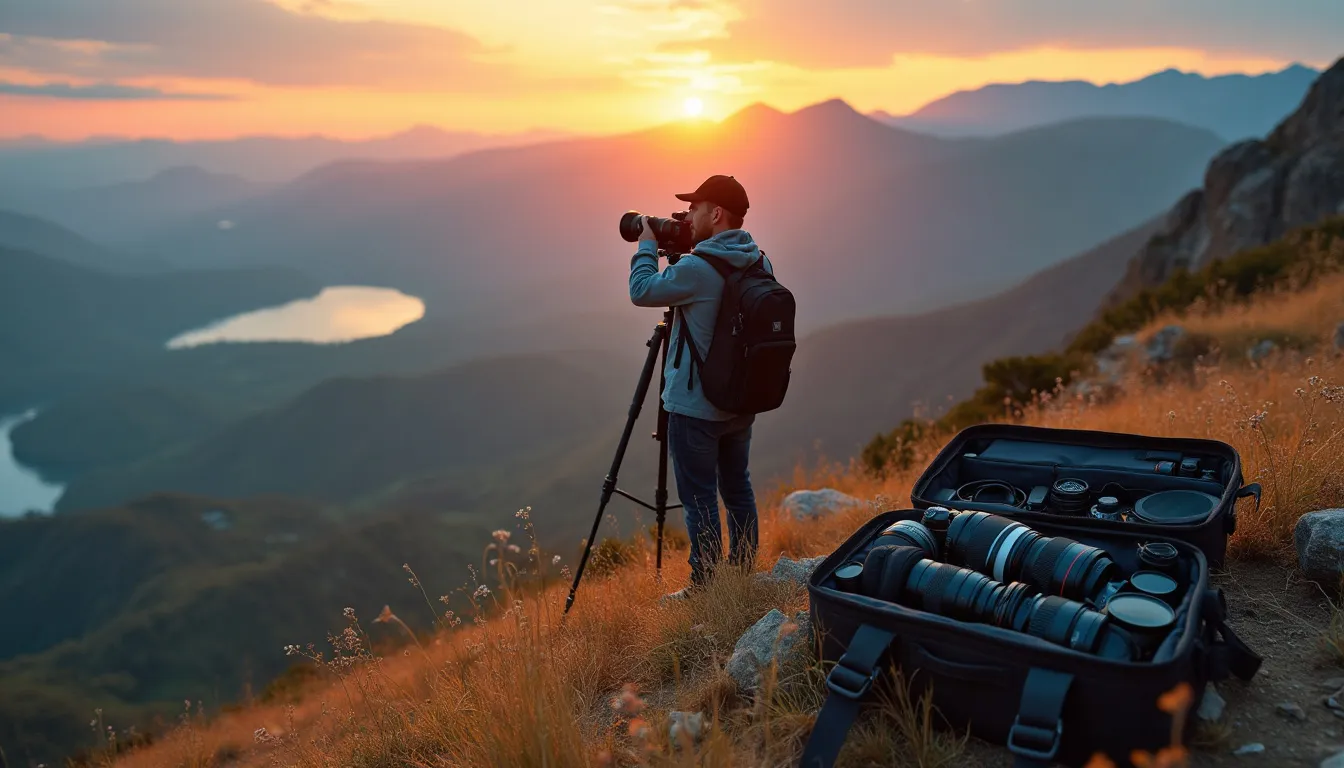
Equipments and Tools for Optimal Landscape Photography
Choosing the Right Camera and Lenses
Selecting the perfect camera and lenses is like choosing the right brush for a masterpiece – it’s crucial! For landscape photography, a camera with a high-resolution sensor will capture those stunning details in nature. Think about investing in a mirrorless camera or a DSLR. Mirrorless options are light, making them ideal for those long hikes to the perfect spot. On the other hand, DSLRs are known for their robust build and fantastic battery life.
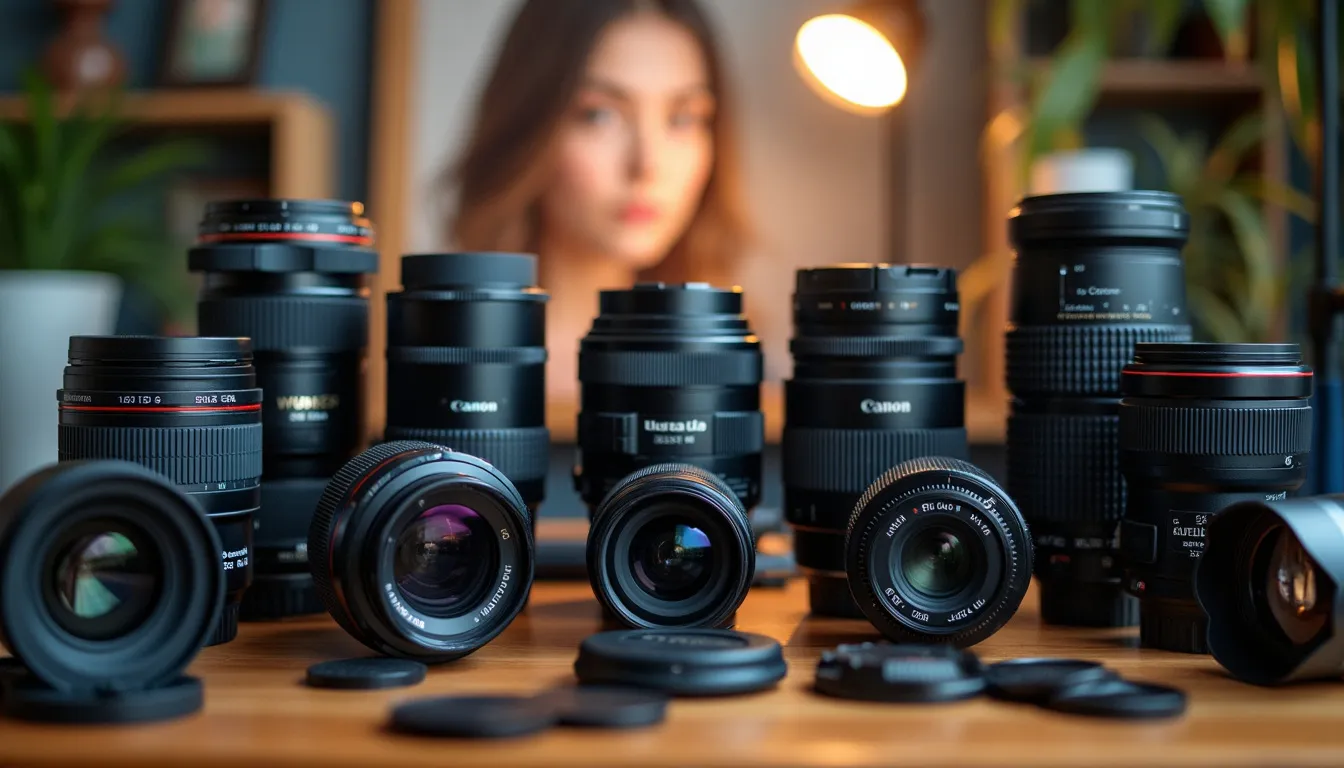
When it comes to lenses, wide-angle lenses are the heroes of landscape photography. They capture expansive views and make those mountain ranges look endless. Go for a lens in the range of 10-24mm to truly capture the vastness of your scene. But don’t overlook telephoto lenses. These can be game-changers for isolating specific features in the distance, like a solitary tree on a hill or wildlife roaming the plains. A 70-200mm lens can bring those faraway subjects into detailed focus.
Importance of Using a Tripod for Stability
Imagine hiking up to a gorgeous vista only to come away with blurry photos. Heartbreaking, right? That’s where tripods come into play. A sturdy tripod is essential for landscape photography, especially in low light conditions like dawn or dusk. It keeps your camera stable and allows for longer exposure times without the dreaded handshake blur. This is particularly important when you’re aiming for those dreamy, long-exposure shots of waterfalls or the ocean.
When selecting a tripod, make sure it’s stable yet lightweight. Carbon fiber tripods are fantastic because they offer stability without the weight. Trust me, your back will thank you during those long treks. Also, look for one with a versatile head, like a ball head, which can provide smooth and easy adjustments.
Must-Have Accessories
Now, let’s talk accessories. There are a few must-haves that can significantly elevate your landscape photography game:
- Filters: Neutral Density (ND) and polarizing filters should be in every landscape photographer’s bag. ND filters reduce the amount of light entering the lens, allowing for longer exposures even during the day. This is perfect for capturing the silky smooth effect of flowing water. Polarizing filters, on the other hand, reduce reflections and glare. They also enhance colors, making the skies bluer and the foliage greener.
- Remote Shutters: A remote shutter release is your best friend for avoiding camera shake. Even the slight press of the shutter button can cause unwanted blur, especially in long exposures. A remote allows you to trigger the camera without touching it. Wireless options are particularly handy, giving you the freedom to move around.
- Drones: Drones have revolutionized landscape photography. They offer fresh and unique perspectives that are impossible to achieve from the ground. With a drone, you can capture aerial shots that showcase the grandeur of a landscape. Just remember, flying a drone comes with responsibilities. Always check local regulations and ensure you’re flying in permitted areas.
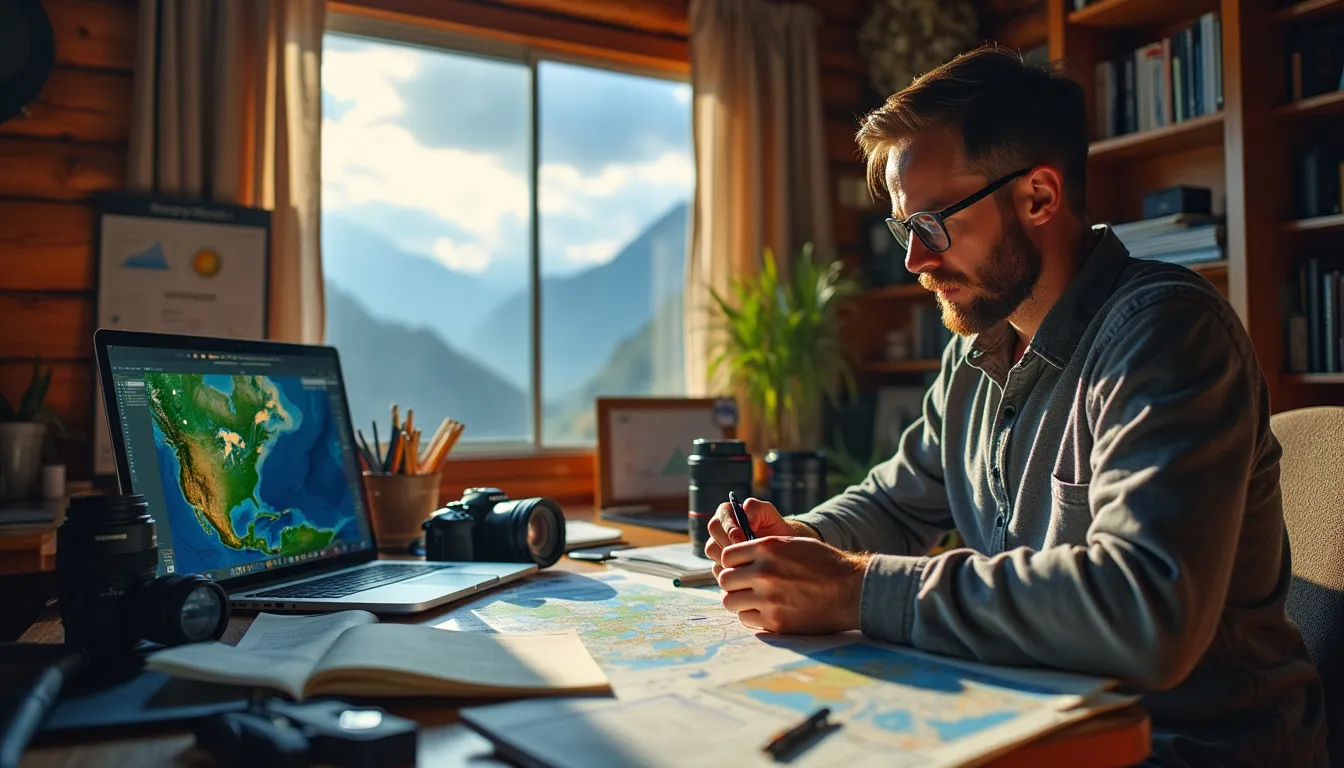
Planning and Execution for Capturing Stunning Landscapes
Research and Scouting Locations
One of the keys to capturing stunning landscape photos lies in meticulous planning. The first step is to research and scout your locations thoroughly. Websites like Google Earth, Instagram, and photography forums are treasure troves of information. They can pinpoint the most photogenic spots and help you visualize the area before you even set foot there. Additionally, checking out maps and local guidebooks can uncover hidden gems that might not be widely known.
Understanding the weather conditions is also crucial. Invest time in studying local weather patterns because weather can dramatically affect landscape photography. Specialized apps provide forecasts, sun positioning, and moon phases, helping align your shooting schedule with optimal conditions. Knowing if it will be overcast or sunny, windy or calm can make or break the success of your shoot.
Preparing for Different Weather and Light Conditions
Unpredictable weather is the nature of landscape photography, and while it can be a challenge, it’s also what makes this genre so exciting. Preparation is key to handling whatever Mother Nature throws your way. Pack weather-appropriate gear, including rain covers for your camera equipment and appropriate clothing to keep you comfortable and focused.
Embracing different lighting conditions can open up new creative possibilities. Golden hour—shortly after sunrise or before sunset—is the sacred time for landscape photographers, offering soft, warm light that adds depth and vibrancy to your shots. Similarly, the blue hour, the period just before sunrise and after sunset, provides a cooler, more mystical lighting that can give an ethereal quality to your images.
On the other hand, don’t shy away from less conventional conditions. Overcast days offer diffused, even lighting that can enhance colors and reduce harsh shadows. Fog and mist can create a sense of mystery and depth, while stormy skies add drama and mood to your landscapes. Being versatile and prepared for various light scenarios ensures you’re ready to capture stunning images in any situation.
Post-Processing Tips to Enhance Landscape Photos
Even the best-captured photos can benefit from a bit of post-processing magic. The goal is to enhance, not to alter the reality of the scene drastically. Photo editing software like Adobe Lightroom and Photoshop are invaluable in this process. They offer extensive tools to fine-tune your landscape images to achieve their full potential.
Start with basic adjustments such as exposure, contrast, and white balance to ensure accurate and balanced tones. Use the crop tool to refine the composition if necessary, adhering to the rule of thirds or other compositional guidelines. Next, consider boosting the clarity and sharpness to make the details pop, especially important for landscape shots where textures are significant.
Color grading is another powerful tool. Adjust the saturation and vibrancy to give the colors more punch. Be cautious, though; it’s easy to go overboard, leading to unnatural hues. Selective color adjustments can help emphasize the main subject or feature in your photo, drawing the viewer’s eyes to the most critical parts of the scene.
One often overlooked, yet potent tool is the graduated filter, which can balance the exposure between the sky and the landscape. This technique mimics the effect of physical graduated ND filters and can help prevent blown-out skies or underexposed foregrounds. Finally, don’t forget to remove any distracting elements, like lens flares or debris, using the clone or healing brush tools.
With detailed planning and thorough execution, combined with thoughtful post-processing, you’re well on your way to capturing breathtaking landscape images. For those keen to level up their gear, consider exploring This link for a powerful camera at an affordable price. The Sony A6400 is known for its impressive capabilities and might just be the trusty companion you need for your next photographic adventure.
In conclusion, capturing the perfect landscape photo is a harmonious blend of understanding essential techniques, utilizing the right equipment, and meticulous planning and execution. By prioritizing composition with tools like the rule of thirds and leading lines, and mastering the nuances of natural light during the golden and blue hours, you’ll find your landscapes imbued with a captivating essence. Equally vital is getting comfortable with your camera settings, particularly the delicate balance between aperture, shutter speed, and ISO to ensure crisp, stunning images.
When it comes to gear, choosing the right camera and lenses, such as wide-angle for those panoramic views and telephoto for distant details, can make a world of difference. Stability is key in landscape photography, so never underestimate the power of a sturdy tripod. To further elevate your shots, invest in accessories like filters for managing light and remote shutters for those long-exposure gems. For the adventurous spirits, drones can provide breathtaking aerial perspectives that were once impossible to achieve.
Planning is the backbone of any successful landscape photographer. Scouting locations ahead of time, understanding weather patterns, and knowing the most scenic spots can significantly influence the outcome of your shoot. Being prepared for varying light and weather conditions can mean the difference between a good photo and a truly spectacular one. And finally, bringing your images to life through post-processing is an art in itself. Leveraging editing software and honing your editing techniques will transform your raw captures into visual masterpieces.
Happy shooting!
RELATED POSTS
View all

