In a world dominated by smartphones, it’s time to embrace the fact that your pocket-sized device is more than just a texting machine and your go-to for Twitter scrolls. It’s a powerful photography tool just waiting to be unleashed! Welcome to the beginner’s guide to smartphone photography, where getting great shots doesn’t require a degree in art or a bulky camera. With just a few tweaks and the best practices, you can transform your everyday snaps into breathtaking masterpieces.
In this article, we’ll unlock the secrets of your smartphone camera features, exploring crucial settings you never knew existed, and share tips on harnessing the magic of lighting and composition. You’ll also learn how to edit your photos like a pro, making them Instagram-ready in a snap. Plus, we’ll dive into the world of social media sharing to ensure your friends are green with envy over your stunning photography skills! So, whether you’re aiming to capture the perfect sunset or just the best angle of your lunch, we’ll guide you every step of the way. If you want to get started with your photography journey, check out this camera!
Understanding Your Smartphone Camera Features
With the initial excitement of capturing life’s moments with your smartphone, it’s crucial to dial into the myriad features your camera holds. Every shot can turn out to be either a masterpiece or a blurry photo of your friend making a questionable face. Let’s dive into the essential settings that will turn you from a mere snapshot-taker into a smartphone photography aficionado!
Overview of Common Smartphone Camera Settings
Smartphone cameras are more than just point-and-shoot devices; they come packed with features that can transform your photography game. Here are some common settings you should familiarize yourself with:
- Exposure: This setting controls how much light reaches your camera sensor. Think of it as your camera’s way of deciding whether it wants to party with a bright sun or chill backstage in the dark. Balancing exposure can differentiate between a well-lit photo and a glow-in-the-dark disaster.
- Focus: This allows you to choose which part of your image should be sharp. Tap on the area of your shot that you want to capture in detail. Just don’t accidentally tap on your friend’s face while he’s blinking; focus can be fickle!
- Resolution: This determines the quality of your photos. Higher resolution means more detail—but also larger file sizes. So, if you want to be that person who fills their phone with 1,000 pictures of your pet lizard, keep it in check!
Importance of Using Grid Lines and Composition Techniques
Grids are not just for graph-paper math whizzes! Enable grid lines in your camera settings to help guide your compositions. The classic Rule of Thirds is a popular technique: divide your frame into nine equal parts with two vertical and two horizontal lines. Place your subject at the intersection points to create balance and interest. Trust me, your Instagram followers will thank you (and so will your pet, if you happen to unleash cuteness from that lizard again).
Also, remember that composition isn’t just about pretty lines. Use the grid lines to avoid cutting off limbs—especially important in group photos. Because nothing says ‘festival of awkward’ like a finger sticking out of an otherwise perfect shot!
Choosing the Right Mode for Different Photography Scenarios
Your smartphone likely has various modes designed for different scenarios. Here are three of the most common ones:
- Portrait Mode: This is ideal for when you want to capture that “I woke up like this” look. It blurs the background while keeping the subject in focus, giving your photos an artistic flair (and yes, your friend’s blurry pizza slice in the background can also be artistic…to a point).
- Landscape Mode: Perfect for those sweeping scenery shots when you want to show off that sunset view, or just prove you were outside that one time. This mode usually brings out the colors and depth of field, making it easier for you to share your hiking adventures without the squinting.
- Night Mode: If you aim to capture the greatness of city lights or that romantic candlelight dinner, don’t be afraid of the darkness! Night mode helps brighten photos in low-light conditions, so you can snap away in a dimly lit location without accidentally turning everyone into shadowy figures.
Each mode has its pros and cons. Experiment with them to find your preferred style, and don’t be shy about mixing it up. Who knows? You might just unintentionally start a new photography trend: “Eerie Shadow-Portraits”!
Understanding these smartphone camera features is not only going to help you make the most of your devices but will elevate your photography skills dramatically! So, start tapping away, because you’re just one picture away from becoming the next great smartphone photographer (or at the very least, a local legend among your friends).
If you want to get started with your photography journey, check out this camera.

Mastering Lighting and Composition
When diving into the world of smartphone photography, one of the universe’s greatest truths applies: lighting is everything. You might think your smartphone could take a decent picture in a dark cave with disco lights, but trust me, the results will look like something only a raccoon would appreciate. Here’s how to harness the power of good lighting and composition to create stunning photos that will make your friends wonder if you secretly enrolled in a photography school (spoiler alert: you didn’t!).
Utilizing Natural Light for Better Photos
Natural light is like the fairy godmother of photography; with just a flick of its wand (or the sun in this case), your photos can transform from “meh” to “wow!” But be cautious—undoubtedly, that same light can bite back if you aren’t careful about when and where you take your snaps.
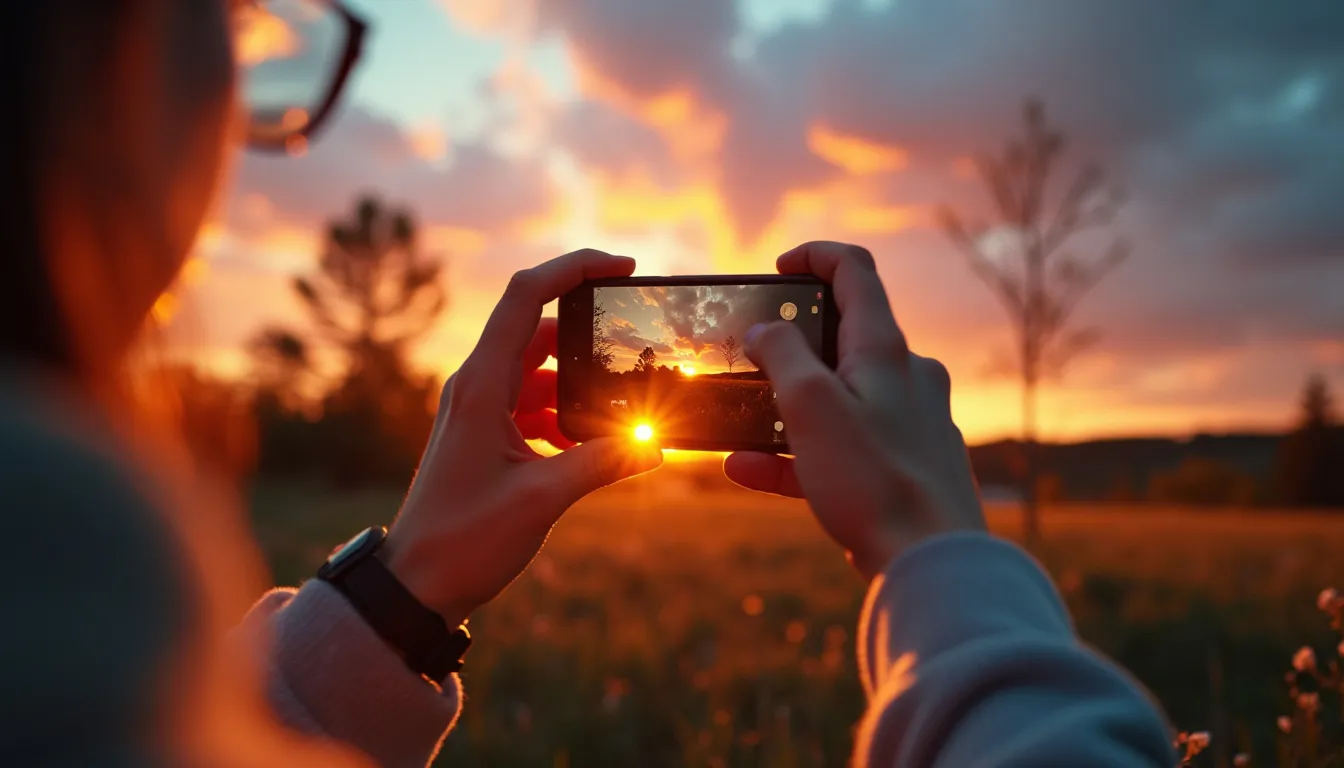
First, let’s discuss the fantastic golden hour, which occurs about an hour after sunrise and an hour before sunset. During this time, the sunlight takes on a magical, warm hue that can make even the most ordinary subjects look extraordinary—think of it as the Beyoncé of lighting. Your selfies at this time? Legendary.
On the flip side, avoid shooting photos during the harsh midday sun when shadows are darker and more dramatic than a soap opera plot twist. Instead, look for shaded areas or wait until the sun mellowed out. And if you’re feeling fancy, try backlighting your scene. It’s a fantastic technique that creates ethereal, glowing effects—like you’ve got a mystical aura, or at least that’s how your Instagram followers will perceive it.
Composition Techniques for Impactful Photographs
Now that you’ve got the lighting down to an art (thank you, golden hour), let’s talk composition. Think of composition as the frame to your painting. You wouldn’t hang a masterpiece in a sad little frame, would you? Here are some techniques that can help pack more punch into your photos:
- Framing: Use natural elements in your environment to frame your subject. This could be anything from trees to doorways. Imagine you’re a celebrity and create your photo as a glamorous magazine cover!
- Leading Lines: Utilize existing lines in your scene, such as roads, sidewalks, or even a row of charming café tables, to guide the viewer’s eye toward your subject. It’s like saying, “Hey, over here! You’re going to want to check this out!”
- Symmetry: Who doesn’t love a good symmetrical photo? They’re satisfying to look at—like eating a donut that is perfectly glazed all around. Explore balanced arrangements to bring harmony to your composition.
In photography, breaking traditional rules can also lead to surprising results. That’s right; sometimes straying from symmetry can inject life into your photos! Embrace a little chaos every now and then; after all, isn’t life itself an organized mess?
Experimenting with Angles and Perspectives
If your visit to the local zoo has you feeling inspired, why not channel your inner giraffe? Exploring different angles and perspectives can redefine how you capture a moment. Instead of just shooting from eye level, get low to the ground for a striking upshot on your subject—maybe even get creative and shoot from above like a bird pondering life’s biggest questions.
Shooting from unexpected angles can give your photos a level of dynamism that’s often missing when sticking to the same old boring perspective. Play around with horizontal, vertical, and diagonal shots. Think of this as your opportunity to showcase your inner Picasso and express your artistic side—with just a hint of that playful smartphone spirit!
Also, don’t forget to move in closer; sometimes, the beauty is in the details. Whether it’s textures on your favorite cheese board or the sparkle in your dog’s eyes, capturing the intimate essence of your subject can create some incredibly touching memories.
In summary, mastering the art of lighting and composition can elevate your smartphone photography from average to Instagram gold! Keep experimenting, embrace your inner artist, and remember to have fun. A little practice can go a long way, and soon, you’ll find yourself crafting photographs that will leave everyone enviously scrolling through your feed!
If you want to get started with your photography journey, check out this camera.

Editing and Sharing Your Photos
Now that you’ve captured some breathtaking shots with your smartphone, it’s time to turn those not-so-perfect pictures into masterpieces that will leave your friends and family in awe! Editing and sharing are just as crucial as the taking part of photography, especially in the age of social media where your next masterpiece might become the next viral sensation (or at least earn you a few more likes!).
Recommended Photo Editing Apps for Beginners
First up, let’s talk apps! There’s an ocean of photo editing apps out there, but you don’t need a degree in art to make your photos pop! Here are some hot picks that won’t require advanced degrees or a lengthy user manual:
- Snapseed: This app is like the Swiss Army Knife of photo editing. Download it, and you’ll find all the tools you need to enhance your photos, from basic adjustments to advanced features like selective editing. Plus, it’s user-friendly—meaning you won’t accidentally turn your photo into an abstract painting while trying to remove a blemish.
- Lightroom Mobile: If you want the power of a professional editing tool right in your pocket, Lightroom is your go-to. With its high-quality presets and adjustment sliders, it can make your photos shine. Just remember not to overdo it, or your friends might wonder if your vacation was really in Fiji or just a digital fantasy!
- VSCO: Known for its chic filters and simple interface, VSCO is like the trendy boutique of photo editing. It’s perfect for creating that consistent, Instagram-ready aesthetic while allowing for some creative flair. Remember, though, a filter is not a magic wand—don’t use it as a substitute for good photography!
Basic Editing Techniques to Enhance Photos
Now that you’ve chosen the right app, let’s dive into the basic editing techniques that can take your photos from “meh” to “wow!” Here’s how to play the editing field:
- Brightness & Contrast: Sometimes all a picture needs is a little lift! Adjusting the brightness can lighten up a dark shadow, while tweaking the contrast can bring out the details. Just be careful not to make everything look like a washed-out ghost—unless that’s the look you’re going for!
- Saturation: Enhance colors to make them pop! Turning up the saturation can make your greens greener and your blues bluer. However, crank it up too high, and your photo may look like a toddler had fun with a box of crayons. A gentle touch is often best!
- Crop and Rotate: If your photo has unwelcome distractions, cropping can help eliminate them. Use the grid lines to follow the rule of thirds; it’s perfect for creating balanced compositions. Rotating can also fix those “oops, my photo is slightly tilted” moments. Straighten it up, and voilà—you’re the new Einstein of photography!
Best Practices for Sharing Photos on Social Media
The editing process is complete, and now it’s time for the grand finale: sharing your work with the world! Here are some best practices to make sure your photos get the love they deserve:
- Use Hashtags Wisely: Hashtags are like radar for your photos, helping the right audience find your work. Using popular hashtags can skyrocket your visibility, but avoid hashtag overload—you don’t want your post to look like a random word soup. A mix of broad and niche hashtags usually works wonders!
- Create Engaging Captions: A good caption can elevate your photo from just another pretty picture to a storytelling masterpiece. Be witty, be engaging, but most importantly, be yourself. After all, your followers are here for your unique perspective!
- Timing Is Everything: Think about when your audience is most active. Posting your best shots when your followers are scrolling through their feeds can increase engagement. Avoid posting at 3 AM unless your target audience includes night owls and insomniacs!
Editing and sharing your photos can elevate your smartphone photography game considerably. With these apps and techniques in your arsenal, you’re ready to manage your little corner of the internet! So, get out there, capture the world, and show it off like the budding photographer you are. But remember, the world doesn’t need to see your breakfast burrito unless you’ve captured it in a golden light that rivals the dawn. Happy snapping!
If you want to get started with your photography journey, check out this camera.
Now that you’re armed with a treasure trove of beginner photography tips for your smartphone, it’s time to go forth and capture the world around you—one filtered sunset at a time! Remember, understanding your smartphone camera features is like knowing your best friend’s quirks; it’ll help you take stunning photos and avoid those awkward moments when you accidentally switch to selfie mode in the middle of a family portrait.
Lighting and composition are your secret weapons. Embrace natural light like it’s that one friend who always shines at parties. From the magical golden hour to avoiding sunlight that resembles a thousand tiny hot pokers, every bit of light can transform your images. Think of composition as your trusty sidekick. Whether you’re framing your subject with a branch or leaning into the rule of thirds, a well-composed shot can make even your pet goldfish look twice as interesting.
And let’s not forget the art of editing and sharing. A little digital polish can turn an oops into a wow! Thanks to apps like Snapseed and Lightroom Mobile, you can adjust those pesky brightness levels and saturation settings without breaking a sweat. Plus, crafting the perfect caption is just as critical as capturing the moment. After all, everyone knows a photo isn’t complete without at least three emojis and a clever hashtag!
So there you have it: with these tips tucked under your belt (or in your pocket for easy access), you’re ready to embark on your smartphone photography journey. Whether you’re snapping pictures of your avocado toast or your best friend’s questionable new haircut, remember that practice makes perfect—and so does a good sense of humor!
If you want to get started with your photography journey, check out this camera.
RELATED POSTS
View all


