If the call of the wild and the beauty of nature have sparked your interest in photography, then you’re in the right place. Welcome to our Beginner’s Guide to Outdoor Photography, where we’ll embark on a journey to capture the world’s enchanting landscapes and vibrant wildlife through your lens. Outdoor photography offers a wealth of opportunities for scenic and stunning shots, allowing you to blend creativity with the natural environment. Whether you’re drawn by the golden hues of a sunrise, the mystique of misty woods, or the crisp detail of mountain ranges, the allure of outdoor photography is undeniably captivating.
To start strong, we’ll cover the essentials: understanding what makes outdoor photography special and the many benefits it offers. From there, we’ll delve into the crucial gear and equipment that every beginner should have, as well as tips on selecting the perfect camera and lenses to suit your outdoor photography needs.
But we won’t stop there. Mastering the basic techniques is key to elevating your skills. You’ll learn why lighting is the unsung hero of great photography, how to use natural and artificial light effectively, and discover composition tricks like the rule of thirds, leading lines, and framing to make your photos stand out. Understanding exposure settings such as aperture, shutter speed, and ISO will further enhance your ability to capture the perfect shot, regardless of the outdoor conditions.
We also have some practical advice up our sleeve: discovering the best times and locations to shoot, managing different weather conditions to your advantage, and using post-processing techniques to bring out the best in your outdoor snapshots. So pack your camera bag, lace up your hiking boots, and get ready to explore the breathtaking world of outdoor photography. Your adventure starts now!
Introduction to Outdoor Photography
Understanding Outdoor Photography: Overview and Benefits
Outdoor photography is a captivating art form that allows you to capture the beauty of the natural world through your camera lens. Whether you are capturing towering mountains, serene beaches, or bustling city parks, outdoor photography provides endless opportunities for creativity and expression. It encourages you to explore and appreciate the world around you, often leading to unexpected adventures and discoveries.
One of the major benefits of outdoor photography is the abundance of natural light, which can create dramatic and stunning effects that are difficult to replicate indoors. Additionally, shooting outdoors often involves varied and dynamic environments, which can help you develop a keen eye for composition and lighting. It’s also a fantastic way to stay active and engaged with the environment, making it a hobby that promotes physical and mental well-being.
Essential Gear and Equipment for Beginners
Starting your journey in outdoor photography doesn’t mean you need to break the bank on equipment. However, having some essential gear can significantly improve your experience and the quality of your shots.
Firstly, a reliable camera is a must. While DSLRs and mirrorless cameras offer superior quality and flexibility, even a good-quality smartphone can serve as a beginner’s tool. The key is to understand your equipment and get comfortable with its settings.
A sturdy tripod is another essential piece of gear, especially for landscape and long exposure shots. It helps in stabilizing your camera, ensuring sharp images even in low light conditions. Look for a lightweight, portable tripod that is easy to carry on your outdoor adventures.
Don’t forget about lens filters, which can dramatically enhance your outdoor photographs. ND (Neutral Density) filters are perfect for controlling exposure in bright conditions, while polarizing filters can reduce glare and enhance colors, especially in skies and water bodies.
Lastly, a camera bag is crucial for keeping your gear safe and organized. Choose a weather-resistant bag with plenty of compartments for your camera, lenses, filters, and other accessories. A comfortable, durable bag makes it easier to carry your equipment for long periods, allowing you to focus on capturing the perfect shot.
Choosing the Right Camera and Lenses for Outdoor Shots
When it comes to selecting the right camera for outdoor photography, you have several options depending on your budget and photography goals. DSLRs and mirrorless cameras are the most popular choices due to their versatility, high image quality, and ability to change lenses.
For those who are new to photography, entry-level DSLRs like the Canon EOS Rebel series or Nikon D3500 offer an excellent balance of performance and affordability. Mirrorless options such as the Sony Alpha series or Fujifilm’s X-T line are also worth considering for their compact size and advanced features.
Lens selection is equally important. A good starting point is a standard zoom lens, like an 18-55mm, which offers versatility for various types of shots. If you are into landscape photography, a wide-angle lens (10-24mm) can capture expansive vistas and provide a unique perspective. For wildlife or distant subjects, a telephoto lens (70-300mm) is essential for bringing the scene closer without disturbing the subject.
It’s also beneficial to invest in a prime lens, such as a 50mm f/1.8, which is known for its sharpness, low-light performance, and ability to produce beautiful, creamy bokeh effects. Prime lenses are typically lighter and more affordable than zoom lenses, making them a great addition to any beginner’s kit.
Remember, the best camera and lens combination ultimately depends on your personal preferences and the type of outdoor photography you wish to pursue. Familiarizing yourself with different setups and experimenting with various lenses will help you discover what works best for you, enhancing your outdoor photography journey.
Mastering Basic Outdoor Photography Techniques
Importance of Lighting: Natural Light vs. Artificial Light
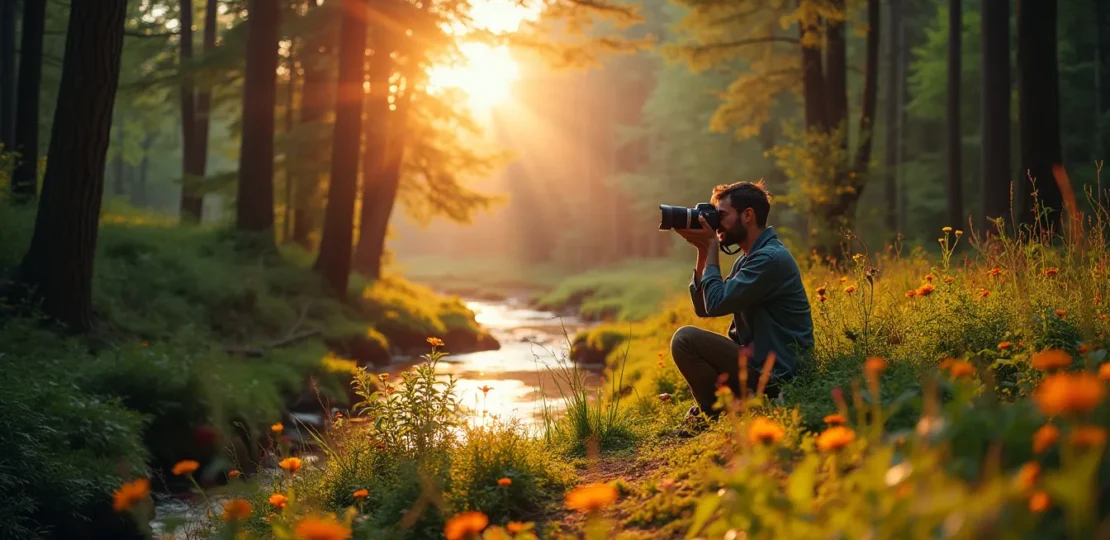
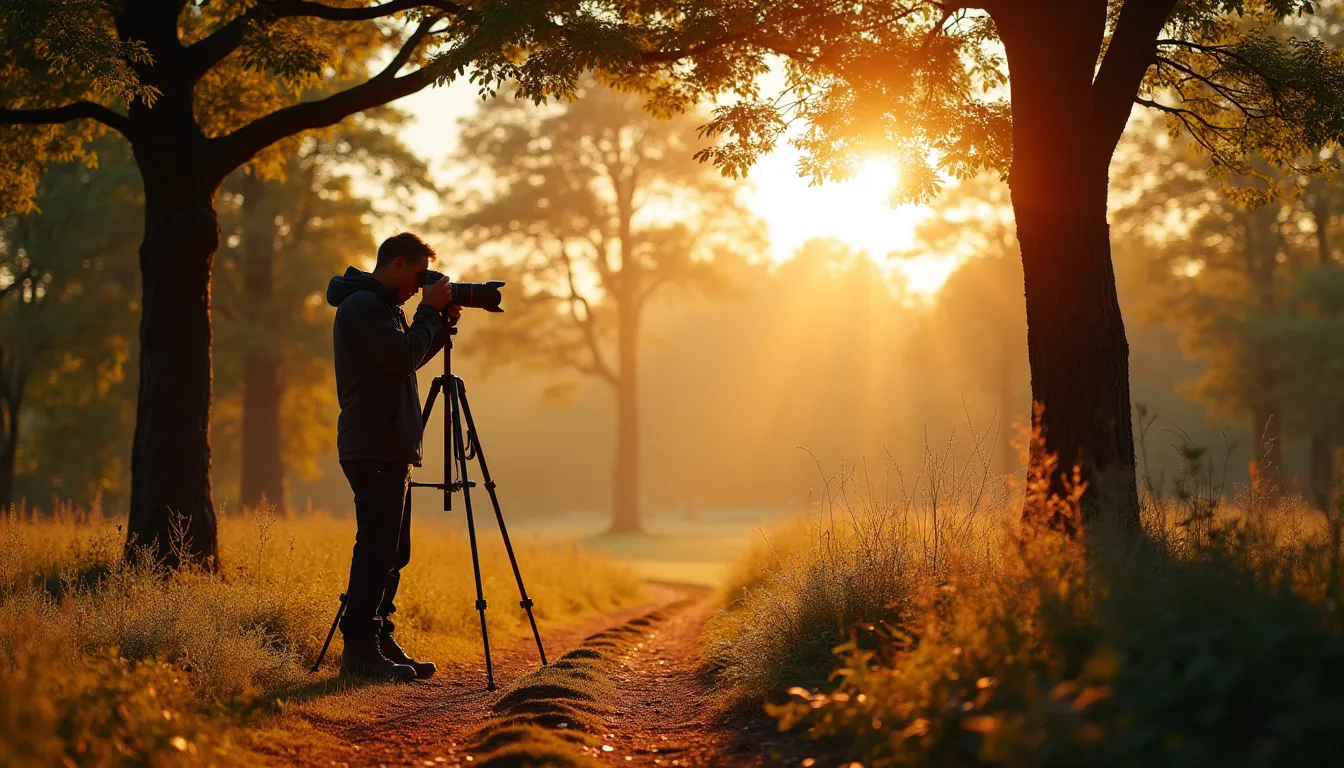
Lighting is the cornerstone of photography, and outdoor photography is no exception. The golden rule here? Embrace natural light whenever possible. Early mornings and late afternoons, often known as the Golden Hour, provide soft, warm hues that are incredibly flattering for photos. Midday sunlight, however, can be harsh, casting strong shadows. If you absolutely must shoot during this time, consider finding shade or using diffusers to soften the light.
Artificial lighting can be beneficial, but it often lacks the subtle nuances of natural light. If you choose to use artificial light, opt for tools like reflectors or fill-flashes, which help balance the exposure in shadowed areas without making the image look unnatural. But remember, the true magic of outdoor photography often thrives under the unpredictable, yet captivating, natural lighting conditions.
Composition Tips: Rule of Thirds, Leading Lines, and Framing
Composition can turn a good photo into a great one. The Rule of Thirds is a fundamental technique to master. Imagine your frame divided into nine equal parts by two horizontal and two vertical lines. Place your subject along these lines or at their intersections to create a balanced and engaging photo.
Next up, leading lines. These are natural or man-made lines in your scene that guide viewers’ eyes toward your subject. Think roads, rivers, or fences. They help in drawing attention to the main focal point and add depth to your photograph.
Framing is all about using elements within your scene to create a frame around your subject. This could be anything from an archway, tree branches, or even people. Framing adds layers to your composition, making it more intriguing and visually appealing.
Exposure Settings: Aperture, Shutter Speed, and ISO for Outdoor Scenes
Getting the exposure right can be the difference between a stunning shot and an underwhelming one. Let’s break it down into three main settings: aperture, shutter speed, and ISO.
– **Aperture**: This controls the amount of light entering the camera. A wider aperture (smaller f-number, e.g., f/2.8) lets in more light and creates a shallow depth of field, perfect for isolating subjects. A narrower aperture (larger f-number, e.g., f/16) lets in less light but increases the depth of field, ideal for landscapes where you want everything in focus.
– **Shutter Speed**: This determines how long your camera’s sensor is exposed to light. A fast shutter speed (e.g., 1/1000 s) freezes motion, ideal for capturing moving subjects like wildlife or waves. A slower shutter speed (e.g., 1/30 s) can create beautiful motion blur, perfect for conveying movement in waterfalls or clouds.
– **ISO**: This setting adjusts your camera’s sensitivity to light. A lower ISO (e.g., 100) is best for bright conditions and minimizes noise, ensuring a crisp image. Higher ISO (e.g., 1600 or more) can be useful in low light but increases the risk of graininess.
Balancing these three settings—often referred to as the Exposure Triangle—can significantly enhance your outdoor photography, allowing you to capture the perfect shot, whether you’re shooting a moving subject or a still landscape.
Ultimately, mastering these basic outdoor photography techniques will lay a solid foundation as you delve deeper into the art form. Use natural light to your advantage, frame your shots with an eye for composition, and balance your exposure settings for the perfect capture. Happy shooting!
Practical Tips for Excelling in Outdoor Photography
Best Times and Locations for Outdoor Photography
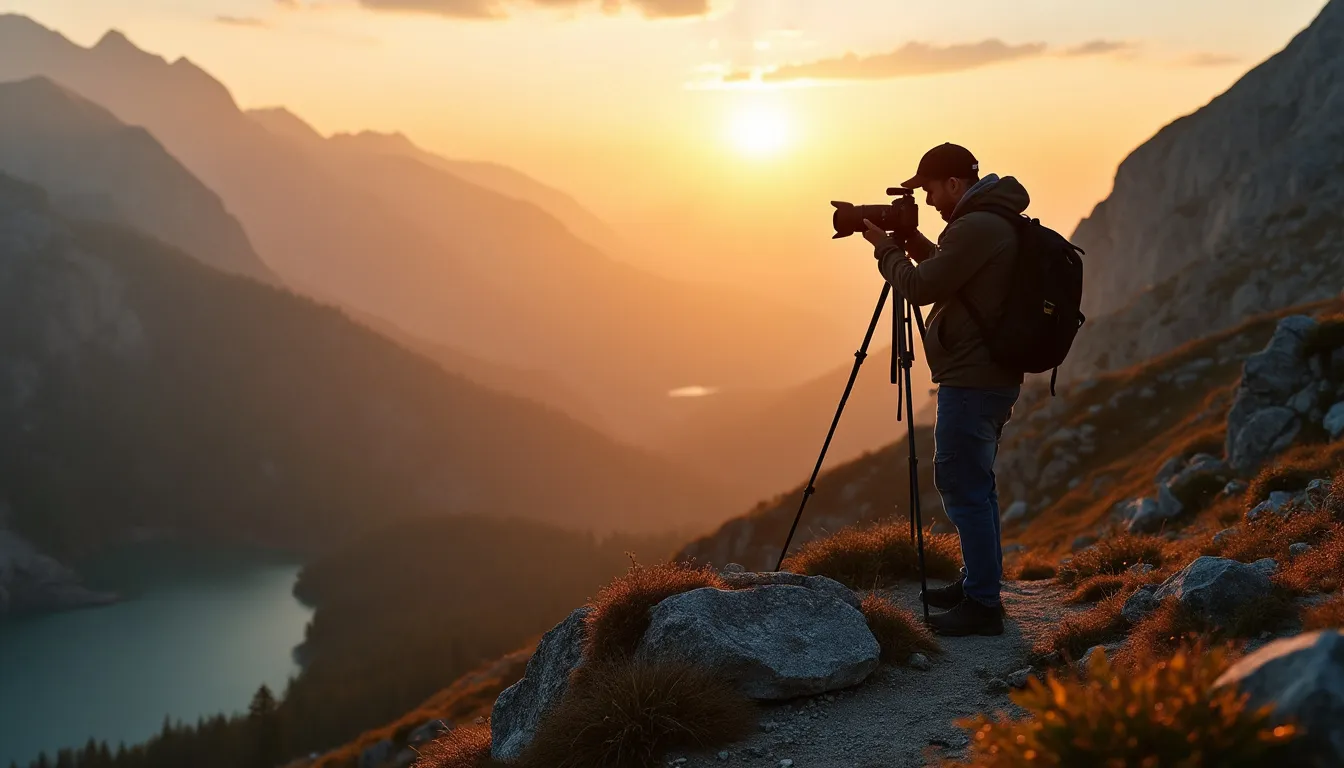
Timing can be everything in outdoor photography. The “golden hour”—the hour after sunrise and before sunset—provides soft, warm light that can transform an ordinary scene into an extraordinary image. During this time, the sun’s position creates long shadows and highlights textures, adding depth to your photographs. Another magical time for capturing stunning shots is the “blue hour,” which occurs just before sunrise and after sunset. The sky takes on a rich blue color, creating a serene atmosphere that’s perfect for landscape photography.
But let’s not stick to the “hours” rule too rigidly. Every time frame of the day offers its own unique qualities. Midday, despite the harsh light, can be perfect for capturing high-contrast subjects like mountains and urban settings. On overcast days, the diffused light creates soft shadows and evenly lit scenes, making it ideal for shooting portraits and macro objects.
When it comes to locations, national parks, gardens, beaches, and urban landmarks offer diverse backdrops that can elevate your photos from mundane to memorable. Always research your locations beforehand, considering factors like light conditions, accessibility, and safety. Don’t forget to explore beyond the well-trodden paths; often, the most picturesque settings are the least expected. And if you want something unique, try seasonal hot spots like a park teeming with autumn colors or a snowy forest in winter.
Handling Different Weather Conditions
One of the most exhilarating aspects of outdoor photography is working in various weather conditions. Each type of weather presents its own set of challenges and opportunities. Clear skies can offer bright, vivid landscapes, but cloudy weather shouldn’t be dismissed. Overcast skies provide a balanced light that’s perfect for capturing details and eliminating harsh shadows. Additionally, stormy weather can produce dramatic, moody images, adding an element of excitement to your portfolio.
Rain might initially seem like a deterrent, but raindrops, reflections, and mist can add unique elements to your photos. When shooting in wet conditions, a lens hood and weather-sealed gear can protect your equipment. If you don’t have weather-sealed gear, using a rain cover or even a plastic bag can work wonders.
Snow offers a completely different set of challenges. Reflections off the white surfaces can lead to overexposure. Make sure to compensate by adjusting your exposure settings, and consider using a polarizing filter to reduce glare. Cold weather can also affect your camera’s battery life, so keep spare batteries in a warm pocket.
If you find yourself in foggy or misty conditions, embrace the atmosphere they provide. These elements can add an air of mystery and depth to your images. Just be cautious with the moisture build-up, which can affect your camera. A lens cloth and a bit of patience can go a long way in these situations.
Enhancing Outdoor Photos with Post-Processing Techniques
Even the best outdoor photos can benefit from a bit of post-processing. While it’s critical to capture a great shot straight out of the camera, subtle enhancements can bring your images to life. Software like Adobe Lightroom or Photoshop offers comprehensive tools to fine-tune your photographs.
Start with basic adjustments: tweak brightness, contrast, and saturation to bring out the best in your image. Use the “tone curve” tool to enhance specific areas, bringing out more details in shadows and highlights. Adjust the white balance to ensure colors appear natural, especially if the lighting conditions were tricky.
Cropping is an underappreciated tool that can significantly impact the composition of your photograph. Use cropping not just to cut out distractions, but also to reframe your image, emphasizing its most compelling elements. Utilizing the “rule of thirds” grid during cropping can help ensure a balanced composition.
Don’t shy away from selective adjustments. Tools like the graduated filter or radial filter allow you to apply changes to specific portions of your image. This technique is particularly useful for enhancing the sky in a landscape shot or brightening a subject’s face in a portrait without affecting the entire photo.
Noise reduction and sharpening can also play crucial roles, especially if you’re working with high ISO settings or if your image details need a little boost. Be cautious, though—over-sharpening can introduce unwanted artifacts.
Finally, consider creative adjustments like adding a vignette to draw attention to the subject or converting your photo to black and white for a timeless look. Presets can offer inspiration, but always customize them to fit your specific image.
Post-processing is a delicate balance. The goal is to enhance, not to transform your photos into something unrecognizable. The best edits are those that go unnoticed, subtly guiding the viewer’s eye and enhancing what was already beautiful about the shot.
In summary, nailing outdoor photography involves more than just having a good camera. By shooting at optimal times, adapting to various weather conditions, and skillfully post-processing your images, you can elevate your outdoor shots to new heights. The great outdoors are waiting—grab your gear and start capturing the beauty that lies beyond your doorstep.
As you set out on your journey into the vibrant world of outdoor photography, remember that every shutter click is an opportunity to capture the essence of nature’s wonder. We’ve traversed the basics, from grasping the core principles of outdoor photography and selecting the essential gear, to mastering crucial techniques such as lighting, composition, and exposure settings. These foundational tips are your stepping stones to creating compelling images that tell captivating stories.
Bear in mind that timing and location are your best allies. The magic hour, with its golden hues, and hidden gems of natural landscapes, can transform ordinary shots into extraordinary visuals. Moreover, embracing the unpredictable nature of weather can add unique dimensions to your photos, making each capture distinct and memorable.
Don’t be afraid to extend your creativity into the digital realm. Post-processing is not just a final touch but an integral part of the photographic process, allowing you to refine and elevate your outdoor shots to new artistic heights.
Outdoor photography is both an art and a science, requiring patience, curiosity, and a willingness to experiment. As you practice and hone your skills, your perspective will evolve, and so will your ability to see and immortalize the world’s beauty through your lens. So, grab your camera, step outside, and let the adventure begin. The world is waiting to be seen through your unique lens – happy shooting!
RELATED POSTS
View all

