Are you tired of your photos turning out grainy or blurry under dim lighting? Low-light photography can be a real puzzle, but once you get the hang of it, the results can be nothing short of magical. Whether you’re capturing the moody ambiance of twilight, the vibrant energy of a cityscape at night, or the ethereal glow of stars, mastering low-light photography allows you to explore a whole new dimension of visual storytelling. This article dives deep into the world of low-light photography, starting with a fundamental understanding of its unique challenges and perks.
We’ll break down the key concepts of aperture, ISO, and shutter speed, and introduce you to the vital role the histogram plays in achieving perfect exposure. Next, we’ll guide you through selecting the best gear, from cameras and lenses suited for low-light scenarios to tripods and remote shutter releases that stabilize your shots. And, of course, we’ll share practical tips and techniques such as leveraging natural and artificial light sources, experimenting with long exposure, and refining your images during post-processing to transform your moody, dusky snaps into stunning works of art.
Whether you’re a seasoned pro or an enthusiastic beginner, embracing these best practices will elevate your low-light photography game, allowing you to capture the world like never before.
1. Understanding Low-Light Photography
The Challenges and Benefits of Low-Light Photography
Low-light photography can feel like tiptoeing through a dark maze, but the payoff is worth it. Challenges include slower shutter speeds that can result in motion blur, higher ISO settings introducing unwanted noise, and the struggle to achieve proper focus. Yet, the benefits are equally compelling. Shooting in low light can create dramatic, atmospheric images rich with mood and emotion. The contrast between darkness and light can add depth, while reflections and shadows can introduce an unexpected element of composition and texture.
Key Concepts: Aperture, ISO, and Shutter Speed in Low-Light Conditions
Understanding the trinity of modern photography—aperture, ISO, and shutter speed—is crucial in low-light situations:
- Aperture: The aperture is the opening in your lens through which light enters. A wider aperture (indicated by a lower f-stop number like f/1.8) allows more light to hit the camera sensor, making it ideal for low-light settings. However, a wider aperture also means a shallower depth of field, so the area in focus will be narrower.
- ISO: ISO measures the sensitivity of your camera sensor to light. A higher ISO setting (like 3200 or 6400) can make your sensor more responsive in dark conditions, capturing brighter images. Conversely, higher ISO levels can introduce digital noise, so striking a balance is key.
- Shutter Speed: Shutter speed determines how long your camera’s sensor is exposed to light. A slower shutter speed (e.g., 1/10s) allows more light to reach the sensor but can introduce motion blur if the camera or subject moves. A faster shutter speed (e.g., 1/200s) can freeze motion but lets in less light, making it less ideal for low-light scenarios without adjustments to aperture and ISO.
The Role of the Histogram in Low-Light Photography
The histogram might look like a mountain range on a small screen, but it’s an essential tool for perfecting your low-light photography. The histogram is a graphical representation of the tonal distribution in your image, mapping out the shadows, midtones, and highlights. Learning to read this can make all the difference when working in challenging lighting conditions.
In low-light scenarios, your histogram will most likely tilt towards the left side, representing the darker regions. However, you don’t want it to be crammed entirely on the left, as this can indicate loss of detail in the shadows. By understanding your histogram, you can make more informed adjustments to exposure, ensuring that while your image is moodily dark, it isn’t devoid of necessary detail.
Deploying these strategies intelligently can spell the difference between a shot that’s murky and indistinct, and one that captivates, engaging the viewer’s imagination. Embrace the quirks and challenges of low-light photography to push your creative boundaries and capture mesmerizing images that tell a story all their own.
Essential Gear and Settings for Low-Light Photography
Recommended Cameras and Lenses for Low-Light Conditions
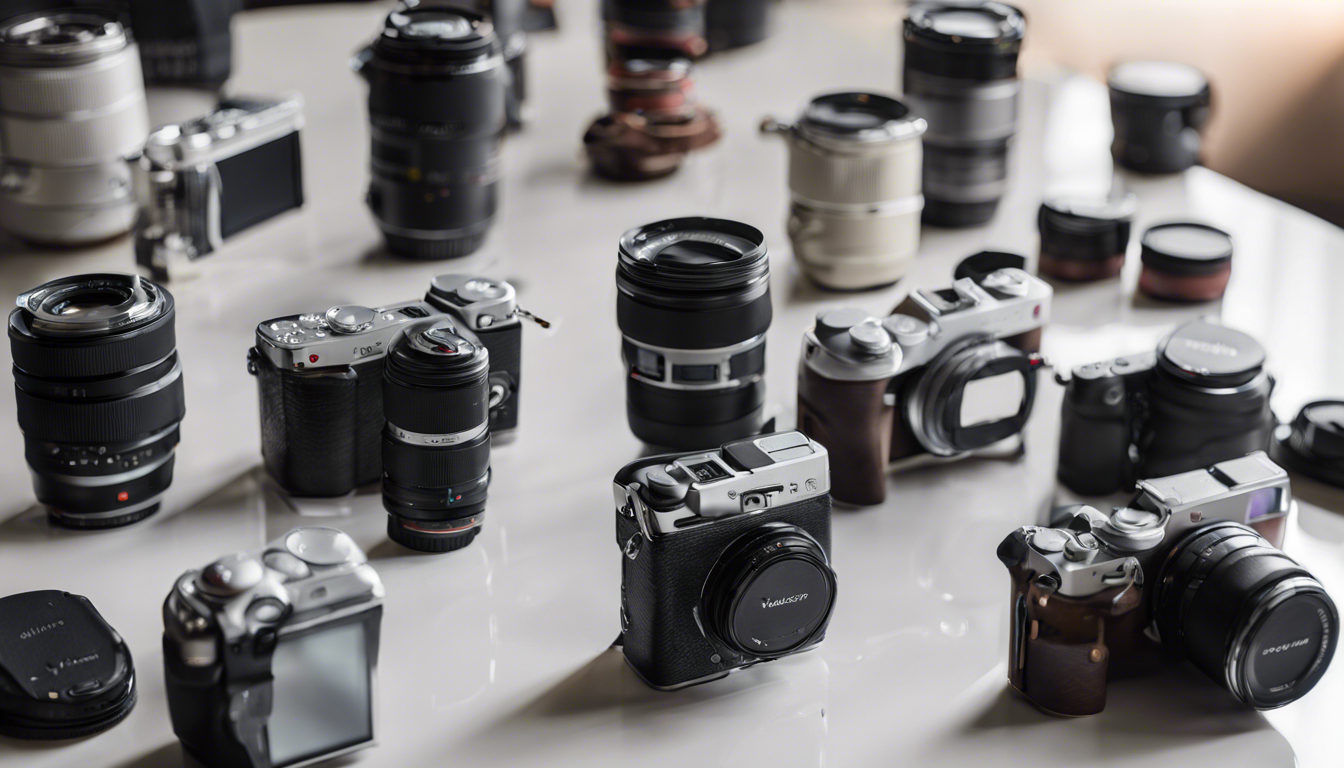
When it comes to low-light photography, your choice of camera and lenses can make a monumental difference. Not all cameras are created equal, and some are better suited for capturing high-quality images in dimly lit environments. Full-frame DSLR and mirrorless cameras generally perform better in low light due to their larger sensors, which allow for higher ISO settings and less noise.
Some stellar low-light cameras to consider include the Sony A7S III, renowned for its exceptional ISO performance, and the Canon EOS R5, which also excels in low-light situations. Pairing these cameras with fast lenses that offer wide apertures (like f/1.4 or f/2.8) can further enhance your capabilities. Lenses such as the Sigma 35mm f/1.4 Art or the Canon RF 50mm f/1.2L are excellent choices for capturing sharp and vibrant low-light photos.
Optimal Camera Settings: Adjusting ISO, Aperture, and Shutter Speed
Mastering your camera settings is crucial for achieving the best results in low-light conditions. The three key settings you need to focus on are ISO, aperture, and shutter speed.
- ISO: In low-light situations, it’s often necessary to increase your ISO to make the sensor more sensitive to light. Modern cameras offer high ISO settings without introducing too much noise, but it’s always a balancing act. An ISO setting in the range of 800-3200 is generally a good starting point, though some advanced cameras can go much higher without deteriorating image quality.
- Aperture: A wide aperture (low f-stop number) allows more light to hit the camera sensor, which is essential in low-light environments. For instance, setting your lens to f/1.8 or f/2.8 will let in more light, making your images brighter. However, keep in mind that a wider aperture results in a shallower depth of field, which can be artistically advantageous or disadvantageous depending on your subject.
- Shutter Speed: Slower shutter speeds allow more light to hit the sensor. However, this can also introduce motion blur if your camera isn’t stabilized. A good rule of thumb is to use a shutter speed of at least 1/60th of a second when shooting handheld, though a tripod will let you go much slower, even up to several seconds or minutes, which is especially useful for night photography.
The Importance of Tripods and Remote Shutter Releases in Low-Light Settings
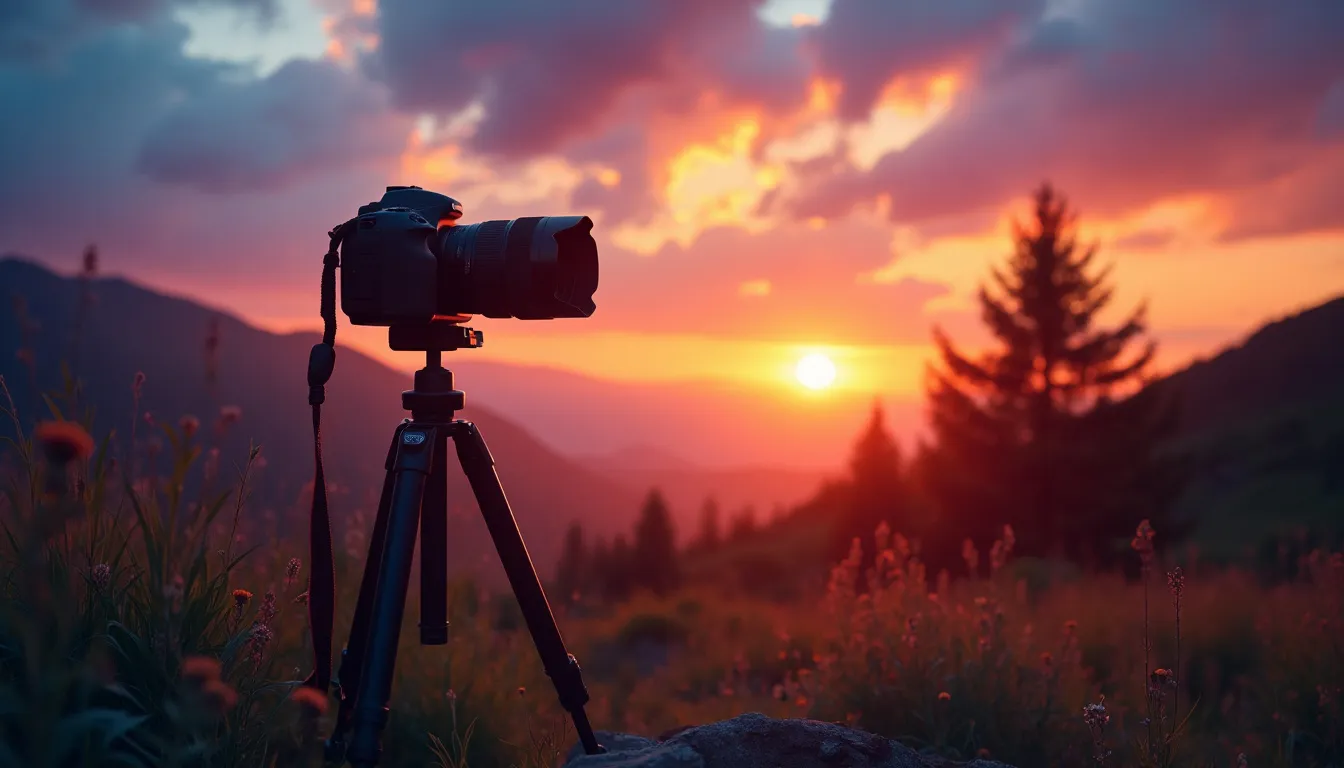
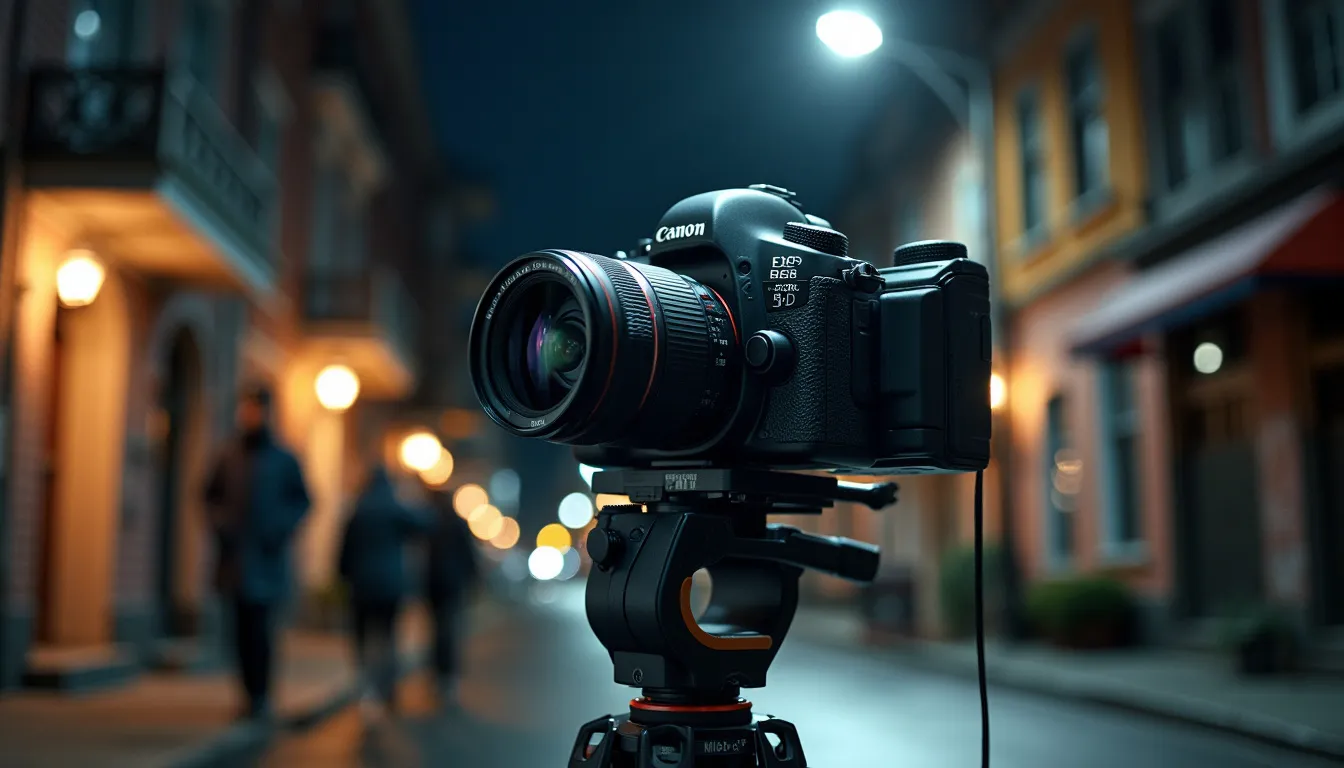
When you’re shooting in low-light conditions, stability becomes a critical factor. Adding a sturdy tripod to your photography arsenal is one of the best investments you can make. Tripods ensure that your camera remains stable during long exposures, reducing the risk of blurry images caused by shaky hands.
But let’s not stop there—consider adding a remote shutter release to your gear bag. This handy device allows you to trigger the shutter without physically touching the camera, further reducing the chance of introducing camera shake. Many modern cameras also offer remote shooting capabilities via smartphone apps, which can be a convenient alternative.
By combining the use of a tripod with a remote shutter release, you can confidently use slow shutter speeds to capture beautifully sharp and well-exposed images, even in the lowest light conditions. This is especially advantageous when photographing cityscapes at night or capturing stunning long-exposure shots of the stars.
In summary, equipping yourself with the right gear and optimizing your camera settings are fundamental steps in mastering low-light photography. Whether you’re using a premium camera with an impressive ISO range or pairing it with fast lenses, paying attention to these elements can greatly enhance your ability to take stunning photos in challenging lighting conditions. So go ahead, embrace the night, and let your creativity shine!
Techniques and Tips for Stunning Low-Light Photos
Low-light photography is an art that can transform ordinary scenes into extraordinary visual stories, but it comes with its own set of challenges. To help you navigate these waters, let’s delve into some tried-and-true techniques and tips that can elevate your low-light photography to a new level.
Using Natural and Artificial Light Sources Creatively
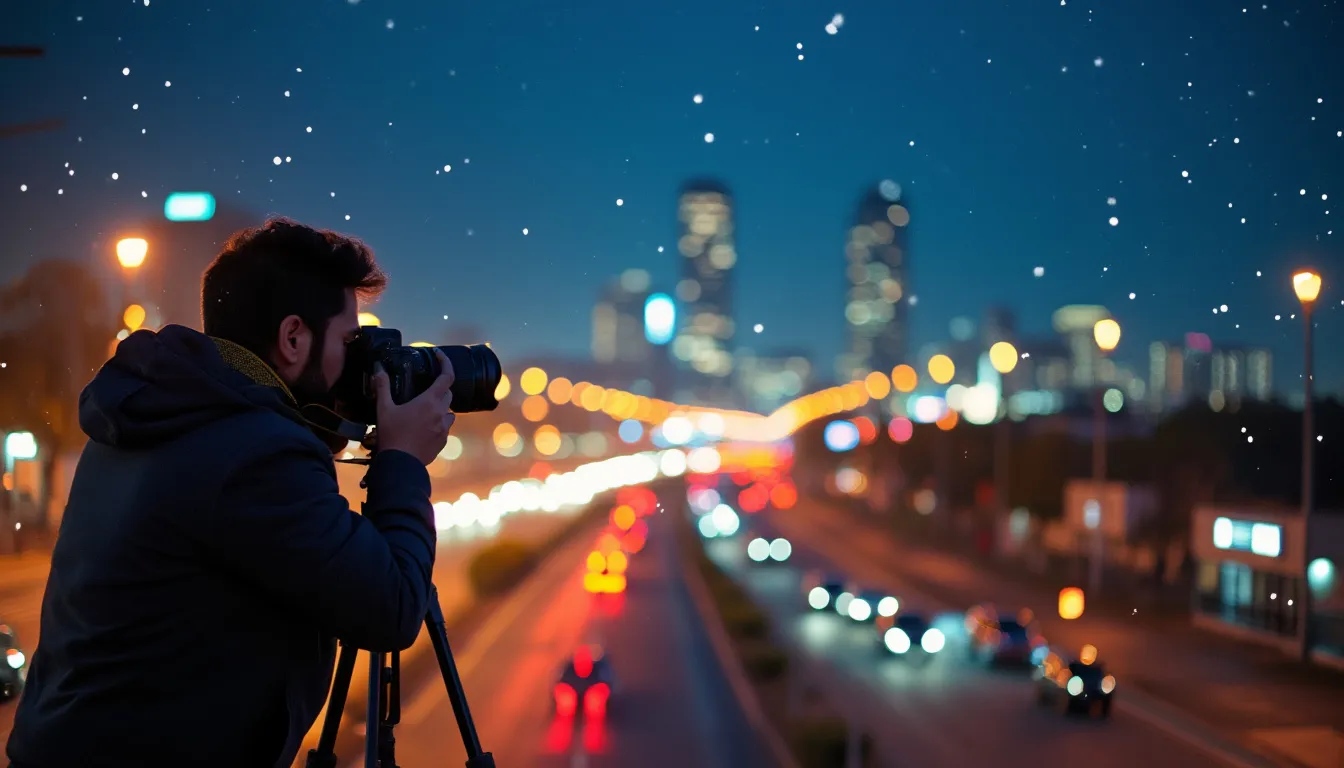
Mastering low-light photography often involves making the most of whatever light is available, whether natural or artificial. Natural light, like the soft glow from a sunrise or the haunting luminescence of the moon, can add a layer of magic to your photos. When harnessing natural light, position your subject to maximize the available light, whether it’s by catching the last rays of the setting sun or utilizing the gentle cast of street lamps.
On the flip side, artificial light sources such as street lights, neon signs, and even car headlights can create dramatic effects. Experimenting with these light sources can lead to creative compositions with shadows and contrasts. Use a handheld flashlight or a portable LED light to introduce artificial light subtly. These can serve not only as primary light sources but also as fillers to counterbalance harsh shadows.
Implementing Long Exposure Photography Strategies
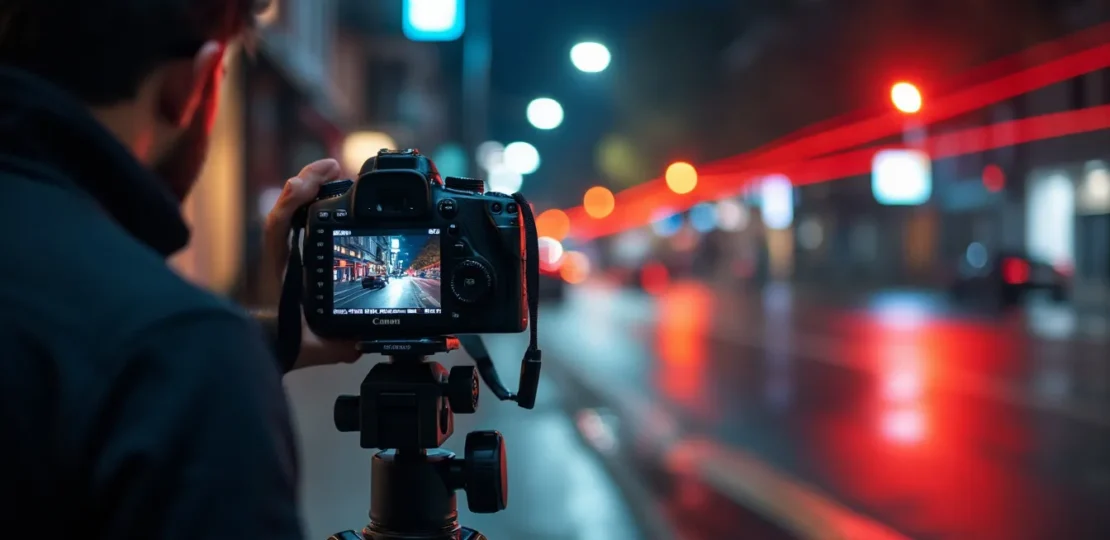
Long exposure photography allows you to capture stunning low-light images by keeping the camera’s shutter open for extended periods. This technique can beautifully blur motion, create silky smooth water effects, and make lights appear as captivating trails.
To get started, set your camera to manual mode and choose a longer shutter speed – typically from a few seconds to several minutes, depending on your desired outcome. A tripod is essential here to prevent camera shake during long exposures. You can also use a remote shutter release or timer function to avoid introducing any vibration when pressing the shutter button.
When shooting long exposures, remember to shoot in RAW format. This will give you more flexibility during post-processing, allowing you to tweak exposure and pull out details from shadows and highlights. Additionally, consider using a neutral density (ND) filter to reduce light entering the lens, which allows for even longer exposures in settings that aren’t pitch-black.
Post-Processing Tips to Enhance Low-Light Photos
The magic of low-light photography doesn’t end at the click of the shutter; post-processing is where you can truly make your images shine. Software such as Adobe Lightroom and Photoshop are essential tools in enhancing your low-light photographs.
Start by adjusting the exposure to balance the overall lighting of your image. Be cautious, as overexposing can introduce noise, especially in extremely dark settings. Utilize the shadow and highlight sliders to bring out details without compromising the image’s natural feel.
Noise reduction is another crucial step in post-processing low-light photos. While increasing ISO sensitivity in-camera helps in low light, it can introduce grain or noise into your images. Use the noise reduction tools in your editing software to smooth out the noise without sacrificing too much detail.
Lastly, enhance the colors and contrasts to give your photo a vivid look. Play with the white balance if the colors appear off due to artificial lighting, and consider splitting the toning process to add character and mood to your images. A touch of sharpening can also bring out finer details, giving your low-light pictures a crisp and pristine finish.
With these techniques and tips in your photography toolkit, you’re well on your way to capturing stunning low-light photos that stand out. Experiment, practice, and most importantly, enjoy the process of discovering what works best for your unique style and vision.
In conclusion, low-light photography is a challenging but immensely rewarding field that can add a new dimension to your photographic portfolio. By understanding the unique challenges and benefits associated with low-light conditions, photographers can better manipulate key concepts such as aperture, ISO, and shutter speed to their advantage. Mastering these key settings, along with a keen eye on the histogram, ensures that you capture the best possible image even when the lighting is far from ideal.
Investing in the right gear, such as cameras and lenses optimized for low-light performance, can make a significant difference. Camera settings need careful adjustment; balancing ISO to minimize noise, opening the aperture to let in more light, and adjusting shutter speed to avoid blur are all crucial steps. Utilizing additional tools like tripods and remote shutter releases can further stabilize your setup and open up opportunities for creative shots that would otherwise be impossible to achieve handheld.
Incorporating various techniques and tips can elevate your low-light photography game. Harnessing both natural and artificial light can add intriguing elements to your composition, while long exposure strategies can transform ordinary scenes into works of art. Furthermore, post-processing plays a pivotal role in refining your low-light shots, helping to mitigate issues like noise and enhancing details that might otherwise remain hidden.
In essence, low-light photography requires a blend of technical know-how, the right gear, and a dash of creativity. With practice and attention to detail, you can turn the dimmest scenes into striking images that captivate and impress. So, embrace the darkness, keep experimenting, and let your photos shine through the night.
RELATED POSTS
View all

