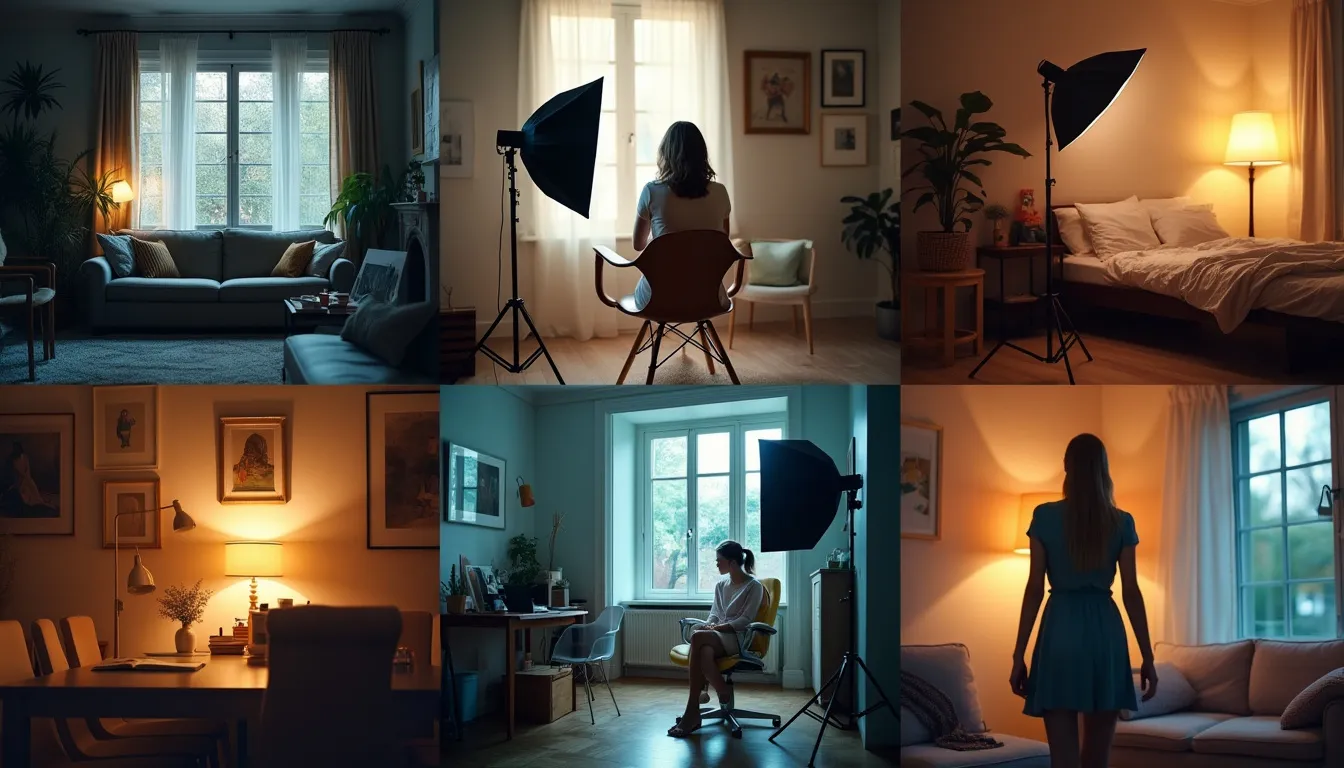
Are you an aspiring photographer dreaming of creating stunning images right from the comfort of your own home? Well, you’re in for a treat! Transforming your living space into a fully functional home studio doesn’t have to break the bank. With a sprinkle of creativity and a bit of resourcefulness, you can implement effective DIY photography hacks that will elevate your craft and produce breathtaking photos without the hefty price tag of professional equipment. In this article, we will delve into a treasure trove of budget-friendly solutions that will help you harness the power of natural light, create interesting backgrounds, and stabilize your camera using everyday household items. By the end of this journey, you’ll be equipped with practical knowledge and techniques that empower your inner artist, enabling you to capture the world around you with confidence and flair. So grab your camera, roll up your sleeves, and let’s unlock the potential of your home studio together!
Essential DIY Hacks for a Budget-Friendly Home Studio
Lighting Solutions
Utilizing Natural Light Effectively
One of the most powerful assets in a photographer’s toolkit is natural light. It’s free, abundant, and can create stunning effects if harnessed correctly. Start by identifying the best location in your home where natural light floods in. Large windows or sliding doors are ideal, especially during the golden hour—just after sunrise or before sunset—when the light is soft and warm.
To maximize this natural light, consider the time of day you plan to shoot. Avoid harsh midday sun, which can cast unflattering shadows. Instead, aim for mornings or late afternoons. If the light is too harsh, sheer curtains can diffuse the sunlight and create a softer atmosphere.
Another technique is to reflect the light back onto your subject. Use a white wall or a simple reflector, which can be made from a piece of cardboard covered in aluminum foil, to bounce light effectively. This can brighten up your subject without the need for additional light sources.
Creating DIY Softboxes with Household Materials
If you’re looking for a more controlled lighting setup, creating your own softbox is a fantastic DIY project. Softboxes diffuses intense light into a soft glow, reducing harsh shadows and providing even illumination.
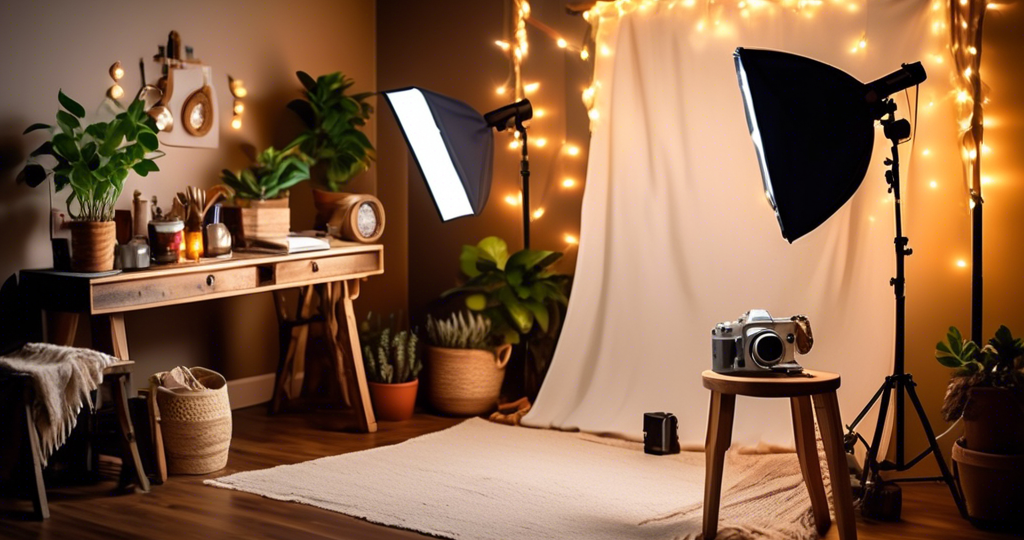
To make a simple softbox, you’ll need a cardboard box, some white fabric (like old bedsheets or curtains), and tape. Start by cutting one side of the box into a large window. Cover this opening with the white fabric; this will act as your diffusion panel. On the opposite side, you can place a lamp or light source, directing illumination through the fabric.
For a more advanced setup, you might consider cutting out more windows and placing LED lights inside to enhance the softbox effect. Experiment with the distance of the light source to achieve different results. Remember, the closer the light is to the subject, the softer it will appear.
Background and Props
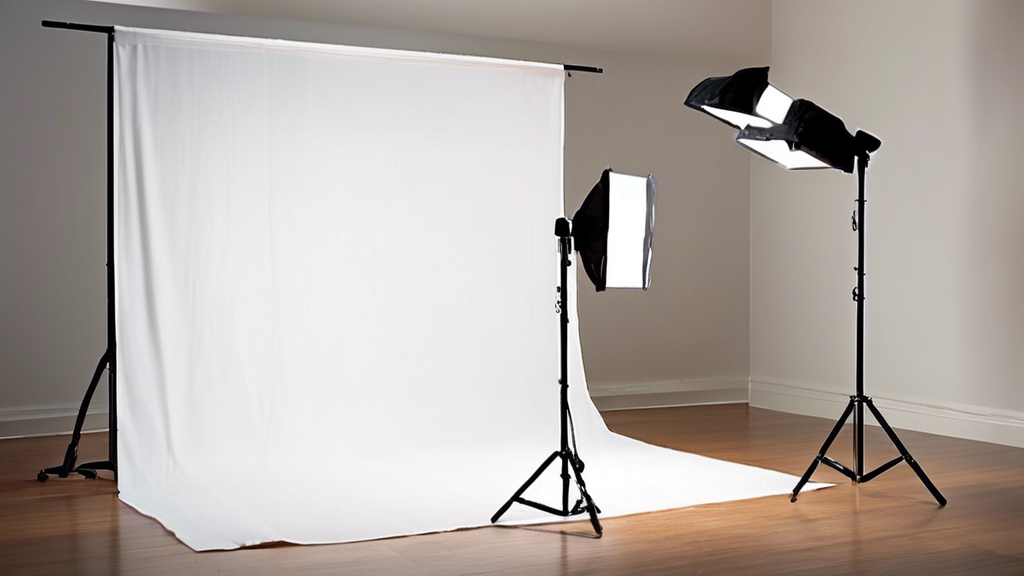
Crafting Simple Backdrops Using Fabric and Paper
The background of your photos can significantly impact the overall aesthetic. Creating a compelling backdrop doesn’t have to break the bank. You can easily craft backdrops using fabric or paper.
For fabric backdrops, visit your local fabric store to find deals on colorful or textured fabric remnants. You can hang them from a curtain rod or simply drape them across a wall. If you have a limited budget, consider using solid white, black, or gray fabric, which can be effective and versatile for various shoots.
Paper backdrops can also be effective, and they are particularly great for achieving a clean look. Consider purchasing large rolls of seamless paper, or even repurposing large sheets of wrapping paper or craft paper. Attach these to your wall or a backdrop stand, and voila! You have an instant backdrop that adds depth and professionalism to your shots.
Using Everyday Items as Props to Add Interest to Photos
Props can transform a simple photo into something engaging and dynamic. You don’t need to invest in high-end props; instead, look around your home for creative ideas. Everyday items can provide unique contexts to your photographic subjects.
Think about using items like books, fruits, or even household plants to enrich your composition. You can stack books, scatter flowers, or arrange fruits in interesting ways to add pops of color. Using these items adds personal character and tells a visual story.
You might also want to consider seasonal props. For example, during fall, pumpkins and colorful leaves can create a cozy, inviting atmosphere. In the winter, pinecones or fairy lights can bring warmth to your photo. This not only saves you money but also allows you to infuse your personality and creativity into your work.
Camera Stabilization Techniques
Building a DIY Tripod from Household Items
Stability is key when it comes to capturing sharp images, especially in low-light situations or when using slower shutter speeds. If a professional tripod is out of your budget, fear not! You can create a DIY version with everyday items.
One popular method is to use a sturdy book or a stack of books. Simply lay the book down on a flat surface and place your camera on top. Ensure it’s secure, and you’re good to go! You could also use a table or a ledge to set your camera at the desired height. If you’re outside, consider using a bag filled with sand or rice. Rest the camera on top, and it’ll hold steady.
Another technique is to use a string tripod. You’ll need a sturdy piece of string, a carabiner, and a small weight (like a water bottle). Tie one end of the string to the carabiner and the other end to your camera. Step on the weight to hold it down, pulling the string taut. This simple hack helps stabilize your camera by reducing shake, perfect for long-exposure photography.
Techniques for Stabilizing Your Camera Without a Professional Rig
If you don’t have a tripod or other stabilizers, several techniques can help you achieve shake-free shots. One method is to hold your camera using both hands firmly. Tuck your elbows into your body to create a stable base. The more support you can give to your arms and hands, the less likely you are to introduce shake.
Kneeling can also promote stability. Lower your body to the ground, spreading out your elbows for additional support. This position keeps your camera close to your center of gravity, minimizing the strain that leads to shake.
Lastly, when shooting with slower shutter speeds, remember to breathe! Take a deep breath before pressing the shutter button, and gently squeeze instead of jabbing down, as this can disturb your position and lead to blurry results.
By implementing these DIY hacks, you are setting the stage for stunning home studio photography. Each step you take enhances your skill and creativity, reinforcing the notion that you don’t need a fortune to create professional-quality work. Keep experimenting, stay curious, and enjoy the journey of capturing the world through your lens!
Essential DIY Hacks for a Budget-Friendly Home Studio
Lighting Solutions
When it comes to photography, lighting is everything. A professional-looking photo can often be attributed to the quality of light hitting your subject. Thankfully, you don’t have to spend a fortune on expensive lighting setups. Here are a couple of effective hacks to create an inviting atmosphere in your home studio.
Utilizing Natural Light Effectively
Natural light can be your best friend! Experiment with different times of the day to find that magical soft light, often present during golden hour (the hour after sunrise and before sunset). Make sure to position your subject near a window where the light is abundant. To control the intensity, consider using sheer curtains to diffuse the light; this will soften harsh sunlight, providing a more flattering effect on your subjects.
Remember also to watch where shadows fall. Try placing reflective surfaces (like white boards or even aluminum foil) on the opposite side of your subject to bounce light back towards them, filling in harsh shadows and enhancing the overall quality of your images.
Creating DIY Softboxes with Household Materials
If you’re looking to create your own light source, building a DIY softbox is a fantastic approach. Start with a cardboard box and cut a large window in one side. Line the inside of the box with reflective material, such as aluminum foil or white poster board, to help redirect the light inward. On the outside of the window, tape a piece of white fabric or a shower curtain; this will diffuse the light, giving you a soft, even illumination ideal for portraits or product photography.
Once set up, position a bright LED light or a regular lamp inside the box, making sure the bulb is not too close to the fabric to avoid any fire hazards. This setup will give you that professional softbox effect without breaking the bank.
Background and Props
While great lighting is vital for eye-catching photography, the right backgrounds and props can elevate your shots even further. Luckily, creating beautiful and interesting backgrounds is entirely feasible with a little creativity.
Crafting Simple Backdrops Using Fabric and Paper
One of the easiest ways to create a backdrop is by using large pieces of fabric. Thrift stores can be gold mines for affordable fabrics—look for solid colors, unique patterns, or textured materials that add dimension without overwhelming your subject. Seamlessly drape the fabric on a wall or even use tape to secure it when necessary.
If fabric isn’t readily available, consider large rolls of craft paper. You can create stunning backdrops in any color you desire. Simply tape the top of the roll to the wall and allow it to cascade down, creating a smooth surface. This works especially well for product photography and portraits. Plus, when you’re feeling creative, you can paint or draw on them, changing your backdrop with the seasons or themes of your shoots.
Using Everyday Items as Props to Add Interest to Photos
Don’t underestimate the power of props! Everyday items can significantly enhance the narrative of your photos. Think creatively about what you have around you—books, plants, art supplies, or even food items can work beautifully. Scour your home to find items that can introduce color, texture, or tell a story within your frame.
You can also incorporate items specific to your photography theme. For example, if you’re shooting lifestyle images, use something that represents your subject’s hobbies or interests: a beloved coffee mug, crafting materials, or workout gear. This instills personality into your photos, making them more engaging and relatable. Remember that sometimes less is more, so don’t overcrowd your frame, ensuring your subject remains the focal point of your composition.
Camera Stabilization Techniques
Shaky hands and unstable shots can ruin an otherwise perfect photo. To avoid these pitfalls, DIY stabilization methods can prove invaluable.
Building a DIY Tripod from Household Items
You can create your own tripod-like stabilization using items you likely already have at home. A stack of books can serve as a sturdy base: simply place them on a stable surface, ensuring they won’t slide off. You can adjust your camera’s height by moving the camera higher or lower on this stack. If you need more height, consider attaching a small tripod head or even a clamp to hold your camera snugly in place.
Another simple DIY option involves using a belt or a piece of string. Secure one end of the belt to a solid, stable point, like a table or chair, and run the other end through your camera’s tripod mount. Hold the belt taut to stabilize your camera—this can work wonders in preventing those unwanted shakes and deliver crisper, clearer images.
Techniques for Stabilizing Your Camera Without a Professional Rig
In addition to physical stabilization methods, there are simple techniques you can employ to keep your camera steady. For instance, the ‘tuck and brace’ method involves tucking your elbows into your body while holding your camera close, creating a natural tripod with your body. Another approach is to use a wall or table to brace yourself, allowing you to leverage a sturdy surface for support while capturing your shot.
Additionally, using slower shutter speeds can help counteract minor movements, but remember that this method works best with proper stabilization technique. Experiment with your camera settings—don’t be afraid to play around until you find the perfect balance of stabilization and exposure!
As you build out your home studio, these DIY hacks empower you to gradually enhance your photography skills. It’s not just about the gear; it’s about your creativity, resourcefulness, and willingness to learn. With each DIY project, you’re one step closer to capturing stunning images that reflect your unique vision. So, let’s get started and keep shooting! You’ve got this!
As we wrap up our exploration of DIY photography hacks for home studios, it’s essential to remember that great photography doesn’t always come from expensive equipment or professional setups. With a little creativity, resourcefulness, and a willingness to experiment, you can craft a home studio that brings your photographic visions to life—all while keeping your budget intact.
Embracing natural light is a game-changer, and many budding photographers don’t realize just how powerful this free resource can be. By identifying the best times and spots in your home to leverage sunlight, you can achieve stunning results without spending a dime. Additionally, creating your own softboxes from household materials is a fantastic way to diffuse light and minimize harsh shadows, making your subjects radiant and engaging.
The backgrounds and props you choose can elevate the storytelling aspect of your photos. With fabric, paper, or even simple paint, you can construct backdrop materials that complement your style and the themes you wish to express. Remember, everyday items can tell a story in your photography—there’s beauty in the mundane if you look for it.
Stable shots are crucial, so don’t overlook the importance of camera stabilization. A DIY tripod can be made from items as simple as books or PVC pipes, and with a few innovative techniques, you can steady your camera for those sharp, professional-looking images. It’s about thinking outside the box and using what you already have around you.
In conclusion, your photography journey starts at home and can flourish with ingenuity and passion. The hacks we discussed are just the tip of the iceberg. Keep experimenting, learning, and pushing boundaries. Remember, every great photographer started somewhere, and what matters most is your vision and willingness to create. So grab that camera and get started—your next masterpiece is just a click away! Let the world see your artistic voice through your lens!
RELATED POSTS
View all

