As the sun begins its descent, painting the sky in hues of orange, pink, and purple, many photographers grab their DSLRs and race to capture that perfect moment. Sunset photography not only evokes a sense of wonder but also offers a unique opportunity to harness nature’s magic in stunning imagery. Timing and location become your best friends as you scout for that idyllic spot where the sun meets the horizon. But fret not—while setting up your shots, it’s important to have the right DSLR equipment by your side to elevate your sunset captures from ordinary to extraordinary.
In this guide, we’ll delve into the nitty-gritty of capturing stunning sunset photos with your DSLR, starting from essential camera settings that will help you navigate the shifting light, to techniques for composing breathtaking images that truly reflect the beauty of the moment. Whether you’re a seasoned pro or just dipping your toes into the world of photography, we’ll uncover all the secrets you need to know for those show-stopping sunset shots. So, dust off your camera, charge that battery, and get ready to transform those fleeting sunset moments into lasting memories. If you want to get started with your photography journey, check out this camera.
Introduction to Sunset Photography
Importance of Timing and Location
When it comes to capturing breathtaking sunset photos, timing and location are the dynamic duo that makes every photographer’s heart sing. Think of it as the GPS for your artistic journey—without it, you might just end up in a field of cows instead of under the enchanting hues of a setting sun (trust me, the cows aren’t a great audience for your art).
The golden hour, that magical time right before sunset, serves up the best lighting conditions you could dream of: warm, inviting, and flattering. The sun dips low, casting a gentle glow that’ll make even the most mundane objects look spectacular. Aim to shoot during the last 30 minutes before sunset—this is when colors become more saturated, and shadows turn into the perfect canvas of contrast.
But timing alone isn’t sufficient! Choose a location that complements the scene—you wouldn’t want a dazzling sunset shimmering over a landfill now, would you? Ideal spots include beaches, hills, or wide-open fields that offer an unobstructed view of the horizon. Urban settings with interesting skylines can also add drama, just make sure you check the forecast so you don’t find yourself unexpectedly photobombed by a thunderstorm!
Gear Up: Essential DSLR Equipment for Sunset Photos
Let’s talk gear—because if the apocalypse ever happens, having the right camera might just make you the next Ansel Adams (or at least a mix between him and a modern-day influencer). For sunset photography, a DSLR camera is your best bet, but any camera that allows for manual settings will get the job done, too!
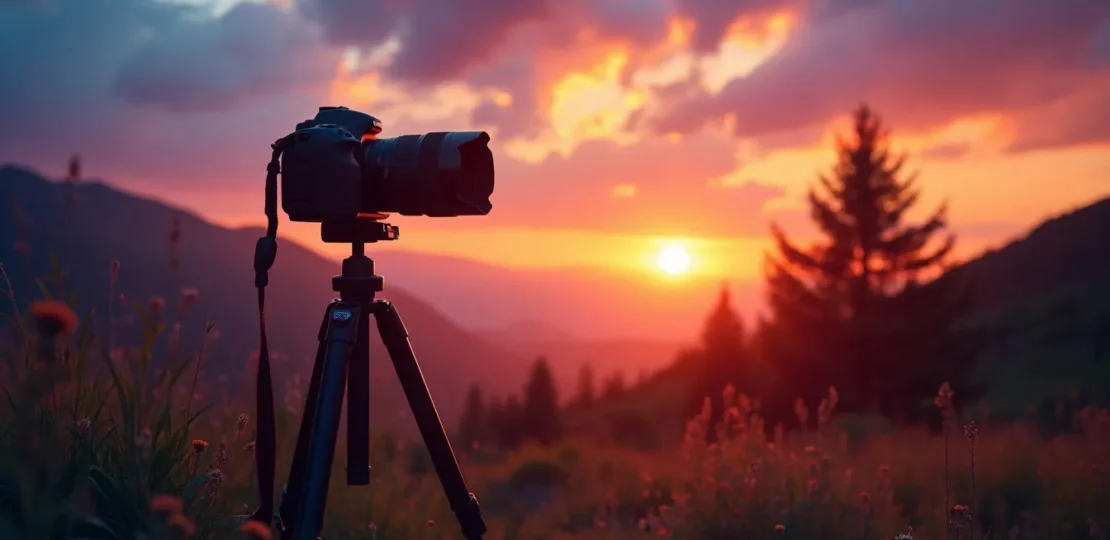
Start with a sturdy tripod—think of it as the bodyguard for your camera. Long exposure shots during sunsets can lead to unintentional blurriness caused by shaky hands, and we can’t have that! Plus, it gives you flexibility to compose shots without the fear of your camera falling face-first into the dirt.
Next, consider using a lens that has a wide aperture—as in, do I really need to buy another lens? wide. A lens that extends from around 18mm to 55mm is ideal for landscape shots, allowing you to capture not just the sun but also whatever fabulous foreground you decide to include (palm trees, that cute dog across the street, your best friend’s questionable fashion choices).
Lastly, don’t forget extra batteries and memory cards—because running out of power just as the sky turns into a vibrant canvas of oranges and blues would be the ultimate photography faux pas (and just plain tragic!).
Overview of Camera Settings for Optimal Results
So, you’ve got your perfect location and gear ready. Now, let’s dig into those camera settings that would make even the most tech-savvy nano-bots proud!
First, set your camera to Aperture Priority mode (A or Av on your dial). This setting allows you to control the aperture while the camera decides on the appropriate shutter speed. For those stunning sunset photos, an aperture of f/8 to f/11 usually works best, providing a deep depth of field that keeps everything in focus—a feat akin to successfully threading a needle for the non-sewing types out there.
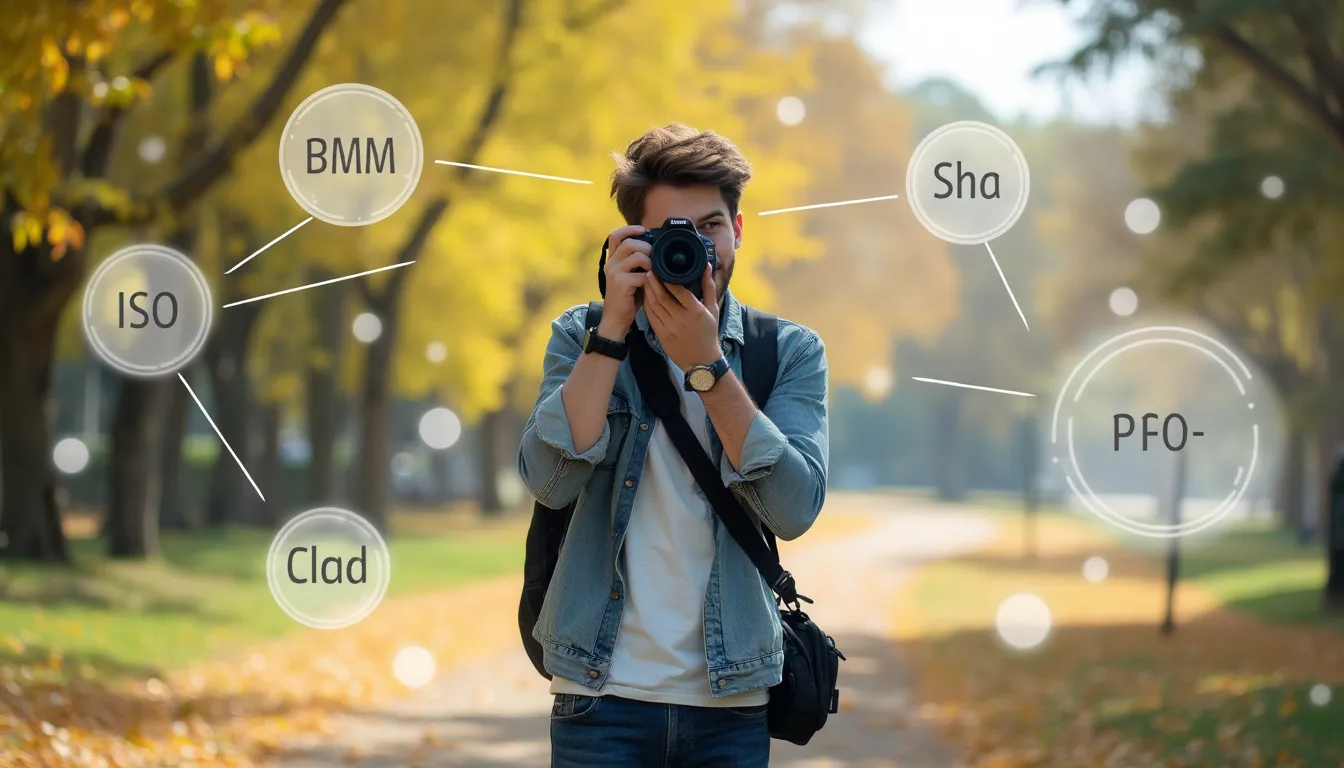
Next, ISO settings can make or break your shot. For sunset photography, keep your ISO low (around 100-400) to minimize noise and maintain image quality, unless you find yourself in an unexpectedly dark situation where higher ISO becomes necessary (because who doesn’t love a surprise twist, am I right?).
You should also pay attention to your shutter speed. As the sun sets, light decreases rapidly, so you may need to adjust your shutter speed to prevent underexposed images. If you notice the shutter speed dropping below 1/60 of a second, it’s time to either crank that ISO up a notch or use your trusty tripod to stabilize.
Finally, don’t forget to shoot in RAW format. This option captures all the magical details of the scene and gives you more leeway in post-processing. Just remember that RAW images take up more space than a newly released video game, so clear some memory storage before you dive in!
With the understanding of timing, location, gear, and essential camera settings, you’re already off to a fantastic start in your pursuit of stunning sunset photography!
And remember, if you want to get started with your photography journey, check out this camera.
Techniques for Capturing Stunning Sunset Photos
Composition Tips: Rule of Thirds and Foreground Elements
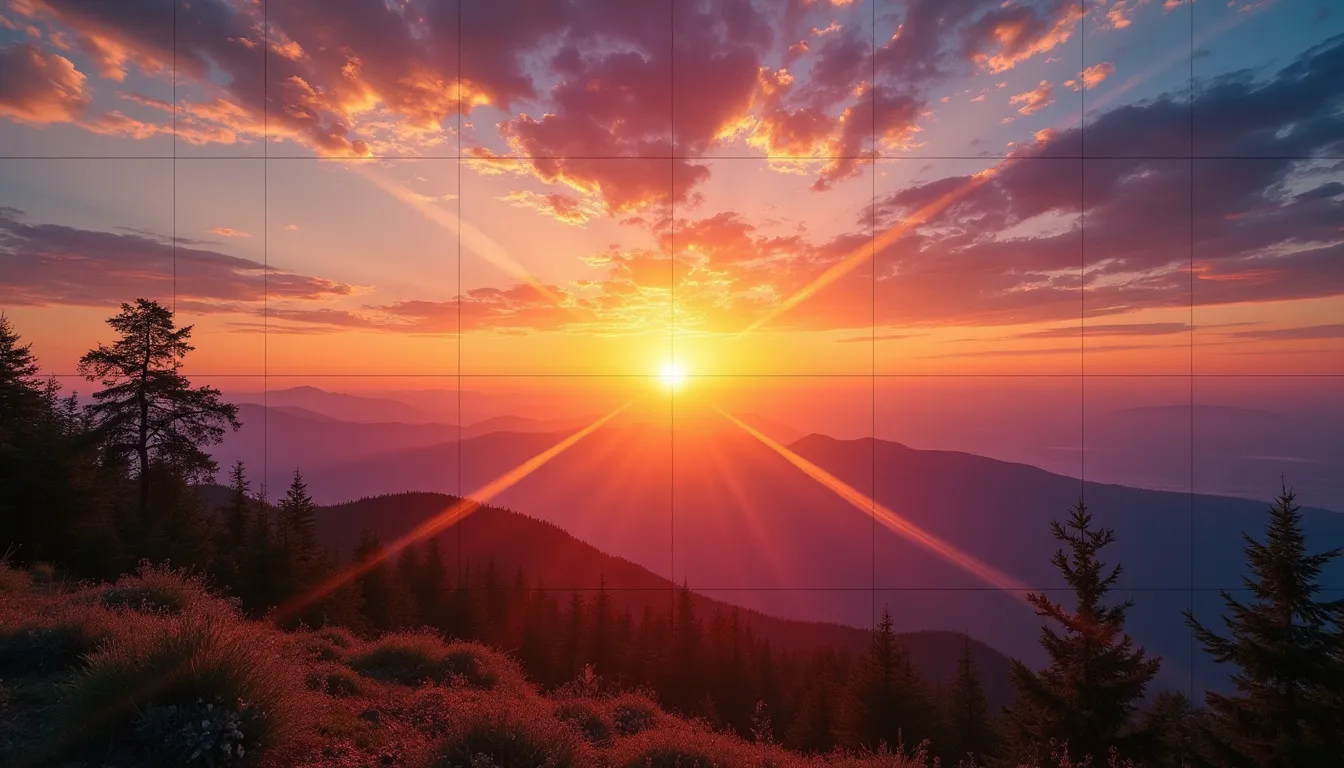
When it comes to composing your sunset photographs, the ancient art of composition holds the key to making your images pop like an exploded firecracker on the Fourth of July. One of the most celebrated techniques is the Rule of Thirds. Imagine your frame divided into a 3×3 grid, much like a tic-tac-toe board, but with fewer X’s and O’s and a lot more “wow.” Place the horizon along one of the horizontal lines instead of smack in the middle to create a more dynamic and interesting photo. You’ll find that this simple adjustment can add depth to your sunset scene, allowing those glorious reds and oranges to bask in the limelight.
But wait! Don’t forget to spice up your composition with foreground elements. These can be anything from a silhouette of a tree, a lone rock, or even the dramatic shadow of your very confused friend (who probably should’ve left the house ten minutes earlier). Incorporating foreground elements not only leads the viewer’s eye into the image but also creates a sense of depth and scale, which is pivotal in making them feel like they could almost reach out and touch that stunning sky.
Using Filters: Polarizing and ND Filters for Enhanced Colors
Next up on our mission to achieve photographic excellence is the magical world of filters. No, I’m not talking about the ones on social media that turn you into a rainbow unicorn, but the ones that can transform your sunset photography into breathtaking masterpieces. Polarizing filters are perfect for saturating those beautiful sunset colors, making the blues bluer and the reds redder, almost like a happy little accident—thank you, Bob Ross!
Don’t overlook Neutral Density (ND) filters, which might sound like something a scientist would use in a lab, but they’re a photographer’s best friend when it comes to balancing bright light during sunset. ND filters help reduce the amount of light entering your lens without messing with the colors, allowing for longer exposure times. This means you can create those fantastical, silky smooth waters or ethereal clouds that seem to dance across the sky as day melts into night. Just remember not to overdo it—unless you enjoy looking at a picture that appears to be a color explosion gone wrong!
Adjusting Exposure: Managing Brightness and Contrast
We all know that managing brightness is crucial when it comes to capturing stunning sunset photos, and when the sun dips below the horizon, you might feel like that kid at the beach with a water-logged sandcastle—lost and washed away in a sea of trial and error. But fear not! Getting the exposure just right is about meeting the sun halfway, much like a polite neighbor waving to you across the street.
Sunset lighting can be tricky, and auto modes on your camera often miss the mark when it comes to capturing those delicate transitions between vibrant hues and deep shadows. Instead, consider using manual exposure settings. Lower your ISO to reduce noise, adjust your aperture to let in just the right amount of light, and control your shutter speed. A significant part of this dance is recognizing when to underexpose slightly; this will keep your sky from looking like a glowing nuclear explosion while preserving the beautiful colors.
Don’t forget to check your histogram—it’s like a report card for your image exposure. Aim to keep the curve balanced, avoiding those spike disasters that can result in lost details in highlights or shadows.
Finally, as you tweak away with exposure settings, keep an eye out for contrast. Playing with contrast will make your sunsets even more vibrant; think of it like adding seasoning to your favorite dish. Too little and it’s bland, too much and it’s a flavor explosion that leaves you gasping for water. Find that sweet spot to enhance your image and bring out the full spectrum of sunset beauty!
By employing these techniques, your sunset photography will go from ‘meh’ to ‘WOW!’ faster than you can say “Golden Hour!” It’s all about mastering the art of composition, utilizing filters, and fine-tuning your exposure. So get out there, capture those breathtaking sunsets, and remember: practice makes perfect—in photography and in life!
If you want to get started with your photography journey, check out this camera.
Post-Processing for Stunning Sunset Images
Software Options for Editing Sunset Photos
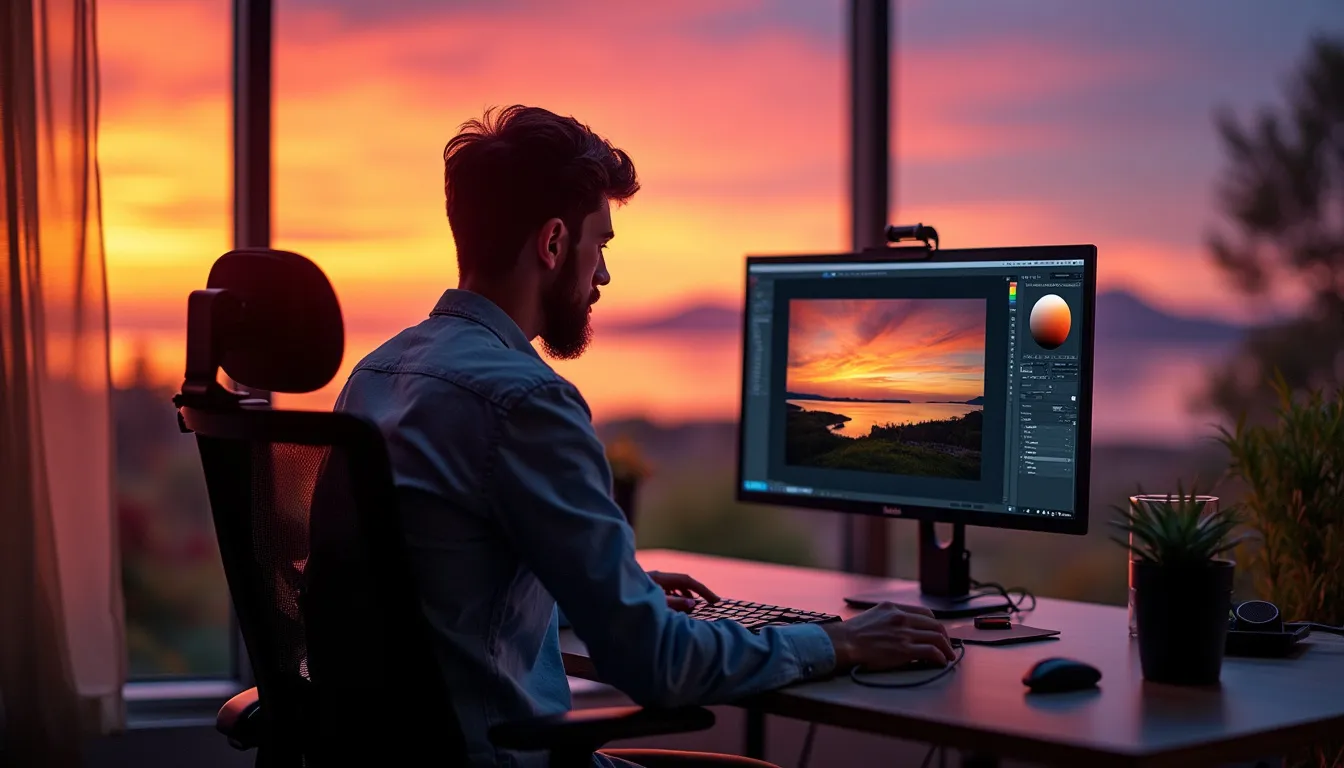
When it comes to post-processing your sunset photos, the right software can be the difference between an average image and a show-stopping masterpiece. Thankfully, you don’t need to be a tech wizard to navigate the digital realm of photo editing—unless that’s your jam, in which case, I salute you!
A popular option is Adobe Lightroom, a powerful yet user-friendly tool that’s widely beloved by photographers everywhere. It’s perfect for batch editing, making it easy to apply adjustments to multiple photos taken in the same lighting conditions. Plus, it allows you to organize your images like a pro—good luck storing those ‘cute cat’ pictures in the folder marked “Cats.”
For those who appreciate the finer things in life, Adobe Photoshop is your best friend. It offers in-depth editing capabilities to fine-tune every detail of your photos. Whether you want to adjust the brightness of the sun’s rays or remove an unsightly tree that ruined your perfect shot, Photoshop has got you covered.
GIMP is a great free alternative to Photoshop for the budget-conscious photographer. This open-source powerhouse will give you plenty of options, allowing your creativity to run wild without sending your wallet into a frenzy.
Finally, for mobile users, Snapseed and VSCO provide easy-to-use editing capabilities on-the-go. Say goodbye to dull, unedited shots, and hello to a vibrant world of mobile sunshine!
Key Adjustments: Color Correction and Exposure Balancing
Now that you’ve selected your editing software, it’s time to make your sunsets pop like they just took a triple shot of espresso! One essential step in post-processing is color correction. Often, the hues displayed on your camera can be a tad off—kind of like that one friend who insists they can perfectly nail an Irish jig after three pints of Guinness.
Start by adjusting the temperature and tint settings to dial in the warm golden tones typical of sunsets. You want those reds, oranges, and pinks to shine warmly as they fool potential viewers into thinking you were naturally blessed by the sun gods.
Next up is exposure balancing. It’s essential to make sure your sunset photos don’t end up looking like the lighting crew at a rock concert went on break right when you snapped the shot. Use sliders to adjust highlights and shadows according to your desired vibe. Don’t be afraid to bring out those hidden details; after all, a well-exposed sunset can reveal scenic layers and textures that look straight out of a fairy tale—minus the questionable singing animals.
Pro Tip: If you’re finding your image looks too flat, crank that contrast slider to get the juice pumping! Remember, although post-processing can transform your photos, subtlety is key. You want them to look enhanced, not like you dropped a tub of neon paint on the image!
Sharing Your Work: Best Platforms for Sunset Photography Showcasing
So you’ve perfected your sunset shots, and now it’s time to let the world bask in the radiance of your creativity. The right platform can amplify your stunning photos, increasing your chances of gathering admirers faster than a cat video goes viral.
Instagram is the obvious choice—an oasis of visual beauty where soulful sunsets trot alongside pictures of avocado toast. Utilize relevant hashtags like #SunsetPhotography and #NatureLovers to attract other sunset chasers into your digital fold. And while you’re at it, try to sprinkle in humor or poetry in your captions to lure in those extra likes—because who wouldn’t want to hear about your existential crisis while staring at a beautiful sunset?
Facebook Groups focused on photography are another fantastic avenue. Seek out communities that share your interests and values—the sunset lovers are hiding among us! Share your edited beauties, ask for constructive feedback, and revel in the camaraderie of fellow photographers who have also stayed up too late waiting for the perfect light.
Consider platforms like 500px or Flickr, which are tailormade for photographers looking to showcase their work in high resolution. Not only do these sites appeal to professional photographers, but they can also attract potential buyers who want to license your work. You could be swimming in a sea of dollar bills faster than you can say “the sun is setting!”
And don’t forget to create your own portfolio website. Yes, it takes some time, but having a curated space where you can showcase your work can lend you an air of seriousness, like a sun-kissed Picasso of evenings gone by. Remember to include a blog for the added bonus of storytelling—nothing drags an audience in more than tales of the adventures behind capturing that elusive sunset.
In conclusion, post-processing plays a vital role in transforming your images from “meh” to magnificent! With the right software options and key adjustments, you’ll elevate your sunset photography to stunning heights. So grab your camera and start snapping! If you want to get started with your photography journey, check out this camera.
In conclusion, capturing stunning sunset photos with your DSLR is an art that combines precise timing, the right gear, and a sprinkle of creativity. As we’ve explored, finding that perfect location before the sun begins its descent can make all the difference, not just in the picture you’re trying to snap but also in your experience. Remember, sunsets are nature’s short-lived masterpieces, painting the sky in a burst of colors that can leave anyone breathless.
Equipping yourself with the right tools, whether it’s a sturdy tripod to prevent those sneaky shaking hands or essential filters that turn a good photo into a great one, is key in making sure your captures live up to the natural spectacle unfolding before you. And don’t forget the magic of composition! A little rule of thirds and some foreground elements can elevate your photographs to a whole new level.
Moreover, mastering your camera settings and understanding exposure are vital skills—like cooking without burning the kitchen to a crisp. And once you’ve taken that spectacular shot, a bit of post-processing can turn your average sunset into a jaw-dropping visual experience that will have your friends questioning whether you’ve found a secret portal to the twilight zone.
Lastly, sharing your work on social platforms can not only showcase your talent but also connect you with a community that appreciates the beauty of sunsets as much as you do. So as you venture forth with your camera, keep practicing these techniques, and soon enough you’ll be wowing others with your expertly crafted sunset imagery that seems to drip with golden hour perfection.
And remember, if you want to get started with your photography journey, check out this camera!
RELATED POSTS
View all

