Mastering Camera Settings: A Guide for Photography Beginners
August 31, 2024 | by Fred teixx
Whether you’ve been snapping photos with your smartphone and catching the photography bug or just unwrapped your first DSLR, mastering camera settings is your passport to capturing stunning images. Sure, you can leave the heavy lifting to your camera’s automatic mode, but understanding and controlling your camera settings will open a world of creative possibilities that auto mode simply can’t match.
Think of your camera settings as the foundation of good photography. Key modes like auto, manual, aperture priority, and shutter priority are your tools. They might sound a bit technical at first, but once you get the hang of them, they’ll become second nature. Terms like ISO, aperture, and shutter speed may seem like jargon right now, but fear not! In this article, we’ll break them down into digestible bites, helping you understand how they influence your photos and when to tweak each setting to get that perfect shot.
Next, we’ll take you through a step-by-step guide to the key camera settings. We’ll demystify ISO, explaining how it impacts photo quality and when you should crank it up or keep it low. Dive deep into aperture settings to learn about f-numbers and how they shape your depth of field, giving you those dreamy, blurred backgrounds or sharp landscapes. And yes, we’ll tackle shutter speed—whether you’re freezing fast action or creating artistic motion blur, understanding this will change how you capture movement.
But wait, there’s more! Beyond the nitty-gritty of settings, we’ll share practical tips for choosing the best settings for different photography genres, from sunlit landscapes to moody portraits and challenging night shots. We’ve got you covered with common pitfalls to avoid and troubleshooting advice to keep your shoots frustration-free. Plus, we’ll throw in some recommended exercises to help you practice and master these essential settings.
So, whether you’re aiming to finesse your portraits or elevate your travel photos, this guide will be your trusted companion. Ready to up your photography game? Click here to check out the Sony A6400 camera—a powerful yet affordable choice that will help you make the most of your newfound skills. Happy shooting!
Understanding Basic Camera Settings: A Foundation for Beginners
Grasping the rudiments of camera settings is like acquiring a golden key to the kingdom of breathtaking photos. Sure, automatic modes on modern cameras do a pretty stellar job in many cases, but if you truly wish to capture the scene just as you visioned it, mastering camera settings is paramount. Essentially, unlocking the secrets to manual settings transforms your photography from good to “Wow, did you really take that?”
Importance of Mastering Camera Settings for Better Photography
Imagine a chef who can only use a microwave. That’s kind of what it’s like relying solely on auto mode. Sure, it cooks your food, but dare you dream of sautéing, flambéing, or simmering without hands-on mastery? The more control you have over your camera settings, the closer your photos will align with your creative vision. Knowing how to tweak ISO, aperture, and shutter speed are essential for tackling diverse situations, from catching a sports car in blistering action to highlighting the delicate petals of a blooming flower.
Overview of Essential Camera Modes
Automatic Mode
Auto mode is the slap-on cruise control of photography. Your trusty camera decides the best settings all by itself. Easy, peasy, but not always the best choice. You see, it tries to create an all-round best exposure, which sometimes means compromising on creative elements like background blur or subject motion.
Manual Mode (M)
Here’s where the magic happens. Manual mode throws open the gates to full creative freedom. You control the ISO, aperture, and shutter speed. It’s the ‘choose-your-own-adventure’ of camera settings. With practice, you can craft shots that are exactly as you envisioned them, whether that means crisp action shots or dreamy, out-of-focus backgrounds.
Aperture Priority Mode (A or Av)
Feeling artsy but still want a little automation? Enter Aperture Priority. You set the aperture, and your camera takes care of the shutter speed. This mode is perfect for controlling depth of field. Imagine a portrait where the background turns into a creamy blur, making your subject pop like a star on the red carpet.
Shutter Priority Mode (S or Tv)
Shutter Priority gives you control over the speed of the shutter. It’s like riding a bike with gears: you choose how fast the wheels turn, and the camera handles the rest. This is handy for either freezing action—like a leaping dancer— or creating a blur effect, such as the artistic streaks of car lights at night.
Explanation of Common Terms
ISO
ISO measures your camera sensor’s sensitivity to light. Think of it as your camera’s night-vision goggles. Lower ISO settings (e.g., 100) are perfect for bright scenarios, giving you crispy clean images. Higher ISO settings (say, 3200 or beyond), though, help in low light but can add graininess (noise) to your photos. Choose wisely depending on your light situation and acceptable noise levels.
Aperture
Aperture is the camera’s eye – literally, it’s the opening in your lens through which light travels to the camera sensor. Measured in f-numbers (f-stops), smaller f-numbers (like f/1.8) mean a wide aperture, letting in lots of light and creating a shallow depth of field. Larger f-numbers (e.g., f/16) mean a narrow aperture, resulting in more of the scene in focus. Playing with aperture can turn your background into an artistic blur or capture every detail in landscapes.
Shutter Speed
Shutter speed speaks to how long your camera’s shutter stays open, essentially how long it can absorb light. Fast shutter speeds (like 1/1000 of a second) freeze action perfectly—ideal for sports. Slower speeds (like 1/10 of a second) allow more light and can create motion blur. Balance is key here. Too slow without a tripod? You’ll end up with unintentional shakes, leading to ghostly images.
Understand these basic camera settings and you’ll move from passably good to impressively outstanding shots in no time. Your camera is more than a point-and-shoot device; it’s a toolbox to craft your vision. By gaining confidence with these modes and terms, the sky truly is the limit.
By now, you’re probably itching to put this newfound knowledge into practice. Looking for a powerful yet affordable camera to start your journey? Check out the Sony A6400 for an incredible experience. Go ahead, get snapping!
Step-by-Step Guide to Key Camera Settings
Detailed Explanation of ISO: How It Affects Photo Quality and When to Adjust It
ISO is like the wizard behind the curtain of your camera’s light sensitivity. A lower ISO number (e.g., 100 or 200) means your camera sensor is less sensitive to light, ideal for bright settings like sunny outdoor shoots. A higher ISO (e.g., 1600, 3200) cranks up the sensitivity, perfect for low-light situations, such as indoor or nighttime shots.
It’s tempting to dial up ISO when the lighting isn’t on your side, but beware: high ISO levels can introduce grain, also known as digital noise, which can muddy your masterpiece. Striking a balance is key—stick to the lowest ISO possible to maintain clarity and detail when lighting permits.
Aperture Settings: Understanding F-Numbers and Their Impact on Depth of Field
Aperture, measured in f-numbers, essentially controls the size of the opening in your lens through which light enters. Confusingly, a smaller f-number (like f/1.8) means a larger opening and vice versa. A wide aperture (small f-number) allows more light in, giving you a shallow depth of field—this results in those stunningly blurry backgrounds in portrait photography.
On the flip side, a narrow aperture (large f-number like f/16) creates a deep depth of field where much more of the scene is in focus. This is fantastic for capturing detailed landscapes where you want everything from the foreground to the horizon sharp. Remember, adjusting aperture also affects exposure, so tweak your settings thoughtfully to avoid over or underexposing your photos.
Shutter Speed: Techniques to Freeze Motion or Create Motion Blur
Shutter speed sounds just like it is—the speed at which your camera’s shutter opens and closes. Think of it as a time wizard controlling how long your camera’s sensor is exposed to light. A fast shutter speed (like 1/1000th of a second) is perfect for freezing a moment in time, such as a leaping dog or a speeding car.
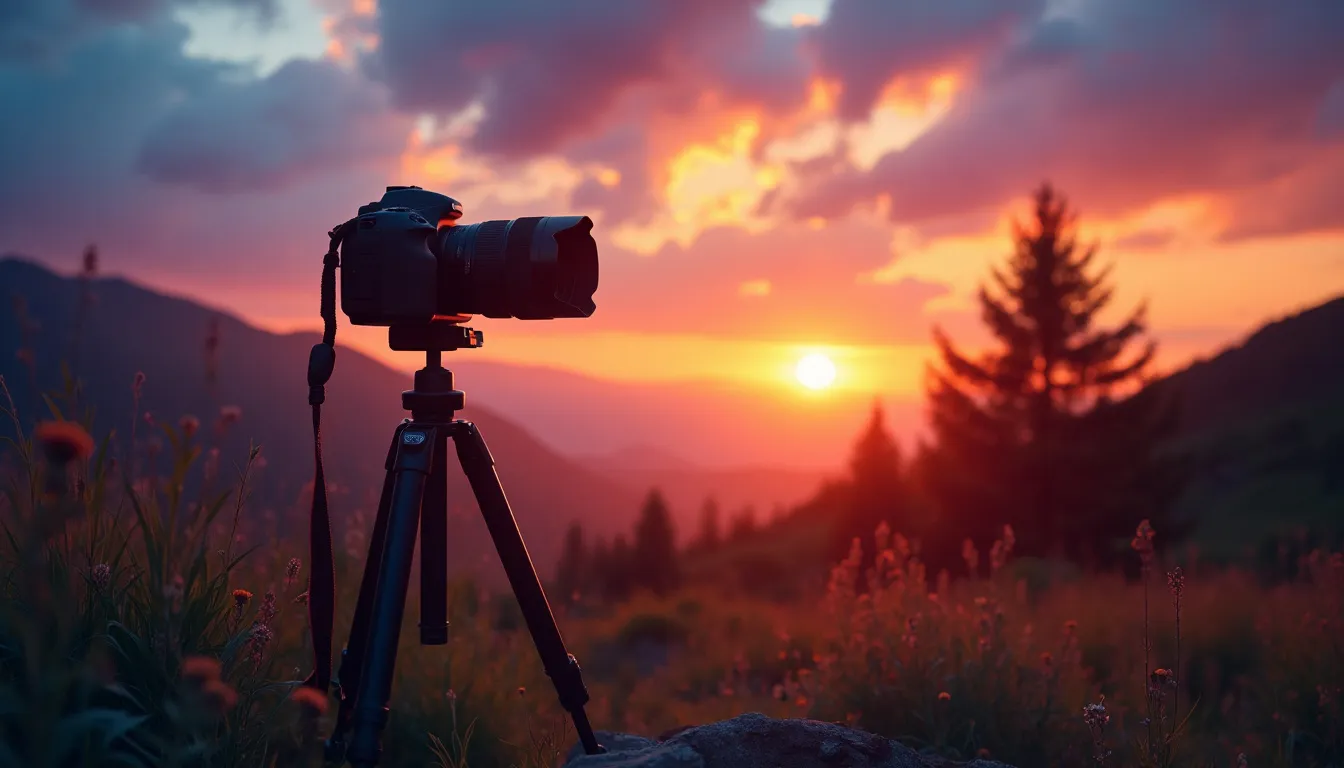
Conversely, a slow shutter speed (like 1/30th of a second or slower) allows more light and can create beautiful motion blur—ideal for capturing the dreamy trails of car lights at night or the graceful blur of a moving water cascade. Just remember, slow shutter speeds can cause unintentional blur from shaky hands, so a tripod becomes your best friend in such cases.
Embrace the trio of ISO, Aperture, and Shutter Speed—the exposure triangle. Like a symphony, each element plays a crucial role in balancing your photo’s light, depth, and motion. Once you start experimenting, you’ll find your rhythm.
Click here for a powerful camera at an affordable price: the Sony A6400!
Tips and Techniques for Practical Application
How to Choose the Right Camera Settings for Different Photography Genres
Choosing the right camera settings can feel like magic when it transforms a mundane scene into a captivating photograph. Different genres of photography require specific settings to bring out the best in your shots. Let’s dive into some of the most popular genres and their preferred settings.
Landscapes
For sweeping vistas and breathtaking landscapes, your goal is to capture as much detail as possible. Here’s how you can achieve that:
– **Aperture**: Use a small aperture (high f-number like f/8 to f/16) to get a deep depth of field, ensuring that both the foreground and background are sharp.
– **ISO**: Keep it low (ISO 100 or 200) to minimize noise and preserve the clarity of your shot.
– **Shutter Speed**: A slower shutter speed can be beneficial for capturing movement in clouds or water; consider using a tripod to avoid camera shake.
Portraits
When photographing people, you want the subject to stand out against a beautifully blurred background:
– **Aperture**: A wide aperture (low f-number like f/1.8 to f/2.8) will create a shallow depth of field, making your subject pop.
– **ISO**: Moderate ISO settings (ISO 100–400) are typically sufficient, but you may need to adjust based on the lighting conditions.
– **Shutter Speed**: Ensure a fast shutter speed (1/100 or faster) to avoid motion blur, especially if your subject is moving.
Night Shots
Capturing the allure of nighttime scenes can be challenging but rewarding. Here are a few tips:
– **Aperture**: A wide aperture (low f-number) can help gather more light, essential in low-light conditions.
– **ISO**: Higher ISO settings (ISO 800–3200) will let in more light, but be cautious of noise.
– **Shutter Speed**: Longer exposures (slow shutter speed) can be great for capturing lights and stars, but a tripod is a must to avoid blur.
Common Mistakes to Avoid and Troubleshooting Advice
Even seasoned photographers encounter hiccups now and then. Watch out for these common pitfalls:
Overexposure or Underexposure
Your camera’s exposure can make or break your photograph. Use exposure compensation to make fine adjustments if your image is consistently too bright or too dark. Learning to read histograms can also provide valuable feedback on exposure levels.
Motion Blur
If your photos are coming out blurry, it’s likely due to camera shake or subject movement. Ensure your shutter speed is fast enough to freeze motion. For low-light environments, consider using a higher ISO rather than a slow shutter speed, or employ a tripod and remote shutter release.
Incorrect White Balance
White balance affects the color temperature of your photos. If your shots look too blue or too orange, try using the preset white balance settings like ‘Daylight,’ ‘Cloudy,’ or ‘Tungsten,’ or manually adjust the Kelvin temperature to match your light source. Most cameras also offer auto white balance (AWB), which does a decent job in various lighting conditions.
Recommended Exercises for Practicing and Mastering Camera Settings
Okay, practice time! To fully grasp how your camera settings affect your photos, put theory into practice with these exercises:
Aperture Priority Exercise
Set your camera to Aperture Priority mode (A or Av) and photograph the same subject at various f-stops. Notice how the depth of field changes from shot to shot. Try this with both a landscape and a portrait to see the differing impacts.
Shutter Speed Experiment
Switch to Shutter Priority mode (S or Tv) and capture moving objects at different speeds. Start with fast shutter speeds to freeze motion (like sports or wildlife), then experiment with slow shutter speeds to create a sense of motion blur (like flowing water or nighttime traffic).
ISO Challenge
In a controlled lighting environment, take a series of photos while gradually increasing your ISO. Compare the images to see how higher ISO levels introduce noise but allow for proper exposure in low light. This will help you understand when to crank up the ISO and when to avoid it.
With practice, you’ll become adept at choosing the right settings to suit any photographic challenge. Remember, this is just the starting point. Each genre and lighting condition offers a unique canvas for your creativity. So grab your camera, head out, and start shooting your way to mastery.
Feeling ready to put these tips to the test? Click here to explore the Sony A6400, a powerful camera at an affordable price that’s perfect for beginners looking to elevate their photography game!
As we conclude our journey through the labyrinth of camera settings, it’s important to recognize that understanding and mastering these elements is more than just technical know-how—it’s key to unlocking your photographic potential. By now, you should have a solid grasp of essential modes such as auto, manual, aperture priority, and shutter priority, and be familiar with crucial terms like ISO, aperture, and shutter speed.
Remember, ISO is your tool for light sensitivity, allowing you to take clearer shots in various lighting conditions. Aperture controls your depth of field, crafting the beautiful bokeh of portraits or the sharp landscapes that stretch to infinity. Shutter speed, meanwhile, is your gateway to creative control, enabling you to freeze time or infuse your images with dynamic motion blur.
With the step-by-step guide, we’ve walked through how and when to adjust these settings to best fit the scene you’re capturing. Whether it’s the golden light of dawn or the mystical allure of a starry night, knowing which setting to tweak can dramatically transform your photographs from mundane to magical.
Our practical tips and techniques have shared insights on picking the right settings for different photography styles, recognizing common pitfalls, and provided exercises to hone your skills. The more you practice, the more intuitive these settings will become, turning you into a more confident and creative photographer.
Happy shooting!
RELATED POSTS
View all

