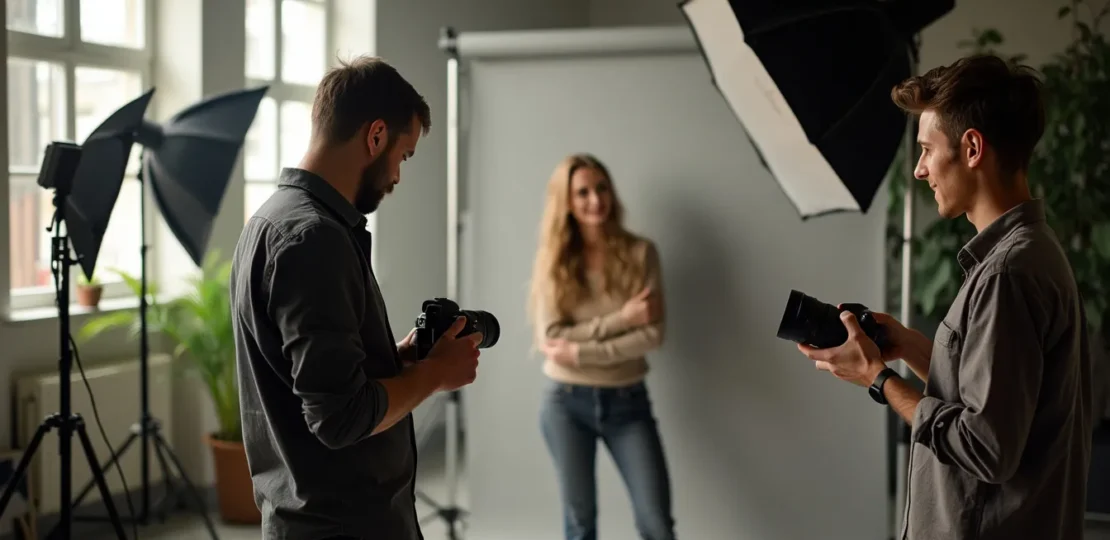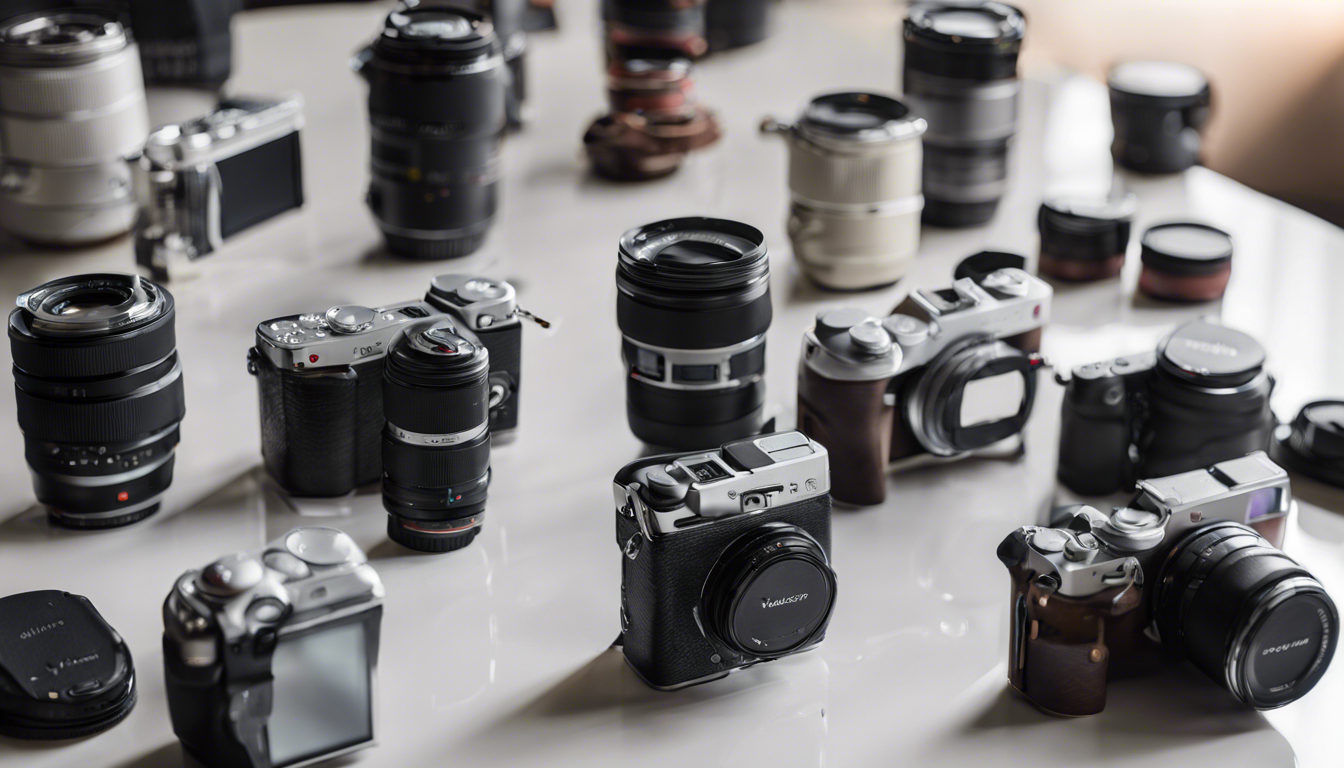
Portrait photography can often seem like a daunting art to master, but with some foundational knowledge and creative flair, beginners can capture stunning images that tell a story. In our comprehensive guide on portrait photography tips for beginners, we’ll provide you with a solid introduction to the fundamentals of capturing compelling portraits, ensuring you’re equipped with the essential camera settings and an understanding of how to utilize both natural and artificial light effectively.
Once you’ve grasped the basics, we’ll dive into composition techniques and creative strategies, exploring the rule of thirds, framing, and posing tips that help bring out the best in your subjects. You’ll also learn how to incorporate backgrounds and props to add depth and interest to your photos, making each shot uniquely yours.
Our journey doesn’t end with the click of the shutter. We’ll also guide you through the post-processing stage, offering recommendations on user-friendly editing software, and providing tips on adjusting exposure, contrast, and color balance to elevate your work. Plus, discover retouching techniques that can enhance and perfect your portraits, ensuring they stand out in any portfolio. Whether you’re shooting with a professional DSLR or your trusty smartphone, these tips and tricks will help you capture beautiful, expressive portraits with confidence. Let’s embark on this photographic adventure together!
1. **Understanding the Basics of Portrait Photography:**
Introduction to Portrait Photography
Starting your journey into the exciting world of portrait photography can be as thrilling as unwrapping a gift. Portrait photography, at its core, is about capturing the essence of a person – their emotions, character, and personality. But don’t be daunted by the big names and breathtaking galleries you might see online. With some fundamental knowledge, you can start creating stunning portraits that tell a story.
Portrait photography isn’t just about clicking a button. It’s about building a connection with your subject, understanding the nuances of their expressions, and, most importantly, telling their story through your lens. It’s an art form that requires patience, practice, and a keen eye for detail.
Essential Camera Settings for Beginners
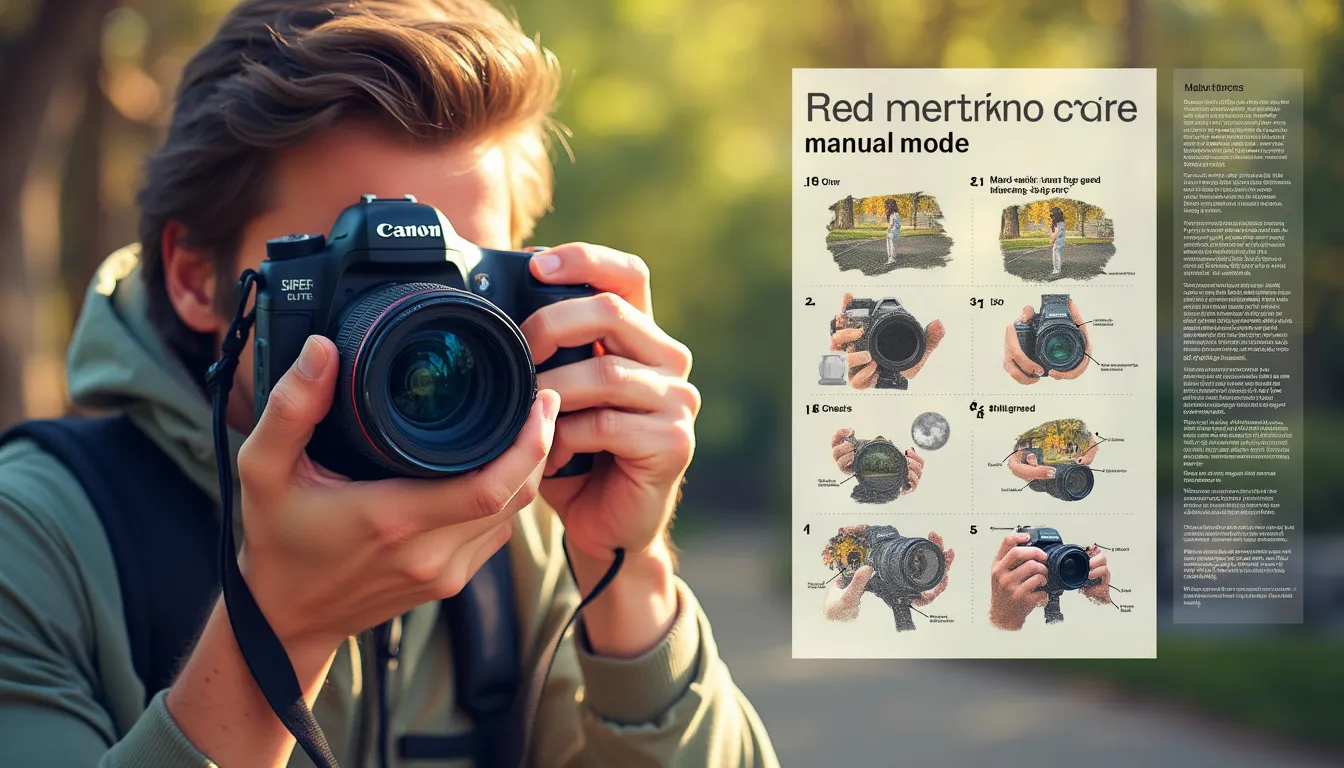
Now, let’s dive into the nuts and bolts of portrait photography – the camera settings. These settings transform a simple photo into a masterpiece.
- Aperture: One of the first things to understand is aperture. This is usually represented by an ‘f’ number. For portraits, using a wide aperture (like f/1.8 or f/2.8) creates a shallow depth of field. This means your subject stays sharp while the background blurs, making the person pop out. It’s a go-to setting to achieve that professional look.
- Shutter Speed: Shutter speed determines how long your camera’s sensor is exposed to light. When it comes to portraits, you want to avoid any blur. A good rule of thumb is to keep your shutter speed faster than your focal length. For instance, if you’re shooting at 50mm, keep your shutter speed above 1/50th of a second.
- ISO: This setting controls your camera’s sensitivity to light. While increasing the ISO can help in low-light conditions, it also introduces grain to your image. Typically, you want to keep the ISO as low as possible to ensure a clean, noise-free portrait. However, modern cameras handle high ISO very well, so don’t shy away from bumping it up if the situation demands.
- Focus Mode: Autofocus is your ally in portrait photography. Continuous autofocus (AF-C) is useful when your subject is moving. For stationary subjects, Single Autofocus (AF-S) works best. Also, consider using face detection and eye autofocus if your camera supports these features. They can make a significant difference in achieving sharp portraits.
Importance of Lighting and How to Use Natural Light
Lighting, my friend, is where the magic happens. It’s arguably the most crucial element in portrait photography. Good lighting can make an ordinary portrait extraordinary.
- Natural Light: Starting with natural light is an excellent way to understand how lighting affects your photos. The sun is a powerful, free light source. However, its intensity changes throughout the day. The best times for natural light portraits are during the golden hours – shortly after sunrise and just before sunset. During these times, the light is soft and warm, casting flattering shadows on your subject.
- Using Reflectors: Sometimes, natural light might need a little help. Reflectors are a simple yet effective tool to manipulate it. They bounce light back onto your subject, filling in shadows and creating a balanced exposure. They come in various colors – white for a soft light, silver for brightening, and gold for a warm tone.
- Window Light: When shooting indoors, window light becomes your best friend. Position your subject near the window and let the light fall on them at an angle for a dramatic effect. You can diffuse harsh sunlight with a sheer curtain, creating a soft, flattering light source.
- Backlighting: This technique involves placing your subject between you and the light source. It can create a beautiful halo effect around your subject’s hair and outline. While this can be tricky, it’s worth experimenting with as it can produce stunning, ethereal results.
Understanding and mastering these camera settings and lighting techniques is the foundation upon which great portrait photography is built. They allow you to be flexible and creative, adapting to different situations and subjects with ease.

Composition Techniques and Creative Ideas
Rule of Thirds and Framing Techniques
The rule of thirds is a fundamental principle in photography that can dramatically enhance your portrait compositions. Imagine your image is divided into nine equal parts by two equally spaced horizontal lines and two equally spaced vertical lines. Positioning your subject along these lines or at their intersections can create a well-balanced, engaging photograph. This simple shift can take your portraits from ordinary to extraordinary, giving them an inherent dynamic and interest.
Framing, on the other hand, is another effective compositional technique. Natural frames such as arches, doorways, or even tree branches can be used to draw focus to your subject, adding depth and context to your portraits. This technique also helps to eliminate distracting elements from the background, ensuring your subject is the focal point of your image.
Posing Tips for Natural and Candid Shots
One of the hardest parts of portrait photography for beginners is helping subjects pose naturally. People can often look stiff or uncomfortable in posed shots. To avoid this, keep the atmosphere relaxed and casual. Encourage your subjects to move around, talk, or even laugh. Candid moments often yield the most genuine, heartfelt portraits.
Another key tip is to pay attention to the hands. Awkward hand placement can ruin an otherwise perfect shot. Give your subjects something to do with their hands, like holding a prop or gently touching their face. This can make their pose look more natural. Additionally, vary the angles; instead of shooting straight-on, try different perspectives—shoot from above, below, or side angles to add variety and interest to your collection.
Using Backgrounds and Props Effectively
The background can make or break a portrait. A cluttered or distracting background can pull attention away from your subject. When choosing a background, go for simplicity. Open fields, plain walls, or softly blurred environments work well. If the background adds context and complements the story you’re trying to tell, it’s a win. Urban settings, nature, or even elements of the person’s home can add unique textures and depth without overwhelming the subject.
Props can also infuse creativity and a personal touch into your portraits. They should, however, serve a purpose. Whether it’s a musical instrument, a book, or a meaningful object, the prop should highlight an aspect of the subject’s personality or story. Be mindful of their placement and keep them relevant to avoid overshadowing the main focus of your portrait.
Integrating these composition techniques won’t just improve your portraits; they will allow you to communicate powerful stories and emotions through your photography. Happy shooting!

Post-Processing and Editing Tips
Basic Editing Software Recommendations
When it comes to post-processing, the right software can make a world of difference in your portrait photography. For beginners, some user-friendly and feature-rich programs include Adobe Lightroom, Adobe Photoshop, GIMP, and Capture One. Adobe Lightroom is particularly popular due to its intuitive interface and powerful tools that are specially tailored for photo editing. If you are looking for a free option, GIMP provides substantial editing capabilities and is open-source, making it an excellent choice for those who want to explore advanced features without spending a dime.
Adjusting Exposure, Contrast, and Color Balance
Once you’ve selected your editing software, the next step is understanding the key adjustments that will bring your portraits to life.
Exposure: This is one of the first things you should tweak. Proper exposure ensures that your subject is neither too dark nor too bright. Most editing software will have a histogram to help you manage exposure effectively. Aim for a balanced histogram where none of the details are lost in shadows or highlights.
Contrast: Adding contrast can make your portrait pop. By adjusting the contrast, you can emphasize the difference between light and dark areas, adding depth and dimension to your photo. However, be cautious not to overdo it, as too much contrast can lead to an unnatural look.
Color Balance: This adjustment helps to set the mood and tone of your portrait. You can use the white balance tool to correct any color casts that may have been introduced by different lighting conditions. For example, daylight can produce a cooler tone, while indoor lighting might cast a warm glow. A properly balanced color tone makes the skin look natural and the overall image more appealing.
Retouching Techniques to Enhance Portraits
Effective retouching can transform a good portrait into a stunning one. However, it’s essential to maintain the natural appearance of your subject. Here are some retouching techniques that can help enhance your portraits:
Skin Smoothing: Everyone wants that flawless look, but the key is subtlety. Tools like the “Healing Brush” or “Clone Stamp” in Photoshop can help smooth out blemishes and imperfections without completely erasing natural textures. Lightroom also offers a convenient “Adjustment Brush” for localized skin smoothing.
Eyes and Teeth Whitening: Brightening the eyes and teeth can make your subject look fresher and more vibrant. Use a soft brush to lightly whiten the whites of the eyes and the teeth, but be careful to avoid an unnaturally bright result.
Dodge and Burn: This technique involves lightening (dodging) and darkening (burning) specific areas of your portrait to create depth and direct focus. For example, you might use dodging on the highlights of the cheekbones or burning to enhance the shadows under the jawline, thereby adding dimensionality to the face.
Enhancing Detail: Sharpening can help to enhance the finer details of your portrait, like the texture of hair and eyelashes. Most editing software offers a sharpening tool, but use it sparingly, as over-sharpening can create undesirable artifacts and a gritty appearance.
Taking the time to master post-processing will significantly elevate your portrait photography. Remember, these adjustments should enhance, not overpower, the natural beauty of your subject. Happy editing!
And there you have it, future portrait maestros! Embarking on your journey into portrait photography doesn’t have to be daunting. By understanding the basics, such as essential camera settings and the magical power of natural light, you create a strong foundation. Embrace composition techniques like the rule of thirds and effective framing to unleash your creative potential. Don’t be afraid to experiment with poses, backgrounds, and props; they can transform a simple portrait into a captivating story.
Once you’ve captured that perfect shot, post-processing is the cherry on top. With the right editing software, you can hone your images by adjusting exposure, contrast, and color balance to bring your portraits to life. A little retouching can go a long way in achieving polished, professional results.
Remember, practice makes perfect. So, grab your camera, step into that beautiful golden hour, and start snapping. Who knows? You might just create the next iconic portrait that sticks in people’s minds like a catchy tune. Happy shooting!
RELATED POSTS
View all


