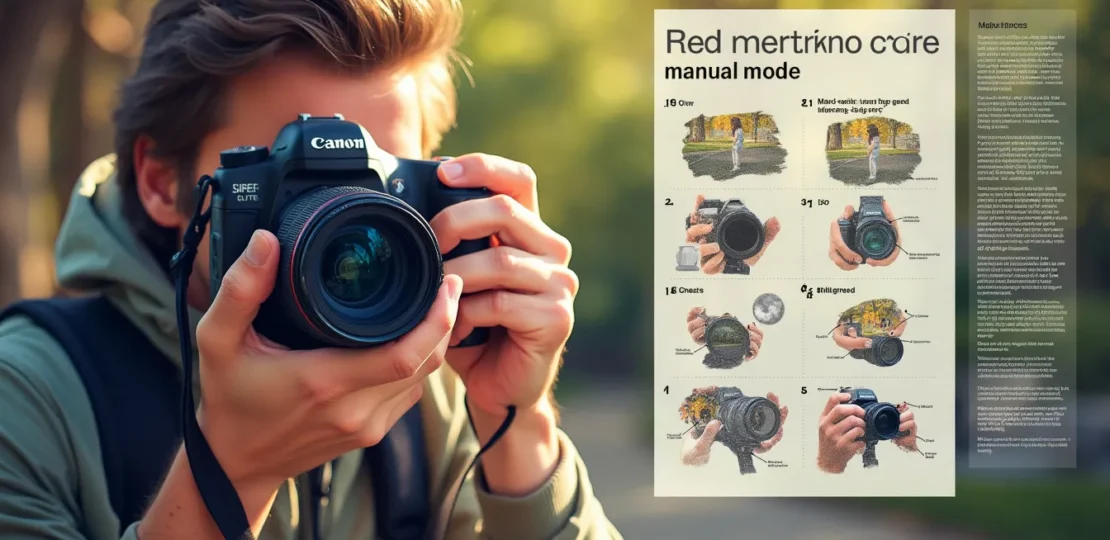
Photography enthusiasts, gather ’round! You’re about to dive into the fascinating world of manual mode—a realm where creativity knows no bounds and every shot is crafted to perfection by none other than you. While the automatic settings on your camera are like trusty training wheels, manual mode removes the safety net and hands you the reins of artistic control. Why settle for ‘good enough’ when you can fine-tune every detail to match your vision?
In this comprehensive guide, we’re demystifying manual mode to empower you with the knowledge you need to elevate your photography game. We’ll take a close look at the three key pillars of manual shooting—shutter speed, aperture, and ISO—explaining not only what they are but also how they interplay to create perfectly exposed images. As we move forward, we’ll break it all down in a step-by-step process to ensure you feel confident navigating your camera’s settings, adjusting for various conditions, and ultimately harnessing the magic of manual mode.
From practical tips and real-life examples to hands-on exercises, this guide is designed not just to teach you, but to transform you into a master of your photographic domain. So, ready your camera and prepare to embark on a journey where every click counts, and every frame is a testament to your newfound skills.
Introduction to Manual Mode in Photography
Manual mode in photography is like having the keys to the kingdom of creativity. Unlike automatic settings, manual mode gives you complete control over every aspect of your shot, so you can tell your story exactly the way you envisioned. Whether you’re capturing the golden rays of a sunrise or the intricacies of a bustling cityscape at night, manual mode allows you to tweak and tune every little detail to perfection.
The importance of mastering manual mode cannot be overstated. Think of your camera as a sophisticated tool, but like any tool, its effectiveness depends on the user’s skill level. Automatic modes do a decent job, but they’re generalists. They make educated guesses based on a range of scenarios, but sometimes that just won’t cut it. Manual mode steps in where automatic settings stumble, allowing you to create photos that stand out, express a vision, and resonate with viewers.
This guide will walk you through everything you need to know to become proficient in manual mode. We’ll uncover the secrets behind achieving the perfect exposure, manipulating depth of field, and capturing fast-moving subjects with ease. By the end of this segment, you’ll have a solid understanding of manual mode, why it’s important, and what to expect as we delve deeper into the nitty-gritty of manual settings.
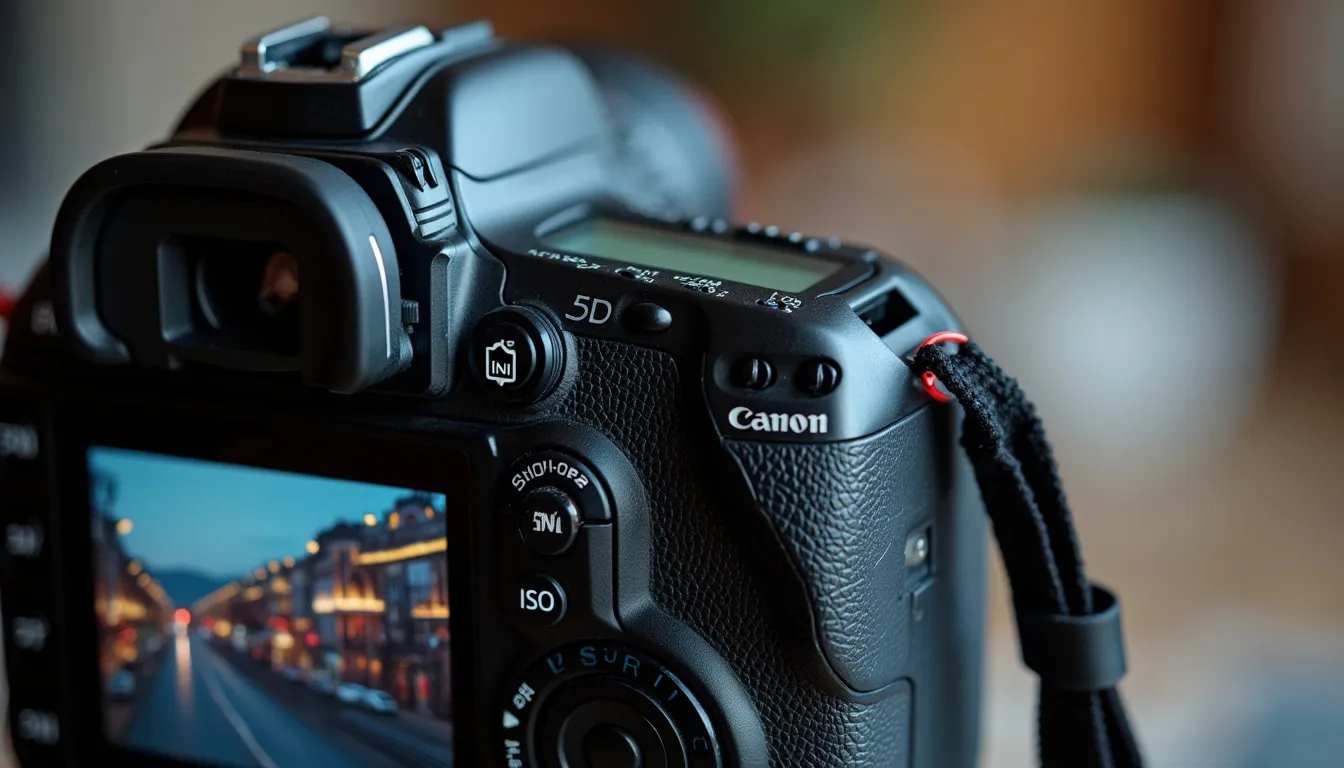
Key Components and Settings of Manual Mode
Shutter Speed
Shutter speed, also known as exposure time, is the length of time your camera’s sensor is exposed to light. Think of it like a blink of the eye; a quicker blink means less light, while a longer one lets more light in.
Now, why should you care? Because shutter speed does more than just determine brightness—it freezes or blurs motion. Want to capture a hummingbird mid-flight? A fast shutter speed (like 1/2000th of a second) will do the trick. Want to create dreamy, blurred waterfalls? Slow it down to 1 to 2 seconds.
Understand this and you’ve got the key to turning mundane moments into magical memories.
Aperture (F-stop)
Next up, aperture (measured in F-stops) is basically the camera’s iris—like the pupil of your eye. Widen it (lower F-stop, like f/1.8) to let in more light and create a shallow depth of field. This gives you those beautiful, blurry backgrounds (AKA bokeh) that make portraits pop.
Conversely, narrow the aperture (higher F-stop, like f/11) to increase the depth of field. This keeps both the foreground and background in sharp focus, perfect for landscapes.
Choosing the right aperture is pivotal for creative effects and ensuring your subject is the star of the show.
ISO
ISO measures your camera’s sensitivity to light. Lower ISO (like 100) is generally best for bright conditions and results in the least grain (or noise) in your photos. Higher ISO settings (like 1600 or more) make your sensor more sensitive, useful for darker environments, but beware! It also increases noise.
This is where balancing comes in. Need to shoot in low light? Crank up the ISO, but ensure you’re not going overboard and sacrificing image quality. Lower light plus slower shutter speed can often save the need for high ISO, provided you have stable hands—or better yet, a trusty tripod.
Exposure Triangle
Welcome to the photography Triforce: the Exposure Triangle. This is the interconnected relationship between shutter speed, aperture, and ISO that determines the final exposure of your photo.
Imagine you’re cooking. Shutter speed is the cooking time, aperture is the size of the pot, and ISO is the stove’s heat level. Change one, and you’ll need to adjust the others to avoid a recipe for disaster.
For instance, increasing the shutter speed to freeze motion? You’ll probably need to widen the aperture or increase the ISO to ensure there’s enough light hitting the sensor.
Mastering this triangle lets you achieve perfect exposure consistently, no matter the situation. It lets you be the boss of your camera, dictating how light, speed, and field depth come together to capture your vision.
Now that you’re stuffed to the brim with this juicy information, let’s bring your photography game to a whole new level. You’ve got the ingredients, now let’s get cooking!
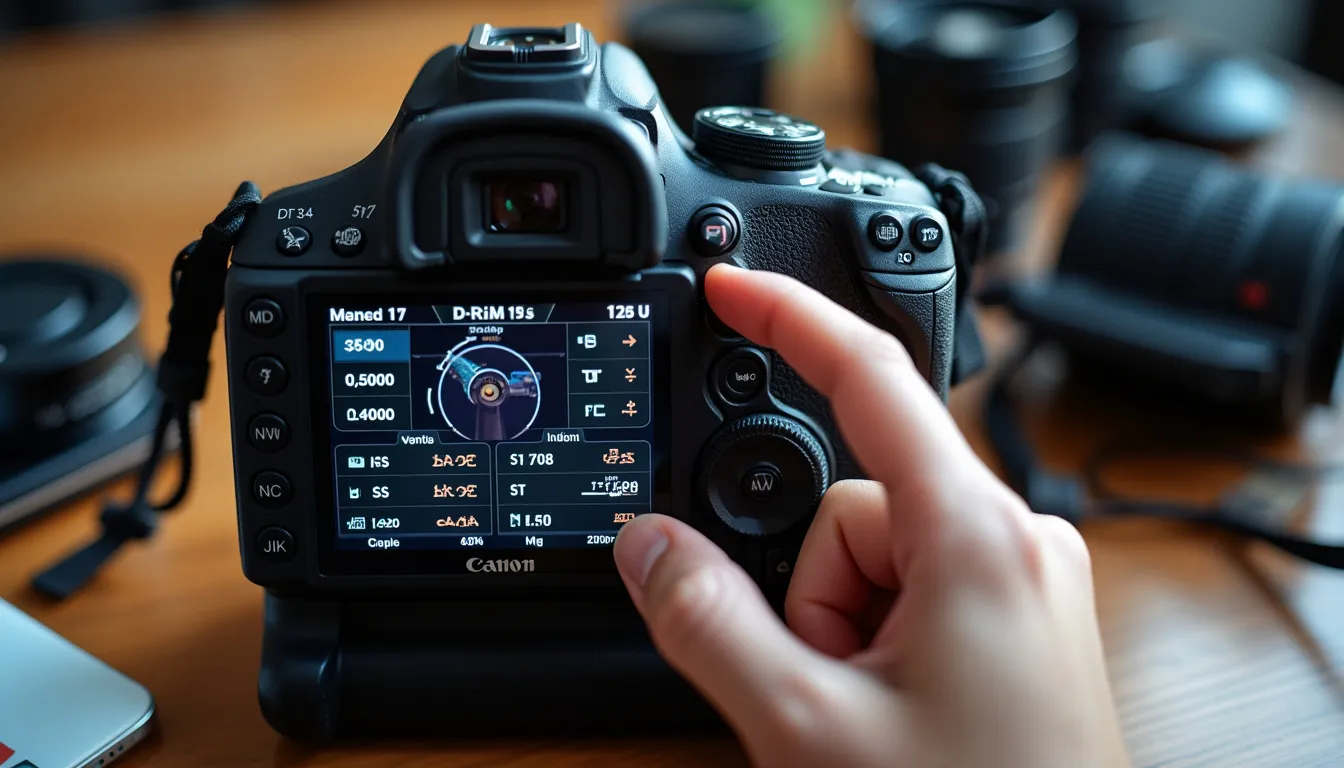
Step-by-Step Process to Shoot in Manual Mode
Setting Up Your Camera: Navigating to Manual Mode
To begin your journey into manual mode, you’ll need to adjust your camera settings. Typically, you’ll find the manual (M) mode on the mode dial atop your camera. This mode unlocks your full creative potential by allowing you to control the aperture, shutter speed, and ISO manually. It might feel intimidating at first, but remember, every photography maestro started right here. Once in manual mode, let’s jump into our first setting: shutter speed.
Adjusting Shutter Speed: Practical Tips and Examples
The shutter speed defines how long your camera’s sensor is exposed to light. Think of it as the eyes of your camera, blinking to capture a moment. A fast shutter speed (like 1/1000 second) freezes motion, perfect for sports or action shots. Conversely, a slow shutter speed (like 1/30 second) can create beautiful motion blur in waterfalls or bustling streets.
Here’s a nifty trick: if you’re shooting handheld, use a shutter speed that is at least the inverse of your lens’s focal length. For example, with a 50mm lens, aim for 1/50 second or faster to avoid camera shake. For artistic long exposures, a tripod is your best friend. Practice by capturing a sharp image of a moving car at a fast shutter speed, then slow it down for a streak of light effect. Notice the differences and adjust accordingly.
Setting the Aperture: Practical Scenarios and Adjustments
Aperture controls the width of the lens opening, affecting both exposure and depth of field. It’s measured in f-stops (like f/1.8, f/4, f/16). A smaller f-stop number (like f/1.8) means a wide aperture, letting in more light and creating a shallow depth of field—ideal for portraits where you want a blurry background. Conversely, a larger f-stop number (like f/16) narrows the aperture, enhancing depth of field, and is great for landscapes where you want everything in focus.
Consider setting your aperture first based on the subject. For a portrait, try f/2.8 to isolate your subject against a pleasingly blurred background. For a sweeping landscape, f/11 or higher will ensure sharpness throughout. If the photo looks underexposed or overexposed, fine-tune the aperture in concert with your shutter speed and ISO.
Choosing the Right ISO: Conditions and Decision-Making Tips
ISO measures your camera sensor’s sensitivity to light. Low ISO values (like 100 or 200) produce cleaner images with less noise and are ideal for bright conditions. High ISO values (like 1600 or above) enable shooting in dim light but introduce grain or noise.
Here’s a golden rule: use the lowest ISO possible for your lighting situation, ensuring the best image quality. If you’re shooting in broad daylight, start with an ISO of 100. In dim conditions, such as indoor events, you might need to bump it up to 800 or more. Modern cameras handle high ISO better than older models, but a noisy image is always a compromise. Experiment to find your camera’s sweet spot and adjust based on your environment.
Combining the Settings: How to Balance All Components for a Well-Exposed Image
This is where the magic happens—balancing shutter speed, aperture, and ISO for perfectly exposed photos. This triumvirate forms the exposure triangle, where tweaking one setting calls for adjustments to the others. For instance, if you widen the aperture for a portrait (small f-stop), you might need to speed up the shutter to counteract the extra light and avoid overexposure.
Here’s a practical approach:
1. **Set your ISO based on lighting:** Start with the lowest possible value.
2. **Choose your aperture for depth of field:** Background blur for portraits, wide focus for landscapes.
3. **Adjust shutter speed last:** Ensure proper exposure without blur, mindful of your handheld capabilities.
Use your camera’s exposure meter as a guide—a balanced meter means a well-exposed image. Take test shots, review on your camera’s display, and adjust accordingly.
Practical Exercises to Refine Your Skills in Manual Mode
Nothing beats hands-on practice. Here are some exercises:
1. **Static and Moving Subjects:** Shoot a moving car at varying shutter speeds to see the impact on motion blur.
2. **Portraits and Landscapes:** Switch between wide apertures (like f/2.8) for portraits and narrow apertures (like f/16) for landscapes, adjusting ISO and shutter speed to maintain exposure.
3. **Low Light Practice:** Try indoor or nighttime photography, adjusting ISO to practice noise management.
First, snap a portrait at f/2.8 and 1/60 second with ISO set to 100. Then, switch to a landscape at f/16, adjust the shutter to 1/125 second, and observe any necessary ISO tweaks.
Rinse, repeat, and soon, manual mode will feel second nature. Your newfound mastery unlocks endless creativity, making you a more adaptable and confident photographer. Keep experimenting, and happy shooting!
Mastering manual mode in photography is akin to unlocking the full potential of your camera and, by extension, your creative vision. By now, you should be well-versed in the key components of manual mode: shutter speed, aperture, and ISO, and understand how they intricately interlace to form the backbone of the exposure triangle. These elements, when skillfully balanced, provide the exact exposure and artistic effect you’re aiming for.
You’ve learned how shutter speed can create dramatic effects by either freezing action or introducing motion blur, depending on your creative intent. By manipulating the aperture, you can control the depth of field, crafting images with striking sharpness or dreamy bokeh. ISO, while often the unsung hero, is crucial for fine-tuning exposure, especially in challenging lighting conditions.
Moving beyond theoretical understanding, you’ve dived into the practical aspects of shooting in manual mode. From initially setting up your camera and getting comfortable with its manual settings to adjusting each component based on specific shooting circumstances, you’re now equipped with the knowledge to take full control. The step-by-step guide provided practical scenarios and decision-making tips, further solidifying your confidence in adjusting settings on the fly.
Remember, achieving the perfect exposure is rarely about finding a single correct setting. It’s a creative dance between the components of the exposure triangle, often requiring adjustments and experimentation. The practical exercises suggested are your playground; use them to practice, make mistakes, and learn. Each shot brings you closer to mastery.
In conclusion, manual mode isn’t just a technical hurdle; it’s an invitation to transform the way you view and capture the world. With diligent practice, what once might have seemed daunting will become second nature, empowering you to push the boundaries of your photographic artistry. Happy shooting! 🌟
RELATED POSTS
View all

