Ready to dive into the world of photography but not sure where to start? Fear not—every master was once a beginner. Understanding the art of capturing stunning images starts with a few fundamental concepts: aperture, shutter speed, and ISO. These three pillars make up the exposure triangle, the holy grail of photography basics. Learning how they interact is crucial for anyone serious about improving their craft.
Lighting also plays a pivotal role in your snapshots. A beautifully lit subject can transform a good photo into a great one. Equally important is selecting the right camera that fits your needs. With a bewildering array of options out there, from DSLRs to mirrorless marvels, choosing the right gear can be as challenging as capturing the perfect shot.
If the jargon feels overwhelming, don’t worry! This essential photography guide is designed to help you navigate through these beginner photography tips, making the complex seem surprisingly simple. Whether you’re struggling with manual mode, trying to nail the rule of thirds, or eager to explore the wonders of white balance, this article has got you covered.
Ready to elevate your photography game? For a powerful camera at an affordable price, check out the Sony A6400. Happy snapping!
Introduction to Photography for Beginners
Diving into the mesmerizing world of photography can feel overwhelming, but understanding a few key basics will set you off on the right path. Let’s start with the fundamental trio that every camera operates on: aperture, shutter speed, and ISO. Together, these form the cornerstone of capturing that perfect shot.
Understanding the Basics: Aperture, Shutter Speed, ISO
Aperture determines how much light enters through the lens. Think of it like your camera’s iris; the wider it opens, the more light it lets in. It’s measured in f-stops (like f/2.8 or f/16). Lower f-stop numbers mean a wider aperture and a shallow depth of field, resulting in that captivating blurred background effect, or bokeh, that makes portraits pop.
Shutter speed controls how long your camera’s sensor is exposed to light. If you’ve ever wondered how photographers capture fast-moving subjects without blur, it’s all about fast shutter speeds—like 1/1000th of a second. Conversely, for those dreamy, silky waterfall images, you’d use a slow shutter speed, held steady with a tripod.
ISO balances the aperture and shutter speed by adjusting your camera’s sensitivity to light. Think of it as electronic wizardry. Lower ISO levels (like ISO 100) yield crisp images, ideal for bright conditions. Higher ISOs (like ISO 3200) are for low-light situations but tread carefully here, as high ISO can introduce noise or graininess to your photos.
Importance of Lighting in Photography
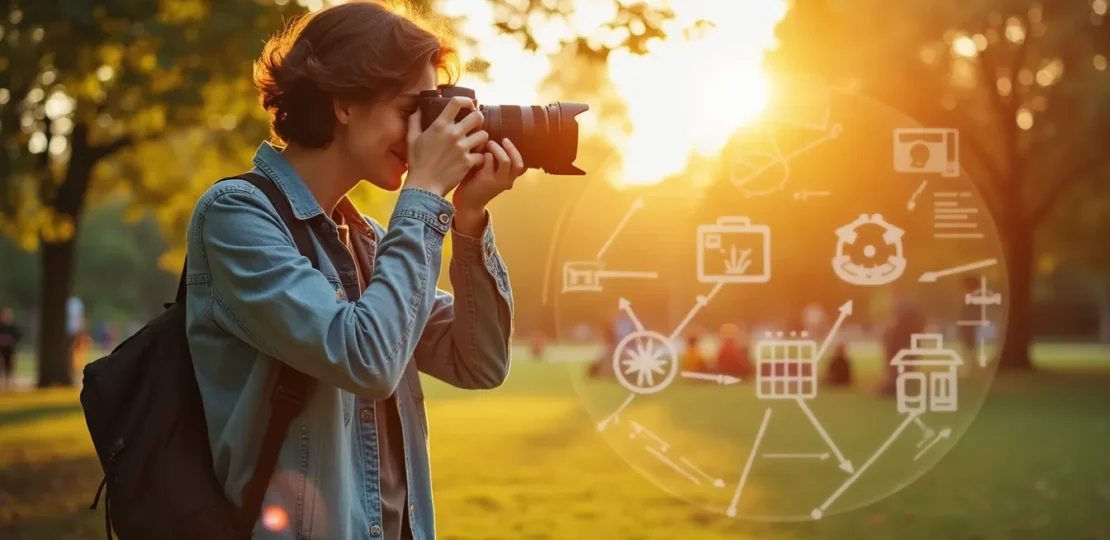
It’s all about the lighting. You’ve probably heard this mantra a million times, and it’s absolutely true. Good lighting can transform an ordinary scene into something magical. Natural light, particularly the soft, golden hour light during sunrise and sunset, is coveted by photographers for its warm hues and flattering effects. Experiment with backlighting, side lighting, and diffused light to see how it affects your subjects.
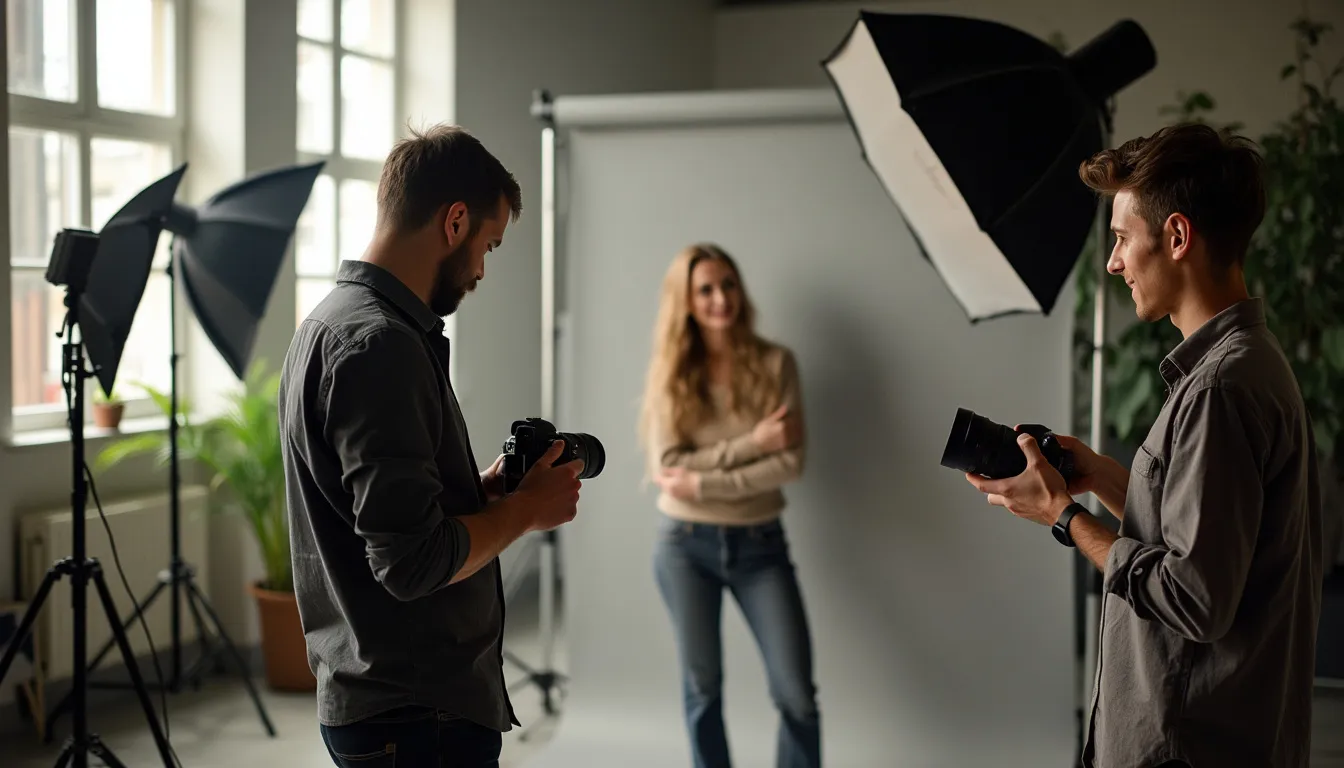
Don’t have access to natural light? No problem. Understanding and utilizing artificial light is equally vital. A simple reflector can help bounce light onto your subject, reducing harsh shadows, while an external flash can provide controlled bursts of light for better indoor photography. Mastering both natural and artificial light will give you the flexibility to shoot in any condition.
Choosing the Right Camera for Your Needs
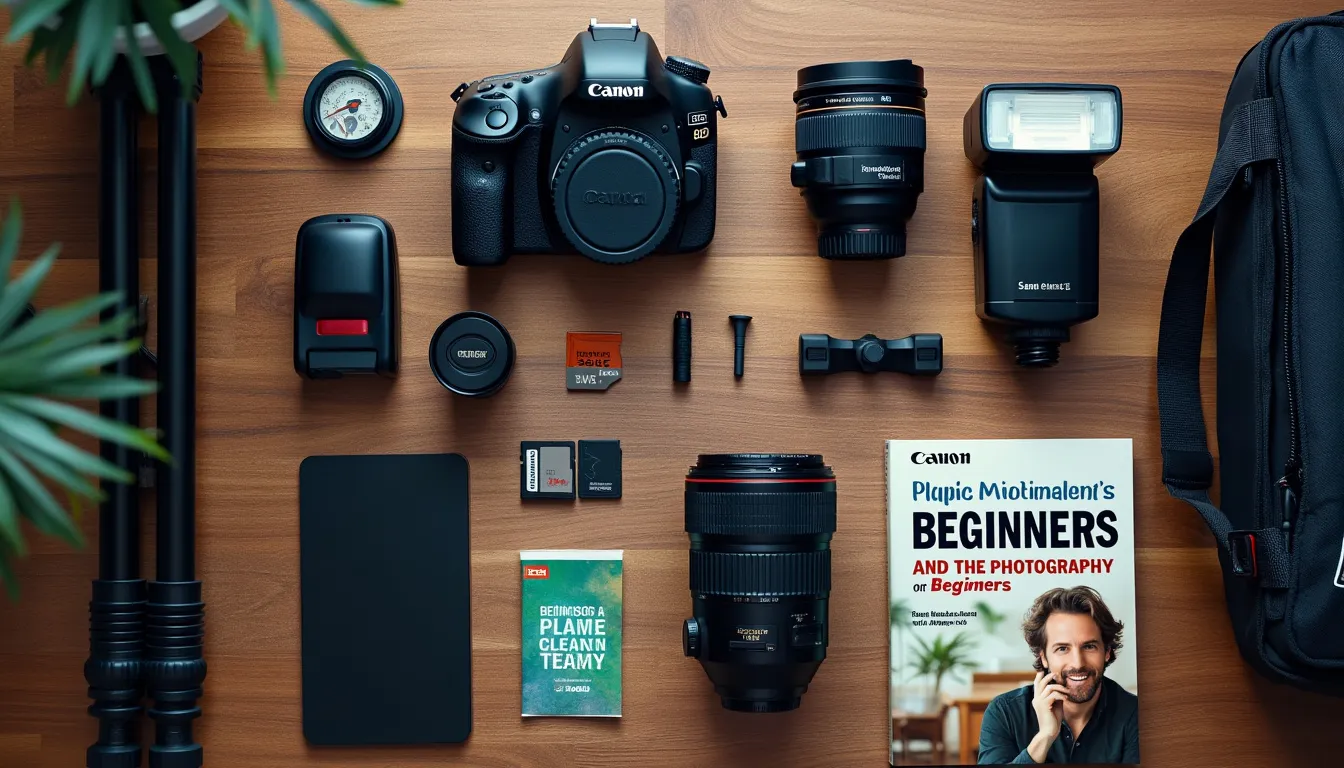
As a new photographer, the vast array of cameras on the market can be daunting. Should you go for a DSLR, mirrorless, or stick to your smartphone? It all depends on your needs, budget, and comfort level. Entry-level DSLRs and mirrorless cameras are now quite affordable and offer manual settings that will help you grow and learn.
Mirrorless cameras, like the Sony A6400, are a fantastic choice. They are lighter, often more compact, and come with cutting-edge technology, such as real-time eye autofocus and excellent low-light performance. Plus, their electronic viewfinders offer the added benefit of seeing your image with the exposure applied, making the learning curve slightly less steep.
Before investing, consider the type of photography you’re drawn to. Are you aiming to capture stunning nature landscapes or candid street shots? Do you foresee yourself working in a studio or primarily outdoors? Your camera should fit your shooting style and aspirations.
While camera bodies are essential, don’t underestimate the value of good lenses. A versatile lens, like a 50mm prime or an 18-55mm kit lens, can handle a variety of shooting conditions and help you understand the advantages of different focal lengths.
Remember, the best camera is the one you’ll actually use. So, whether you decide to go for a high-end model or a budget-friendly option, practice and passion are what will make you a great photographer in the end.
In summary, grasping the basics—aperture, shutter speed, and ISO—will give you a solid foundation to build upon. Experiment with lighting to find what works best for your style, and choose a camera that matches your needs to begin your exciting new journey in photography.
There’s no rush, though. Enjoy the process, savor the learning curve, and remember: every great photographer started where you are now. If you’re looking for a powerful camera at an affordable price, consider checking out the Sony A6400. Happy shooting!
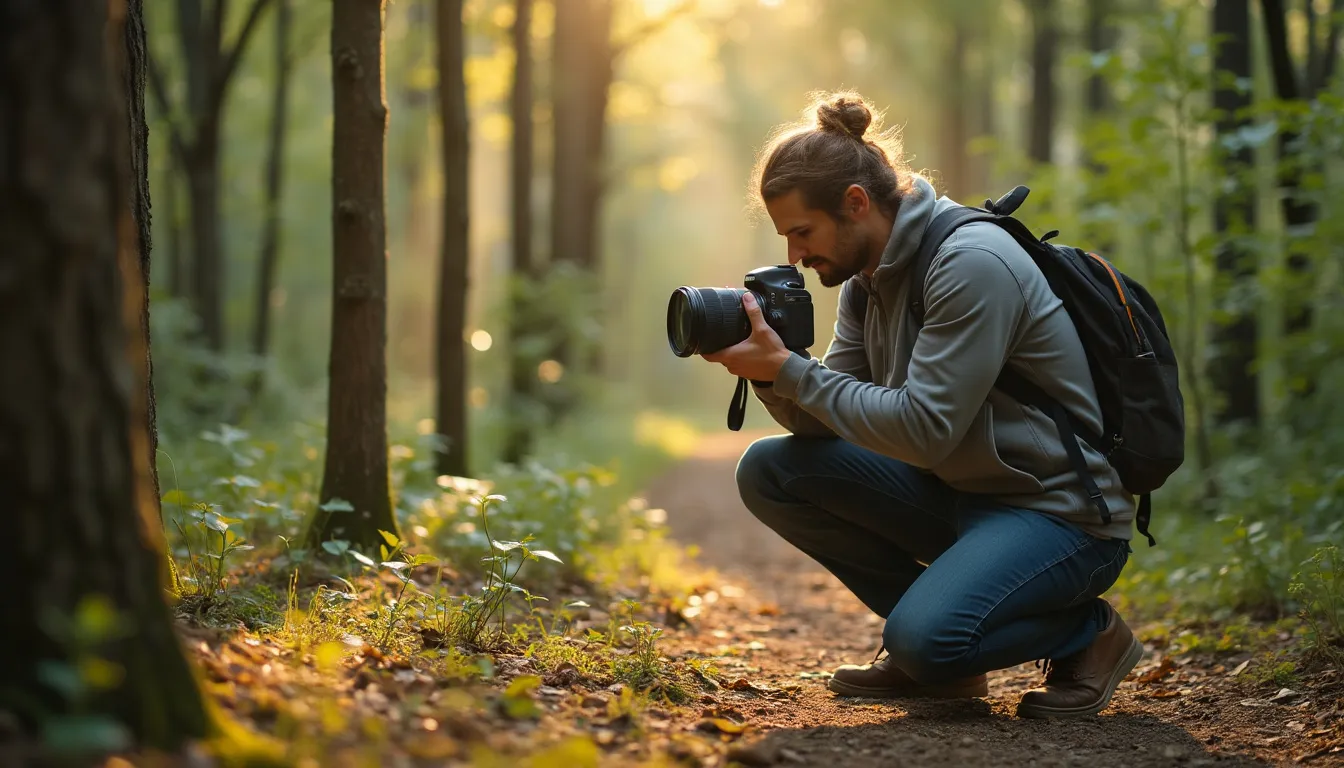
Mastering Camera Settings and Techniques
How to Use Manual Mode: Benefits and Challenges
Switching to manual mode is akin to taking the training wheels off your bicycle. Initially intimidating but ultimately liberating, manual mode allows you to control the camera’s aperture, shutter speed, and ISO settings yourself. This hands-on approach provides the full creative freedom required to capture images just as you envision them, without the camera’s automatic settings making choices for you. However, the challenge lies in the steep learning curve — you’ll need to understand how these settings interact with one another to expose your photos correctly. By practicing manual mode photography, you’ll inevitably enhance your skills, resulting in more artistic and technically proficient images.
The Rule of Thirds and Other Composition Techniques
One of the fundamental principles of composition is the Rule of Thirds, a guideline that suggests dividing an image into nine equal parts by two equally spaced horizontal lines and two equally spaced vertical lines. Position your subject along these lines or their intersections to create a balanced and engaging photograph. But remember, rules are meant to be broken! Other composition techniques include leading lines, which draw the viewer’s eye to the main subject; the golden ratio, a more complex but aesthetically pleasing compositional method; and framing, where you use elements within the scene to frame the main subject. Mastering these composition techniques will help turn your photos from snapshots into compelling stories.
Understanding White Balance: Getting Accurate Colors
Ever taken a photo indoors and noticed an unnatural yellow or blue tint? That’s where white balance comes into play. White balance settings adjust the color temperature in your photos to produce more accurate and natural colors. Most cameras offer several presets like Daylight, Tungsten, and Cloudy, each suited to different lighting conditions. For ultimate control, dive into custom white balance settings or shoot in RAW format to tweak white balance in post-processing. Accurate white balance settings ensure that your images reflect the true colors of your subjects, making your photos more authentic and visually appealing.
If you’re itching to apply these skills, consider upgrading to a powerful yet affordable camera. The Sony A6400 might be exactly what you need to take your photography game to the next level. Explore its features, and happy shooting!

Finding the Perfect Focus: Auto vs. Manual Focus
Navigating the vast world of photography settings can feel akin to a voyage through a maze. But fear not, young photo adventurers, for mastering focus is a cornerstone skill that will take your snapshots from “meh” to magnificent. Whether you’re photographing a meticulously prepared plate of pasta or a serene landscape, understanding when to use auto focus versus manual focus will bring an extra pinch of magic to your photos.
Auto focus is akin to having a helpful assistant who constantly whispers, “Let me handle that for you.” It’s particularly useful for beginners and for scenarios where speed is of the essence—think fast-moving subjects like children, pets, or action-packed sports. Today’s cameras, including mirrorless marvels like the Sony A6400, are equipped with advanced auto focus systems that track subjects with ninja-like precision.
Still, auto focus isn’t always foolproof. Ever tried to capture your best friend’s face only for the camera to zero in on that enticing background tree instead? This is where manual focus steps in like a trusty sidekick, offering you complete control over which elements take center stage in your masterpiece. Manual focus is a boon for scenarios demanding precision, such as macro photography or low-light conditions. Take your time, twirl that focus ring, and voilà—you’ve got the shot just as you envisioned.
The Power of Post-Processing: Basic Editing Tips
While capturing the perfect shot is a triumphant feeling, the magic doesn’t end with the click of the shutter. Enter post-processing, the art of fine-tuning your images to elevate them from plain snapshots to show-stoppers. Basic editing can significantly enhance your photos, making them more vivid, balanced, and aligned with your artistic vision.
First and foremost, befriend your histogram. This graphical representation of light and shadow distribution in your image is like a road map to perfectly-exposed photos. Aim for a balanced histogram with data spread across the graph to avoid overly dark (underexposed) or overly bright (overexposed) images.
Next up, dabble in the realm of color correction. Adjust the white balance to ensure the colors in your photo are as true-to-life as pizza is to Italy. Tools like Adobe Lightroom or even free alternatives like GIMP offer simple sliders to tweak temperature and tint, mitigating the unnerving greenish glow or chilly blue cast in your photos.
And let’s not forget about the transformative power of cropping. A little snip here and a trimming there, and you can enhance the composition of your shot, focusing on the story you want to tell. Remember the rule of thirds? Use the cropping tool to realign your photos accordingly, placing key elements along the grid lines to create more engaging and balanced images.
Leveraging Natural Light vs. Artificial Light
Ah, lighting—the quintessential element that can make or break a photograph. It’s like the secret sauce in grandma’s lasagna; get it right, and your photos will exude warmth and depth. But mess it up, and things might turn out a tad undercooked. To light up your photographic journey, let’s break down natural and artificial light.
Natural light, courtesy of that perennial giant ball of gas we call the sun, is a versatile ally. Golden hour, occurring shortly after sunrise and before sunset, bathes your subjects in soft, flattering light. It’s the reason outdoor portrait sessions during these times yield dreamy results. Want to capture a delicate bloom or the twinkling of dewdrops? Midday light, though harsh, can be diffused using reflectors or gauzy curtains to soften shadows and provide even illumination.
On the flip side, artificial light, including everything from desk lamps to professional studio lighting setups, offers consistency and control. Unlike your unreliable weather app, artificial light doesn’t change, empowering you to shape and mold it to your heart’s content. Experiment with off-camera flash or continuous LED lights to sculpt dramatic shadows, highlight textures, or create silhouettes. Combining artificial light with light modifiers like softboxes or umbrellas can yield elegant, studio-quality portraits.
Whether you favor the warm embrace of natural light or the controlled allure of artificial lighting, understanding how to harness both will vastly expand your creative capabilities. If your indoor shots frequently turn out grainy or poorly-lit, don’t be disheartened. With practice and experimentation, you’ll soon master the art of lighting, illuminating your path toward photographic excellence.
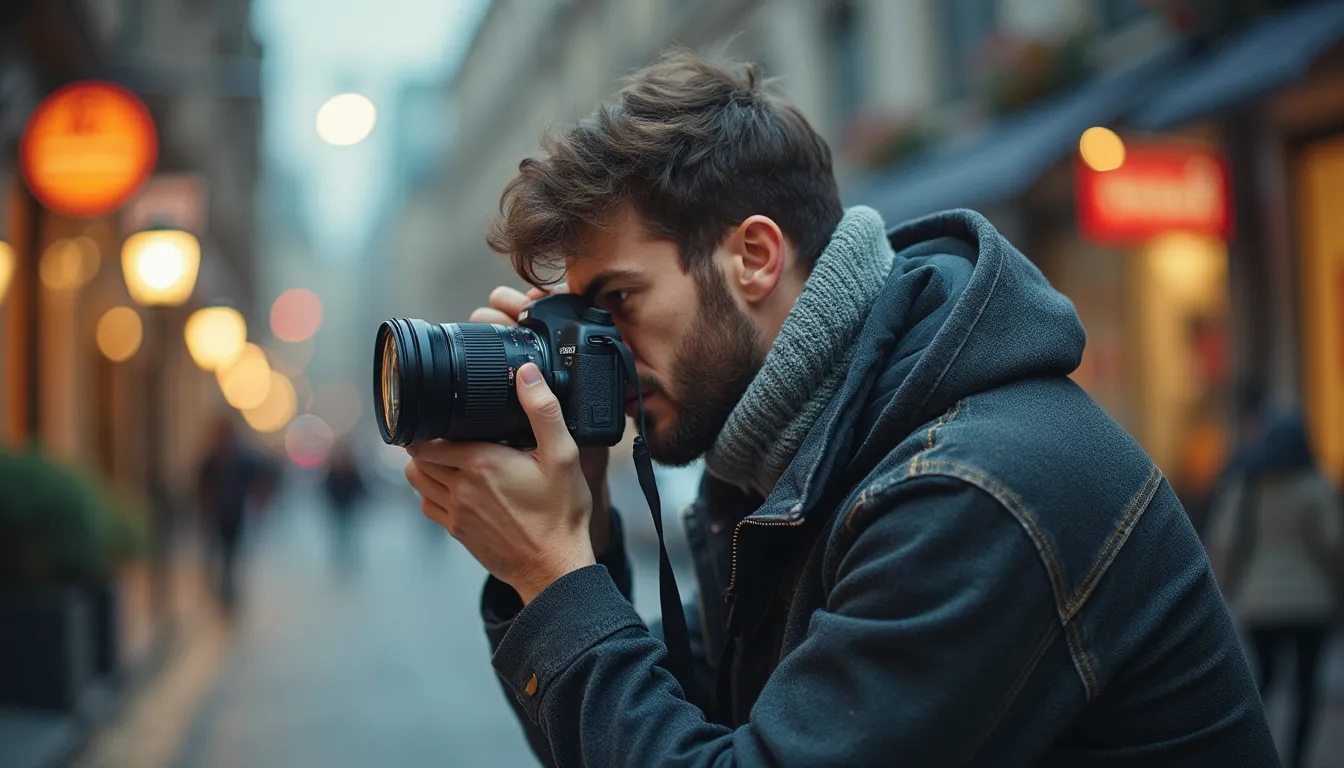
Practical Advice for Continuous Improvement
Practicing Regularly: Building Your Photography Routine
Like any craft, the mantra practice makes perfect rings true in photography. Regular practice hones your skills and helps you get intimately familiar with your camera’s capabilities. Set aside time every week to take photos. It doesn’t have to be an elaborate photo shoot; even snapping everyday scenes around your neighborhood can be invaluable. This consistent practice will sharpen your eye for detail and improve your technical prowess.
Incorporate different themes or challenges in your routine. Maybe dedicate a week to focusing solely on black-and-white photography, macro shots, or street photography. Each challenge forces you to think differently and potentially discover new techniques or perspectives. Over time, this deliberate practice will become second nature, making you more adept at capturing stunning shots in any circumstance.
Seeking Constructive Feedback: Joining Photography Communities
No man is an island, and this saying holds especially true for photographers. Online forums, local clubs, and social media groups brim with enthusiasts and professionals alike who are keen to share advice and constructive criticism. Sites like Flickr, 500px, and even Instagram are fantastic for sharing your work and receiving feedback.
Being part of a community offers numerous benefits: not only do you get valuable insights that can help elevate your skills, but you also gain inspiration from others’ work. It’s like having a friendly competition where everyone aims to help each other improve. Seek out communities that are known for their constructive feedback rather than just ‘likes’ or ‘favorites.’
Constructive criticism is gold in the world of photography. Listen carefully, absorb what resonates with you, and apply these lessons to your future work. Just remember, not all advice will suit your style, and that’s perfectly okay. Use feedback as a tool to refine your technique while still staying true to your unique artistic vision.
Staying Inspired: Following Notable Photographers and Trends
Staying inspired is crucial for continuous improvement. It’s easy to fall into a creative rut, but the good news is that there are countless ways to reignite your photographic passion. One effective method is to follow notable photographers whose work challenges and excites you.
From the classic elegance of Ansel Adams to the contemporary vibrancy of Annie Leibovitz, immersing yourself in the portfolios of established photographers can offer fresh insights and spark creative ideas. Many professional photographers also maintain blogs or vlogs, where they share behind-the-scenes looks, photography tips, and personal anecdotes that could provide you with valuable lessons.
In addition to individual photographers, keep an eye on trends in the photography world. While it’s not advisable to chase every fad, some trends can introduce you to new techniques, styles, or subjects you may have never considered. For instance, drone photography, which is now a major trend, opens up fascinating perspectives impossible with traditional cameras. Staying current not only keeps your work relevant but can also be incredibly motivating.
Congratulations, budding photographers! You’ve now got a treasure trove of tips to elevate your photography game from meh to mesmerizing. We’ve embarked on an insightful journey starting with the foundational trio of aperture, shutter speed, and ISO—think of these as the holy trinity of photography. We tuned into the importance of lighting and how mastering this element can transform an ordinary photo into a visual masterpiece.
You’ve learned that choosing the right camera isn’t about splurging on the most expensive gear but about finding what fits your needs and style. Remember, it’s not about the wand; it’s about the wizard!
Venturing further, you’ve grasped the enigmatic world of manual mode. Yes, it’s a bit daunting at first, like trying to understand a foreign language, but once you get the hang of it, the creative control you wield is unparalleled. Pair that with the Rule of Thirds and other composition techniques, and your photos will start talking louder than words. Speaking of which, understanding white balance has undoubtedly opened your eyes to achieving those spot-on colors that do justice to the scenes you capture.
Let’s not forget those golden nuggets on capturing stunning shots. Finding the perfect focus—whether auto or manual—decides the hero of your story. And we all know post-processing is like adding the final embellishments on a cake; it can make your masterpieces even more delectable. Balancing natural light with artificial light like a seasoned chef creates dishes worthy of the Michelin stars of photography.
Lastly, the journey doesn’t end here; it’s an ever-evolving art form. Practicing regularly will help you build a solid photography routine, and constructive feedback from photography communities will refine your skills further. Keeping the inspiration alive by following notable photographers and trends will ensure your creativity remains as vibrant as your snapshots.
So, ready to capture your world, one click at a time? Why not get started with the Sony A6400, a powerful companion designed to bring your creative visions to life without breaking the bank. Check it out and let your photography journey soar to new heights! 📸✨
RELATED POSTS
View all

