Understanding Exposure: A Photography Beginner’s Guide
September 2, 2024 | by Fred teixx
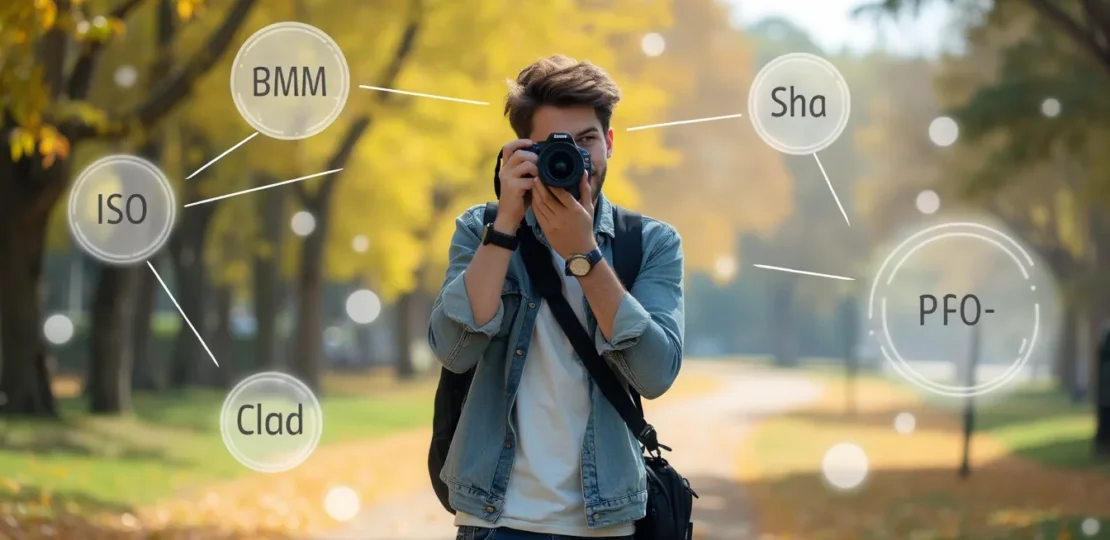
In the mesmerizing world of photography, understanding exposure is your golden ticket to capturing those jaw-dropping shots that make everyone ask, How did you do that? Exposure is essentially the amount of light that reaches your camera’s sensor, and it is pivotal in determining how light or dark your photos will be. Perfecting exposure is like finding the sweet spot in a well-tuned orchestra, where every note harmoniously contributes to a captivating symphony. Three key elements tune this symphony: Aperture, Shutter Speed, and ISO. Each of these controls plays a unique role in shaping the final appearance of your image, whether it’s the dreamy blur of a background, the crisp capture of action, or the graininess that gives a photo its texture. Ready to dive deeper? Just like an artist mastering the hues on a canvas, as you learn to balance these elements, you’ll gain greater control over your creative vision.
For a powerful camera at an affordable price, check out the Sony A6400. Happy snapping!
Introduction to Exposure in Photography
So, you’ve got your shiny new camera and you’re ready to take some stunning photos. But wait, before you dive into the deep end, there’s something crucial you need to understand: exposure. This is the secret sauce that will either make your photo a masterpiece or a candidate for the delete button. But fear not! We’re going to break it down so even your grandma could understand it (assuming she’s not already a seasoned shutterbug).
Definition and Importance
First things first, what is exposure? Simply put, exposure is the amount of light that reaches your camera’s sensor or film. It plays a pivotal role in determining how bright or dark your photos will appear. Think of it as the Goldilocks rule: you don’t want your photos too dark (underexposed) or too bright (overexposed); you want them just right.
The importance of exposure can’t be overstated. It’s the building block for all photography, the essence that translates a scene into an image. Getting the right exposure makes your photos more realistic and visually appealing. Without proper exposure, even the most beautifully composed shot can fall flat. Who wants to look at a photo where you can barely make out the subject or where everything looks like it was blasted with a floodlight?
Key Elements of Exposure
Now that you know what exposure is and why it’s important, let’s get down to the nitty-gritty: the key elements that control exposure. These are Aperture, Shutter Speed, and ISO. They’re the Holy Trinity of photography, the three musketeers, the amigos you need to befriend if you want to be a pro.
Aperture
Think of the aperture as the pupil of your camera. Just like your pupil, the aperture controls how much light enters the camera. It’s an adjustable opening in your lens, and its size can be changed to let more or less light in. Aperture is measured in f-stops, which might seem backward at first. A smaller f-stop number like f/2.8 means a larger opening, while a larger f-stop number like f/16 means a smaller opening. Confusing, right? You’ll get used to it!
Apart from controlling light, the aperture also affects the depth of field in your photo. A wide aperture (small f-stop number) gives you a shallow depth of field, making your subject pop against a beautifully blurred background, perfect for portrait photography. Conversely, a narrow aperture (large f-stop number) provides a deep depth of field, keeping everything in focus, ideal for landscape shots.
Shutter Speed
Next up is shutter speed. Think of this as the eyelid of your camera. Just like how quickly or slowly you blink affects how much light you perceive, shutter speed dictates how long your camera’s sensor is exposed to light. It’s measured in fractions of a second, like 1/250 or whole seconds for longer exposures.
A fast shutter speed (like 1/1000) freezes motion, capturing fast-moving subjects with razor-sharp clarity. This is perfect for action shots like sports photography. On the flip side, a slow shutter speed (like 1/30 or even several seconds) can create beautiful motion blur or enable you to shoot in low-light conditions without cranking up your ISO. Just remember to keep your camera steady or use a tripod, lest your artistic blur becomes an unintended smear.
ISO
Last but not least, let’s talk about ISO. Ah, ISO—the wild card of the exposure trio. It’s like the sensitivity setting on your camera’s sensor. A lower ISO number (like 100 or 200) makes the sensor less sensitive to light, resulting in cleaner, noise-free images but requiring more light. A higher ISO number (like 1600 or 3200) makes the sensor more sensitive, which is great for low-light situations but introduces more noise into your images.
So, while it’s tempting to crank up the ISO in darker settings, it’s usually better to try to adjust your aperture and shutter speed first to minimize noise. After all, nobody wants their photo to look like it was taken through a layer of TV static!
Understanding these three elements—aperture, shutter speed, and ISO— and how they interplay is crucial for achieving the perfect exposure. Master these, and you’re well on your way to taking photos that truly capture the moment as you see it.
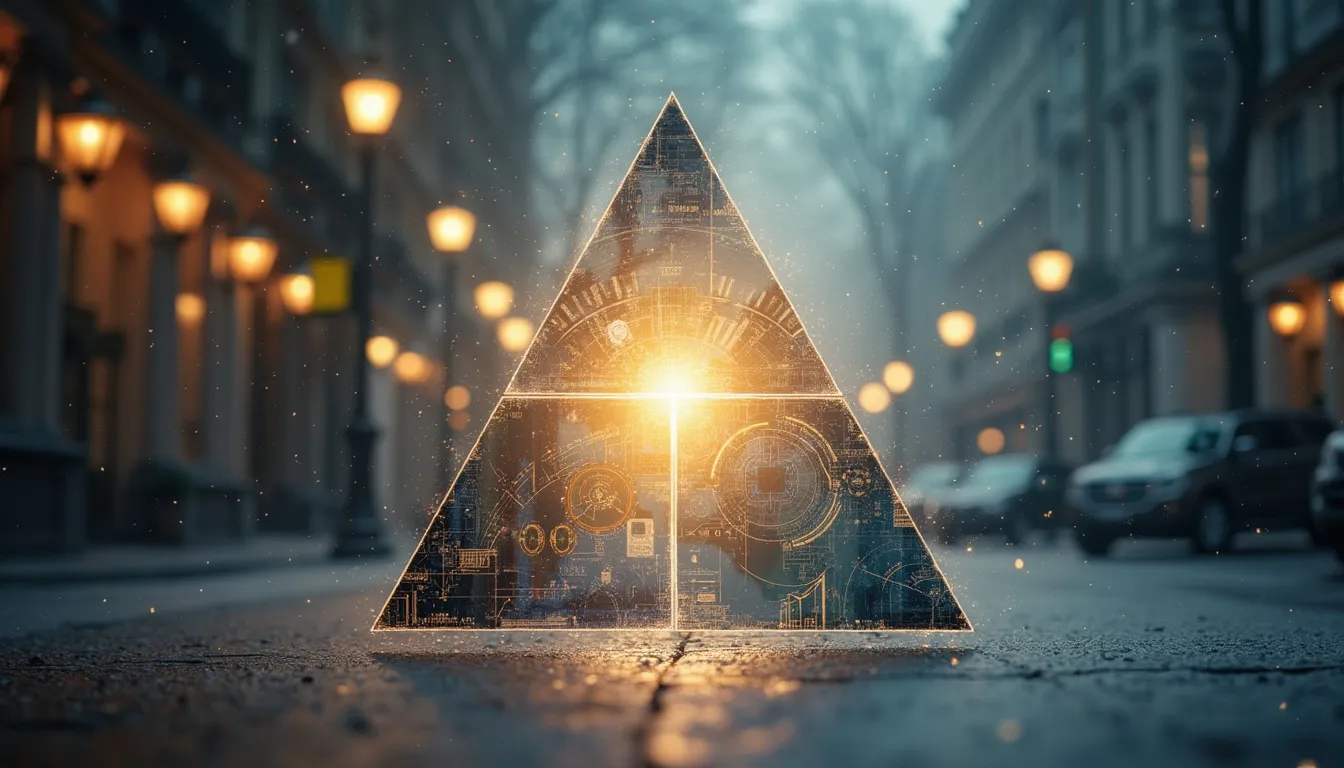
The Exposure Triangle: Balancing Light
Understanding the exposure triangle is like unlocking a magic portal into the wonders of photography. The exposure triangle consists of three crucial pillars: Aperture, Shutter Speed, and ISO. How you balance these elements can make the difference between a breathtaking shot and a lackluster one. Let’s dive deep into each and uncover their secrets.
Aperture: The Gateway to Creativity
**Aperture** refers to the opening in a lens through which light enters the camera. Think of it as the pupil of your eye, growing larger or smaller to let in more or less light. It’s measured in f-stops (e.g., f/2.8, f/16).
– **Wide Aperture (e.g., f/1.8, f/2.8):** This lets in more light, ideal for low-light conditions. It also creates a shallow depth of field, resulting in dreamy, blurred backgrounds (bokeh). Perfect for portraits where you want the subject to stand out against a smooth, out-of-focus background.
– **Narrow Aperture (e.g., f/16, f/22):** Less light is allowed in, often used in bright conditions. This creates a deeper depth of field, making everything in your frame appear sharp. Ideal for landscapes where the beauty lies in the details from foreground to background.
Shutter Speed: The Timekeeper
**Shutter Speed** refers to how long the camera’s shutter remains open to expose light onto the sensor. It’s like the blink of an eye, ranging from a fraction of a second (1/4000) to several seconds (30s).
– **Fast Shutter Speed (e.g., 1/1000s):** Great for freezing fast-moving action, such as sports or wildlife photography. It ensures that moving subjects are captured with pinpoint sharpness.
– **Slow Shutter Speed (e.g., 1s, 30s):** Useful for long exposures, capturing motion blur, and low-light/night photography. This can turn a rushing waterfall into a silky cascade or paint light trails from moving cars.
ISO: The Amplifier
**ISO** is the camera sensor’s sensitivity to light. It’s like the volume control on your stereo – more sensitivity (high ISO) means more ‘noise’.
– **Low ISO (e.g., 100, 200):** Use this in bright conditions to maintain clean, noise-free images. Lower sensitivity ensures higher image quality with exceptional clarity and detail.
– **High ISO (e.g., 1600, 3200):** Handy in low-light scenarios where you need to increase light sensitivity without using flash. However, be mindful of potential graininess and loss of detail due to increased ‘noise’.
How Each Element Affects Your Photos
Understanding how aperture, shutter speed, and ISO interplay is essential for achieving proper exposure. Here’s a quick guide:
– **Aperture:** Affects depth of field. Wide apertures create a shallow depth of field (great for portraits), while narrow apertures give a deep depth of field (great for landscapes).
– **Shutter Speed:** Controls whether motion is frozen or blurred. Fast speeds freeze motion, suitable for sports. Slow speeds blur motion, which is artistic for capturing light trails.
– **ISO:** Impacts image quality. Low ISO for well-lit environments ensures less noise. High ISO is practical for darker settings but results in grainier images.
Practical Examples and Tips for Beginners
As a beginner, the best way to learn the exposure triangle is through hands-on experiments. Here are some practical examples to get you started:
– **Portrait Photography:**
– **Aperture:** Set at f/1.8 or f/2.8 to blur the background and make your subject pop.
– **Shutter Speed:** Keep it relatively high (around 1/200s) to prevent motion blur.
– **ISO:** Use the lowest setting possible (ISO 100 or 200) if you’re in a well-lit area.
– **Landscape Photography:**
– **Aperture:** Use a narrow aperture (f/11 to f/16) for a deep field of focus.
– **Shutter Speed:** Depending on light, it can range from 1/100s to several seconds.
– **ISO:** Stick to low ISO (ISO 100 or 200) to preserve image quality.
– **Action Shots (e.g., Sports):**
– **Aperture:** Moderate wide aperture (f/4 to f/5.6) to ensure subject sharpness.
– **Shutter Speed:** High shutter speed is critical (1/1000s or faster).
– **ISO:** Increase ISO (400 to 800) if light is insufficient to maintain high shutter speed.
– **Night Photography:**
– **Aperture:** Wide aperture (f/2.8 to f/4) to capture more light.
– **Shutter Speed:** Slow (several seconds) to allow enough light in.
– **ISO:** Start with ISO 800, but be prepared to adjust based on the required exposure and acceptable noise levels.
**Bonus Tip:** Practice with the Manual (M) mode on your camera to understand how adjusting each setting affects your photos. This hands-on approach will solidify your grasp of the exposure triangle.
Getting to grips with the exposure triangle can seem daunting at first, but with practice, it’ll become second nature.
Common Exposure Challenges and How to Overcome Them
Overexposure and Underexposure
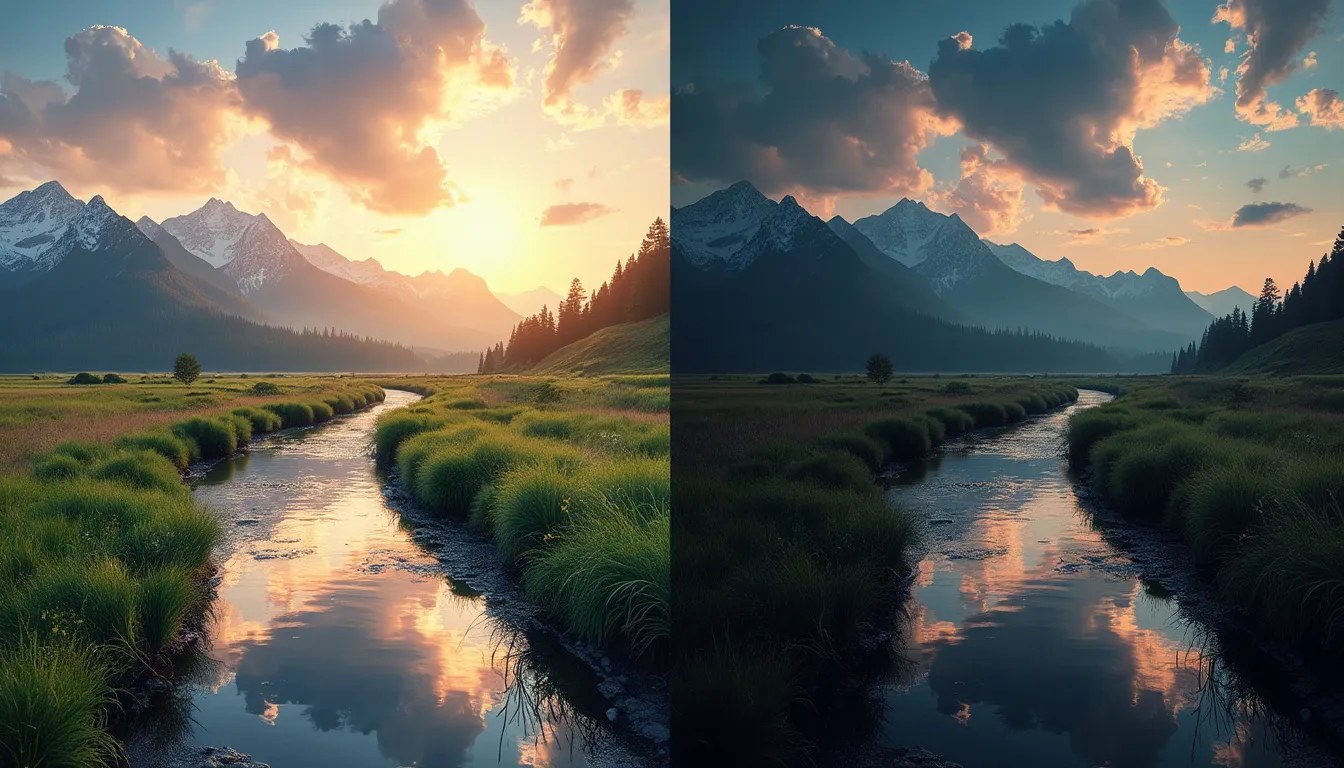
One of the first obstacles every budding photographer encounters is learning how to manage overexposure and underexposure. Overexposure occurs when too much light hits the camera sensor, resulting in a photo that’s too bright. This can wash out colors and lose details in the highlights. On the flip side, underexposure happens when there’s insufficient light, leading to images that are too dark with obscured shadow detail.
Strategies for Achieving Correct Exposure
Understanding how to achieve the perfect exposure can transform your photography. Here are a few strategies to help you manage common exposure challenges.
1. **Use the Histogram**: The histogram is a graphical representation of the tonal values in your image. A balanced histogram usually means a well-exposed photo. If the histogram is skewed to the left, your photo is likely underexposed; if it’s skewed to the right, it’s overexposed.
2. **Metering Modes**: Modern cameras come equipped with various metering modes (such as Evaluative, Spot, and Center-Weighted). Each mode helps measure light differently, so familiarize yourself with them and use each mode as per the scene’s requirement to achieve accurate exposure.
3. **Exposure Compensation**: Even with perfect metering, your camera might struggle with tricky lighting scenarios, like a bright sky and dark foreground. This is where exposure compensation comes in. Adjust it to increase or decrease the exposure based on the lighting conditions.
4. **Bracket Your Shots**: This involves taking several shots at different exposures to ensure you have at least one correctly exposed image. Many cameras offer an auto-bracketing feature, making this strategy even easier.
Tools and Techniques for Adjusting Exposure in Different Lighting Conditions
1. **Using ND Filters**: Neutral Density (ND) filters reduce the amount of light entering your lens. They are invaluable for shooting in bright conditions where you want to use a slow shutter speed or a wide aperture. Think daytime long exposures or portraits with a defocused background.
2. **Flash Photography**: When natural light isn’t cutting it, a flash can be a lifesaver. A good understanding of how to use your camera’s flash, or an external flash, can help illuminate your subject perfectly. Remember, it’s not just about adding more light, but also how you diffuse and direct it.
3. **Reflectors and Diffusers**: These inexpensive tools can help you control light. Reflectors bounce light onto your subject, which is great for filling in shadows. Diffusers soften harsh sunlight, producing a more even and flattering light.
4. **Post-Processing Adjustments**: Sometimes, despite your best efforts, the exposure isn’t perfect straight out of the camera. Software like Adobe Lightroom or Photoshop allows you to tweak exposure settings, recover highlights, and bring out shadow details. Just be cautious not to overdo it—aim for a natural look.
5. **Manual Mode Mastery**: Relying on Auto mode can only get you so far. Learning to shoot in Manual mode gives you ultimate control over your exposure settings. Practice balancing aperture, shutter speed, and ISO to adapt to any lighting scenario you encounter.
Face your exposure challenges head-on with these tools and techniques, and watch your photos improve dramatically! If you’re looking for a powerful camera at an affordable price, check out This link for the Sony A6400 camera.
As you’ve journeyed through the ins and outs of understanding exposure, it’s easy to see why it’s often dubbed the heartbeat of photography. You’ve unlocked the mystical trinity of aperture, shutter speed, and ISO—each playing its own instrument in the grand symphony of capturing light. By mastering this trio, you’ve essentially gained the keys to the kingdom of creating striking, well-balanced images.
Navigating the exposure triangle might seem like juggling flaming torches at first, but with practice, it becomes an exhilarating dance. Remember, aperture controls the depth of field, shutter speed freezes (or blurs) motion, and ISO determines how sensitive your camera’s sensor is to light. Each of these elements wields considerable power, and your task is to balance them, like an accomplished maestro conducting an orchestra.
Exposure challenges, like overexposure and underexposure, are rites of passage for every aspiring photographer. These hiccups are not just hurdles but also learning experiences. By employing strategies such as bracketing, using histograms, or just getting to grips with your camera settings, you’ll find yourself turning what once looked like daunting tasks into second nature tweaks and adjustments.
The road to exposure enlightenment is paved with trial, error, and a lot of experimentation. But hey, isn’t that half the fun? The beauty of photography lies in its blend of artistic expression and technical mastery. Each click of the shutter is an invitation to another opportunity to get it just right—or wonderfully unexpected.
Eager to put your newfound exposure skills to the test? For a powerful camera at an affordable price, check out the Sony A6400 by clicking This link. Once you start, you’ll see that the world—perfectly exposed—is truly a compelling canvas waiting to be explored. Happy shooting!
RELATED POSTS
View all

